



Clinical Case
Sep 24, 2026
/ Clinical Cases / Solving esthetic issues in the anterior region with composite
August 10, 2026
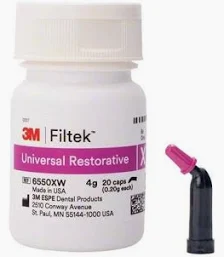
with 3M™ Filtek™ Universal Restorative.
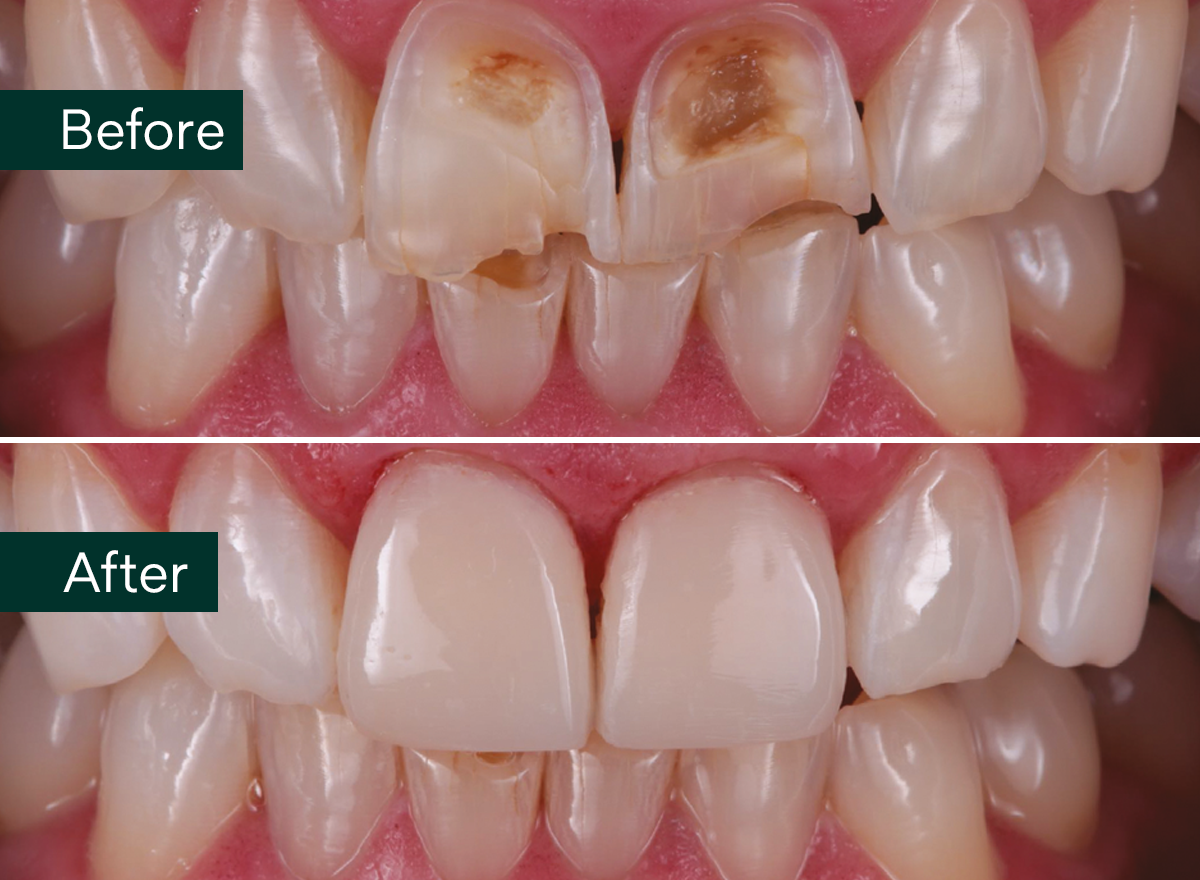
A 50-year-old male patient presented for professional tooth cleaning. He had deep erosive lesions affecting the vestibular aspects of his maxillary central incisors, which he did not consider an issue. Nevertheless, the team informed him about the options to improve the esthetics and protect the remaining tooth structure. The patient agreed to carry out a home-bleaching treatment followed by a direct restorative treatment with composite.
The biggest challenge was to mask the heavy discoloration while restoring the teeth to a natural shape and shade. 3M™ Filtek™ Universal Restorative was selected to accomplish this task. The Pink Opaquer was applied in a thin layer to cover and optically mask the discolorations.
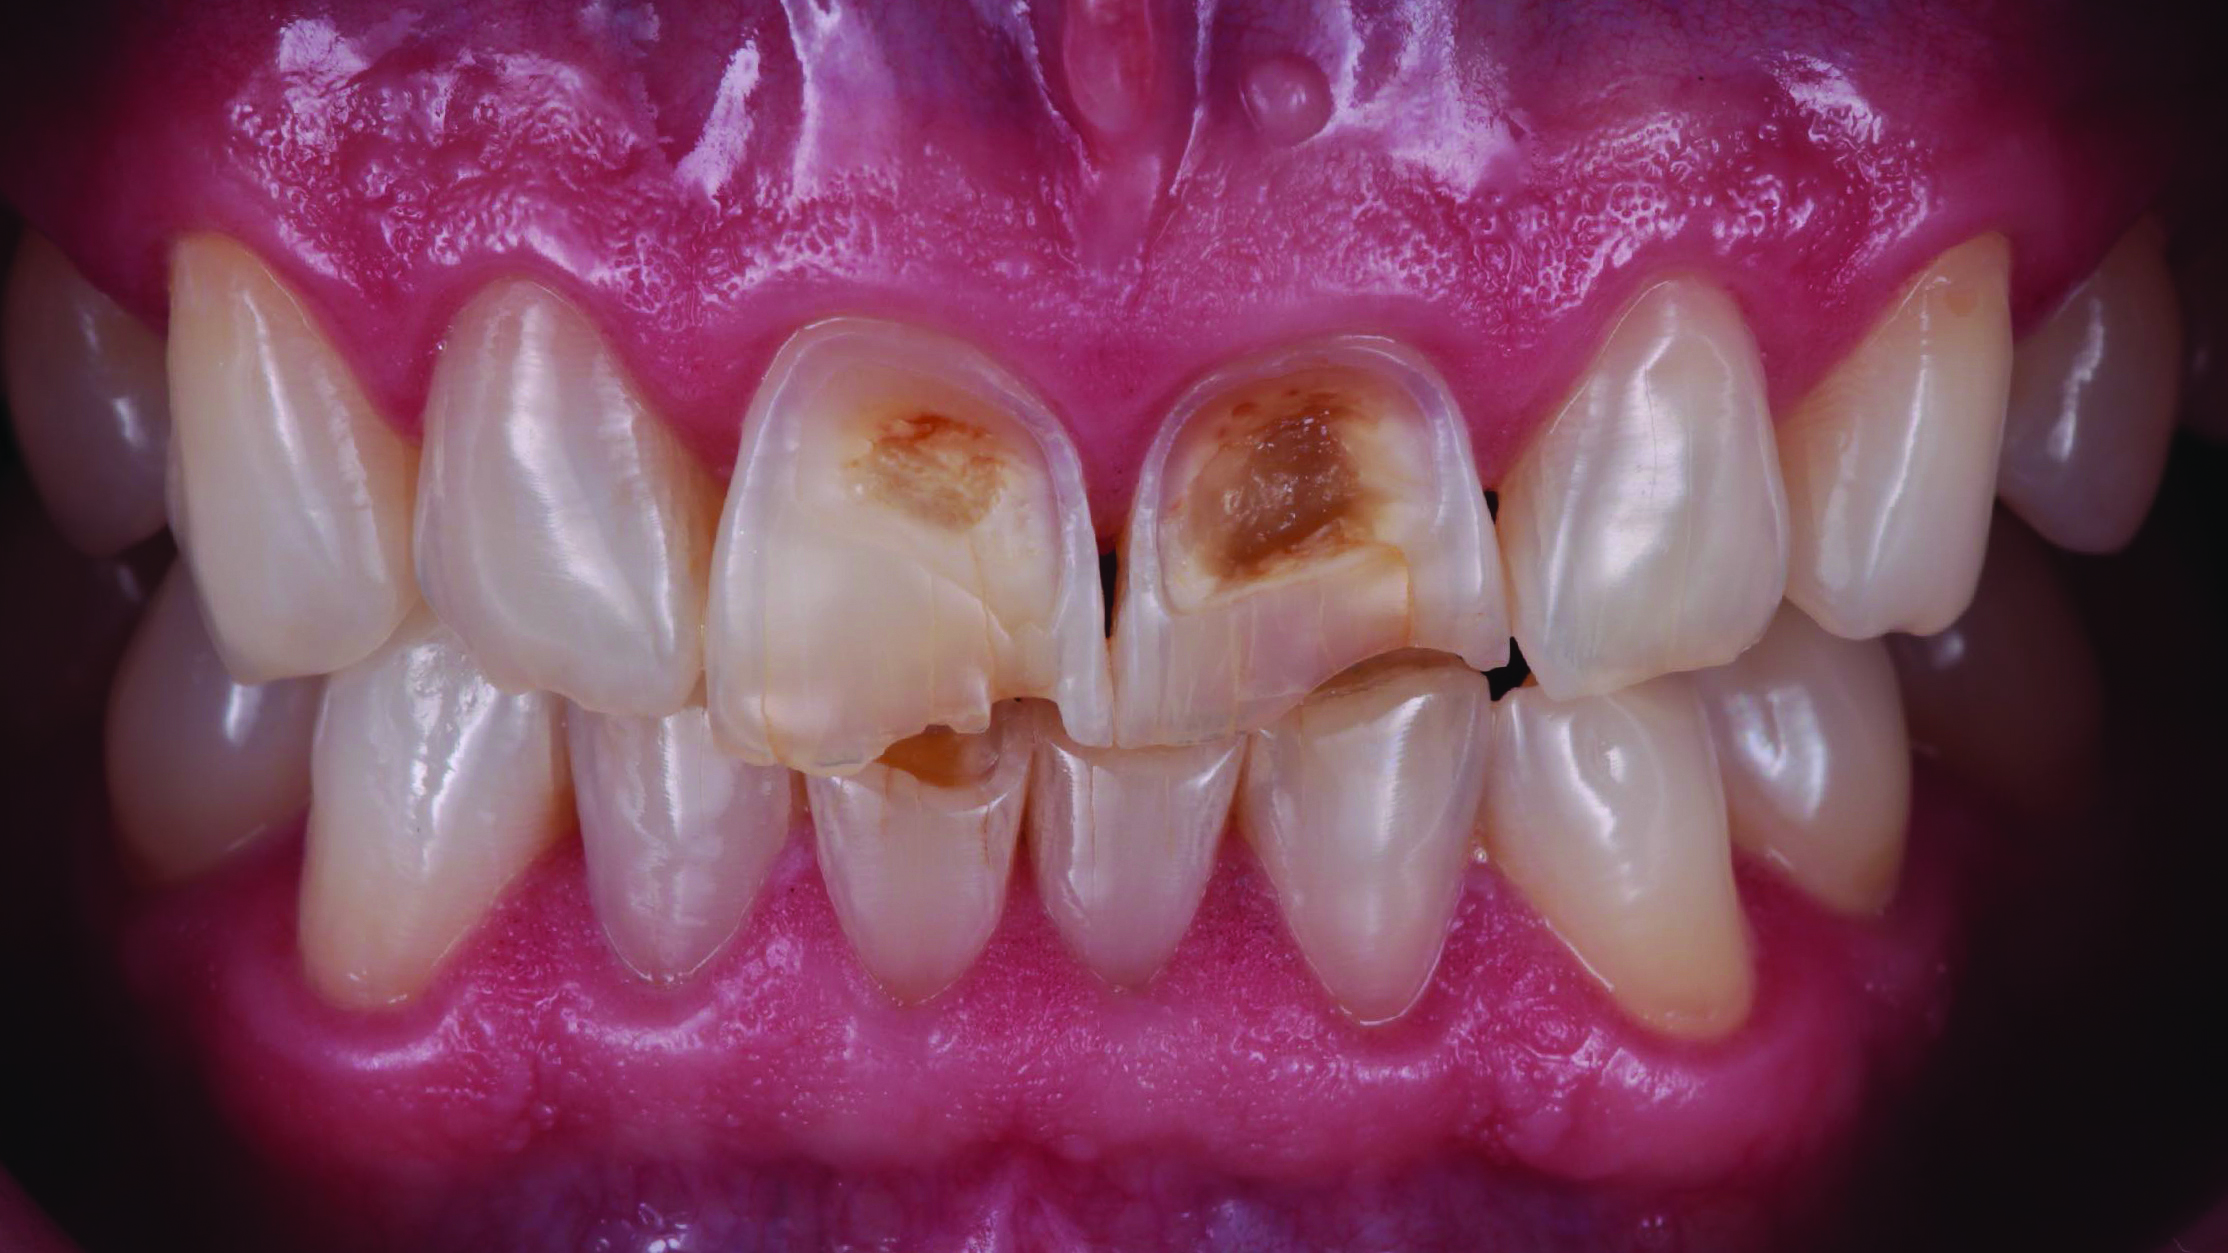
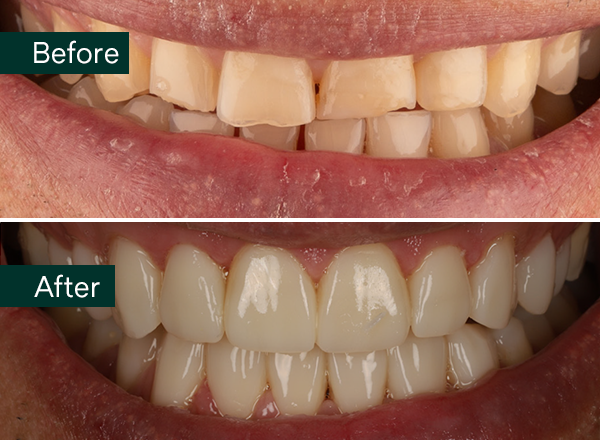
Initial situation: Preoperative frontal view of the patient’s teeth, showing severe erosive tooth wear on the vestibular surfaces and incisal edges.
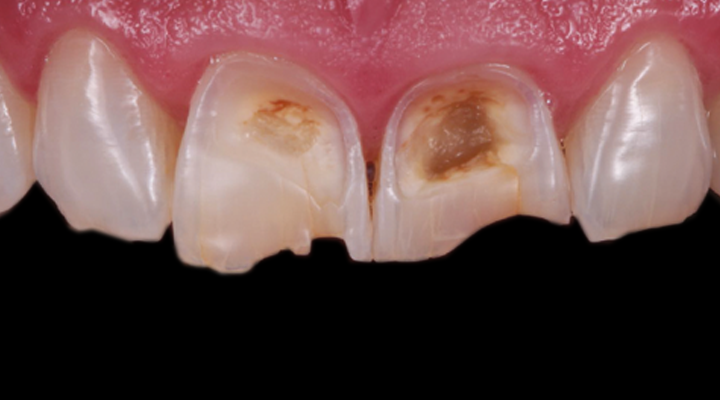
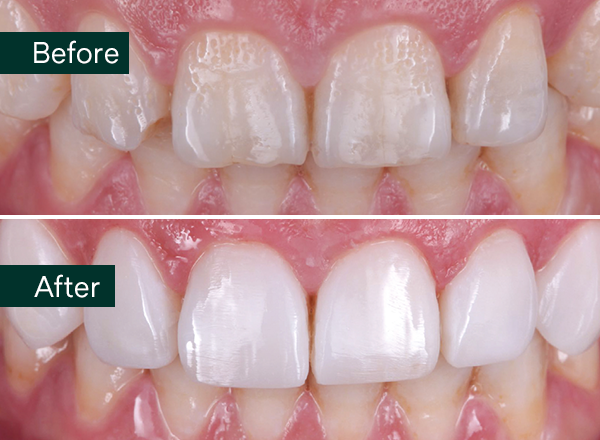
Detailed view of the maxillary incisors. The teeth didn’t show any highly translucent areas, so the shade use of a single /opacity of 3M™ Filtek™ Universal estorative was selected.
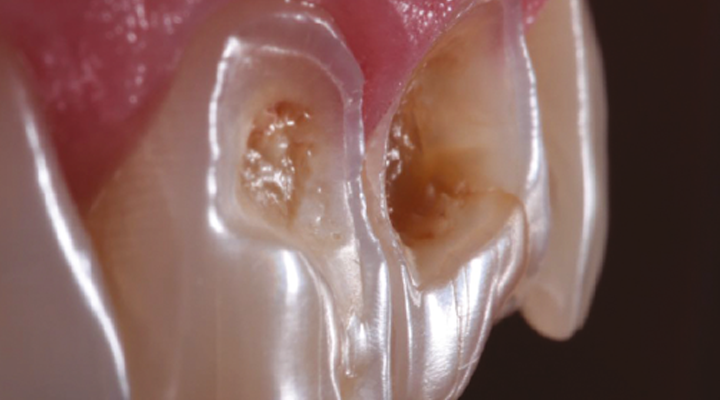
Lateral view of the anterior teeth revealed the depth of the lesions on the vestibular surfaces.
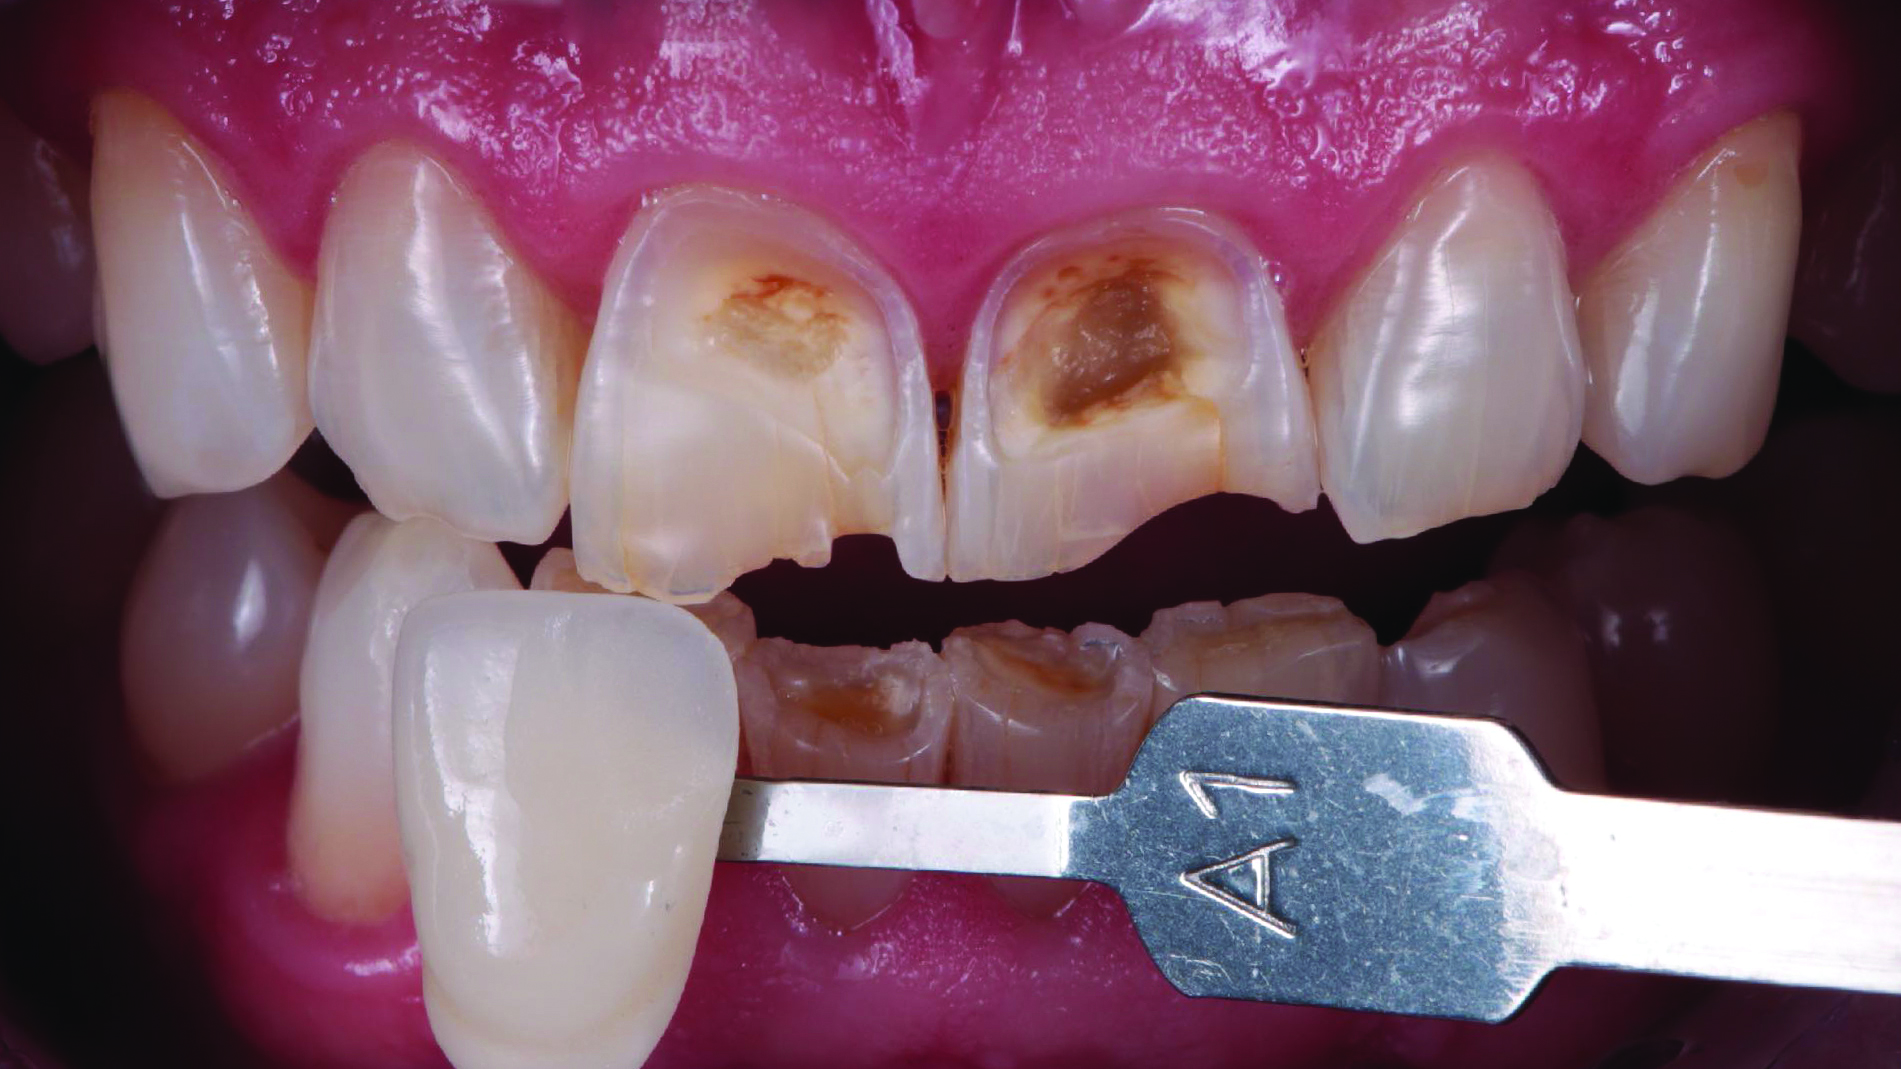
Tooth shade was determined with the aid of the VITA classical A1-D4® shade guide. The shade A1 matched the sound tooth structure. This Universal Restorative’s A1 shade. corresponded with 3M™ Filtek™ Universal Restorative’s A1 shade.
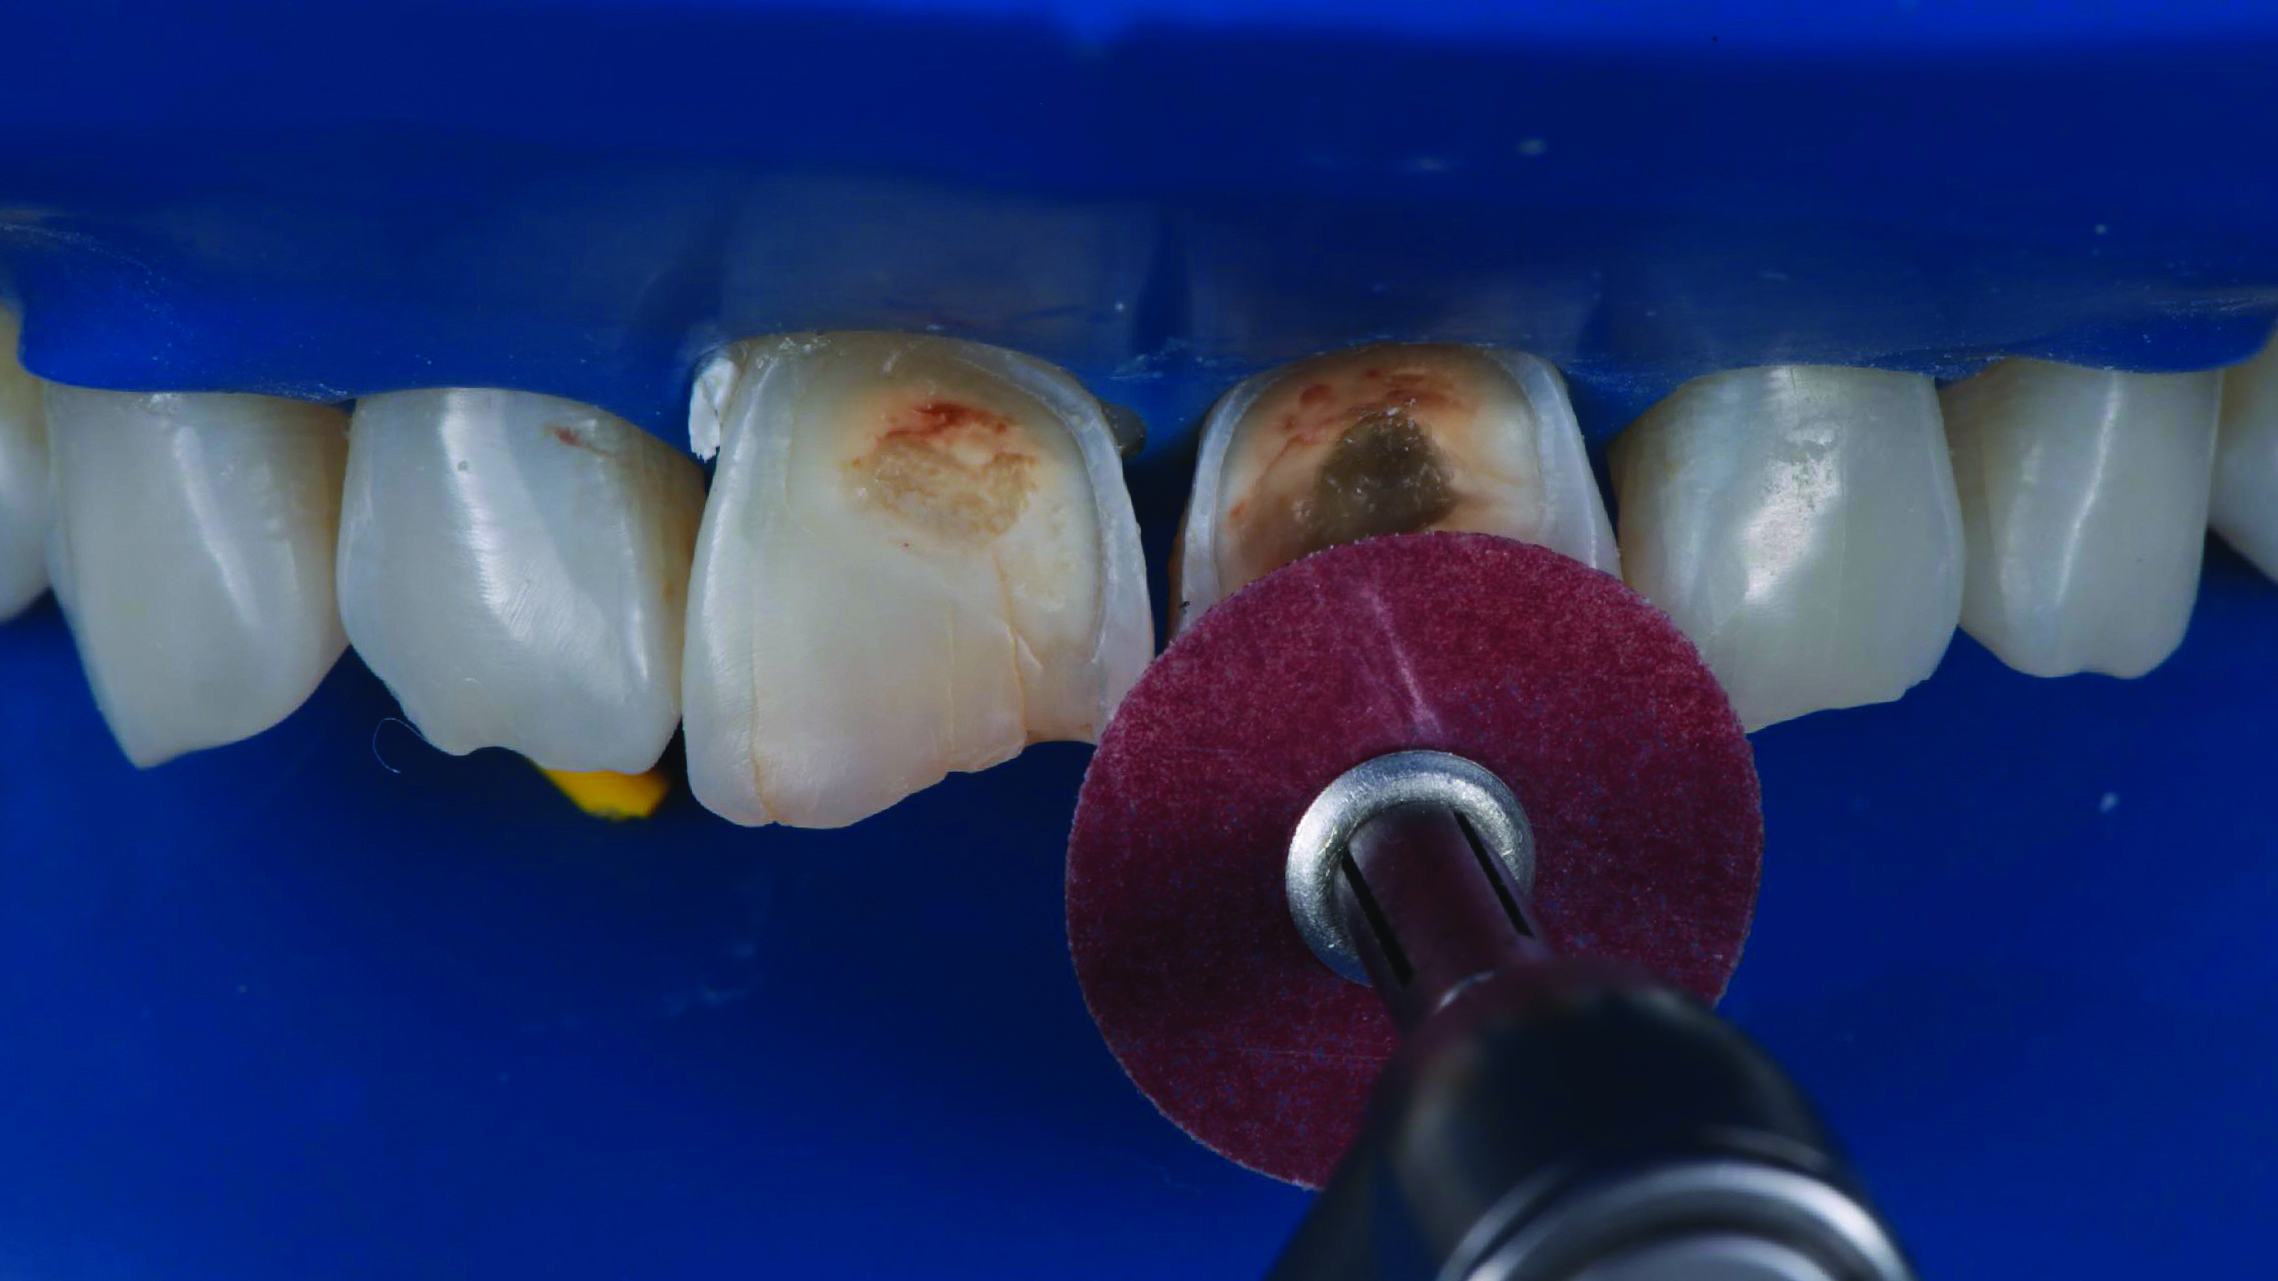
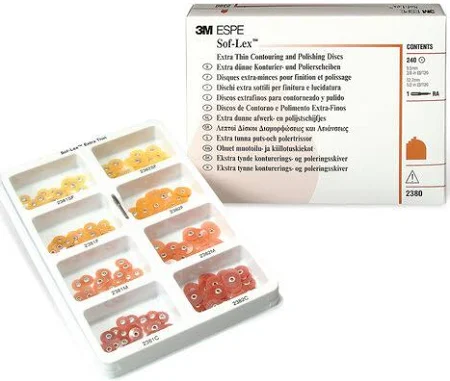
The tooth was prepared under rubber dam using 3M™ Sof-Lex™ Extra Thin Finishing and Polishing Disc (course). Bevels were created, edges were rounded and the surface was roughened.
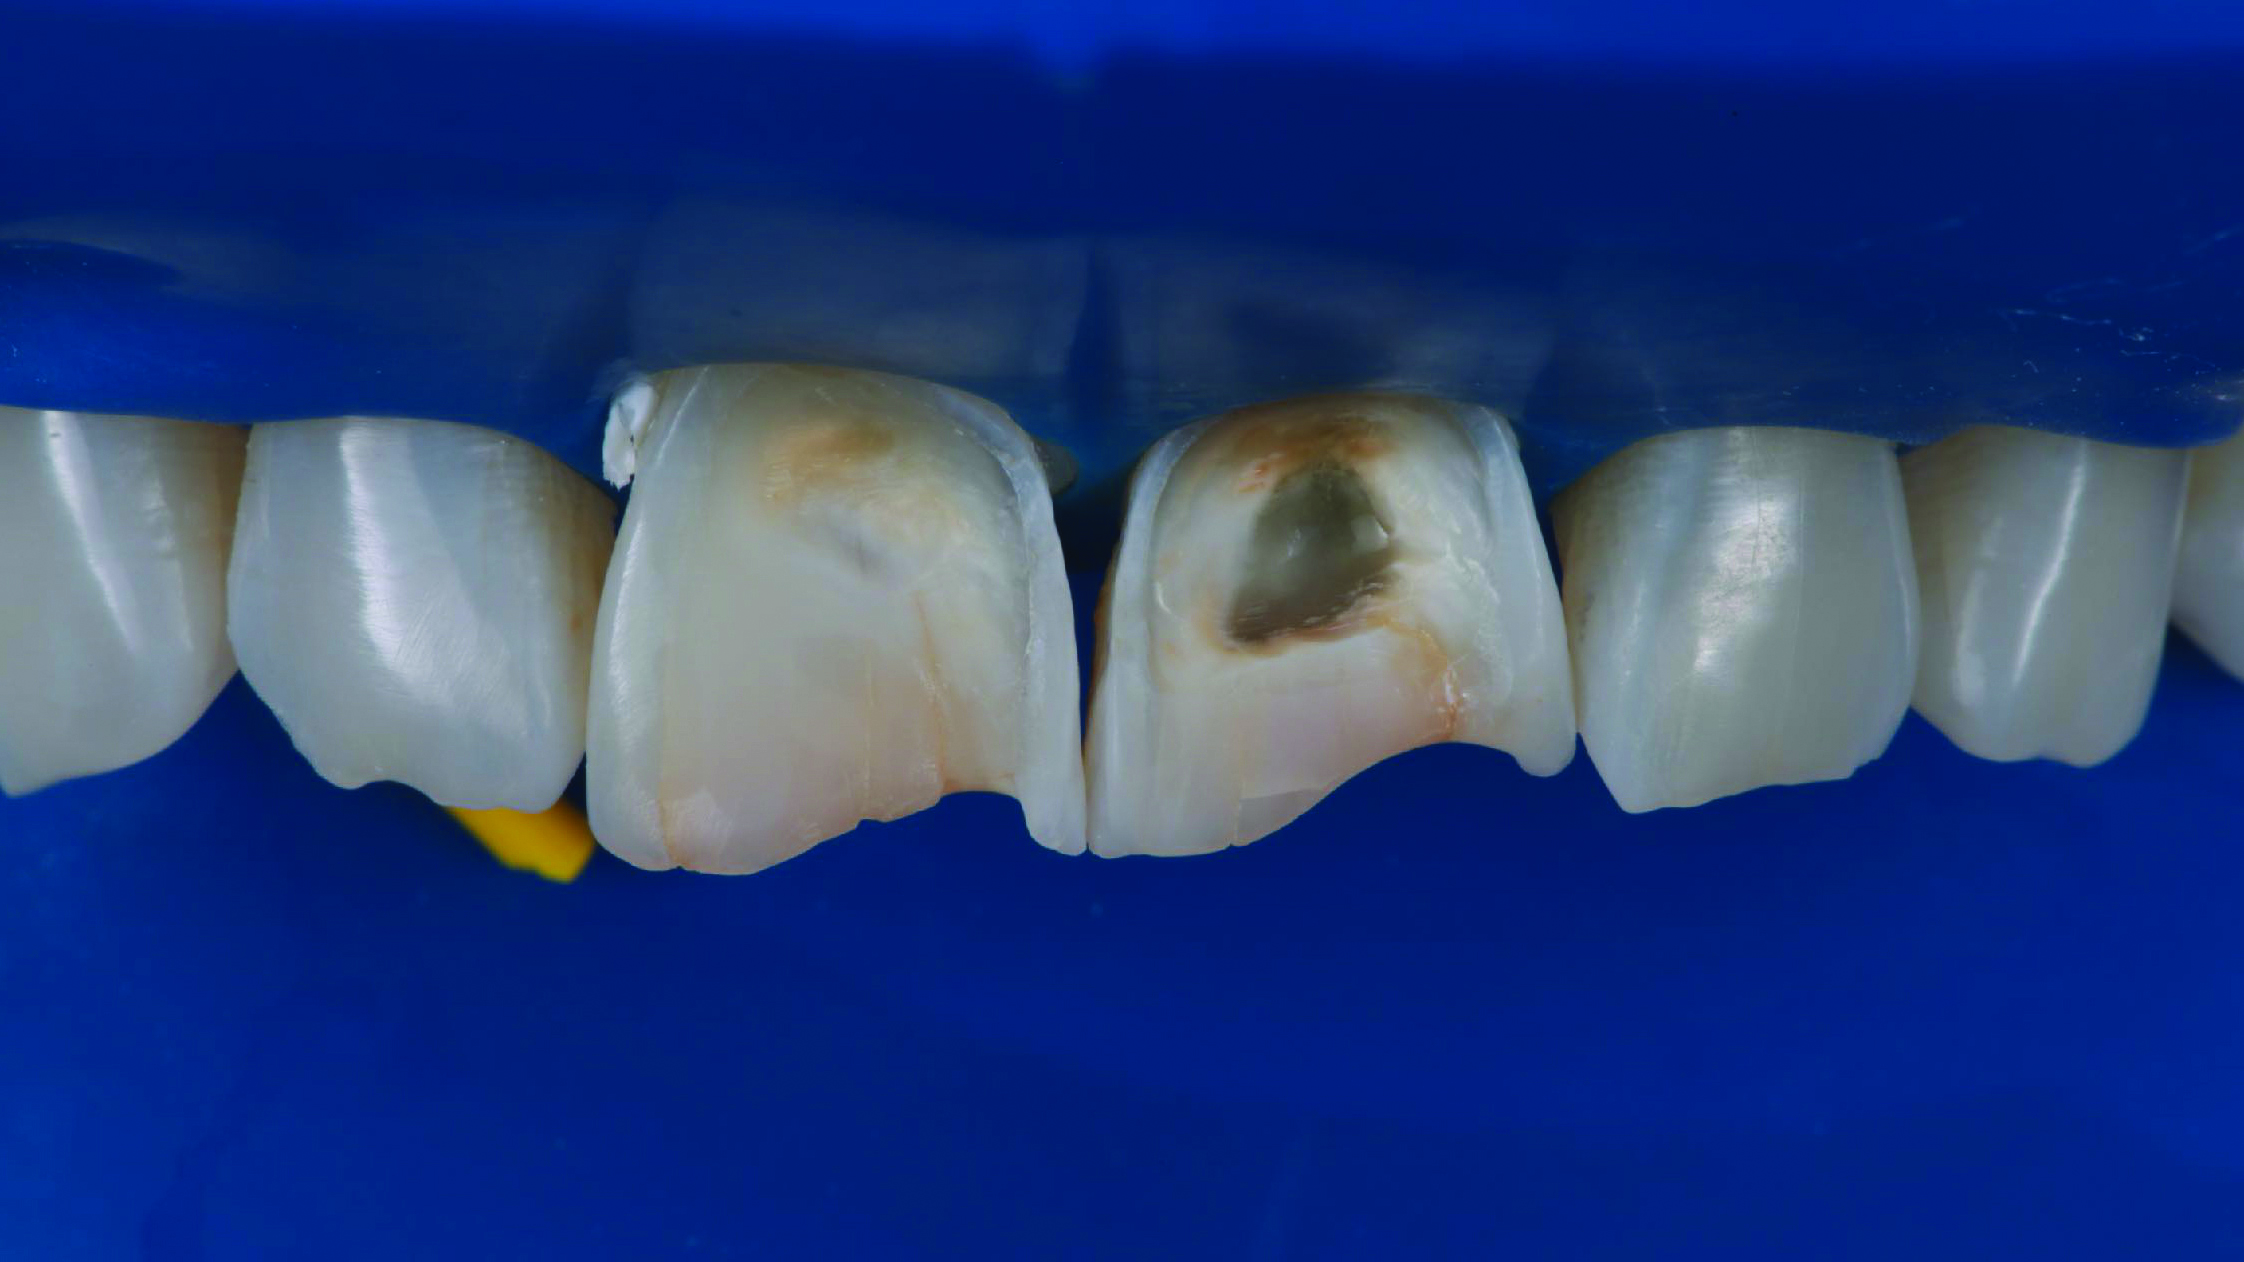
The preparation procedure resulted in a round form and a micro-retentive surface structure.
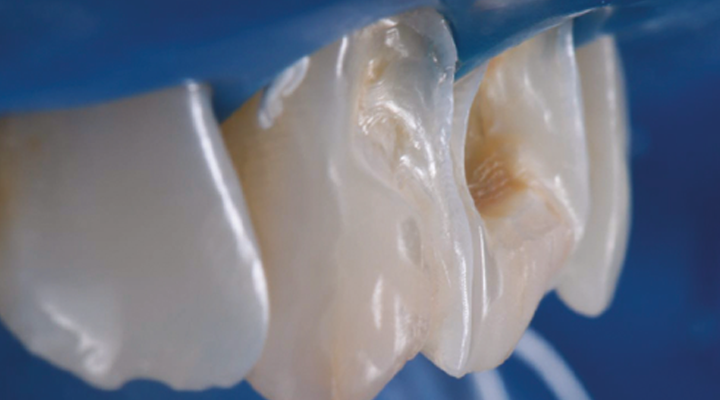
Lateral view of the prepared teeth.
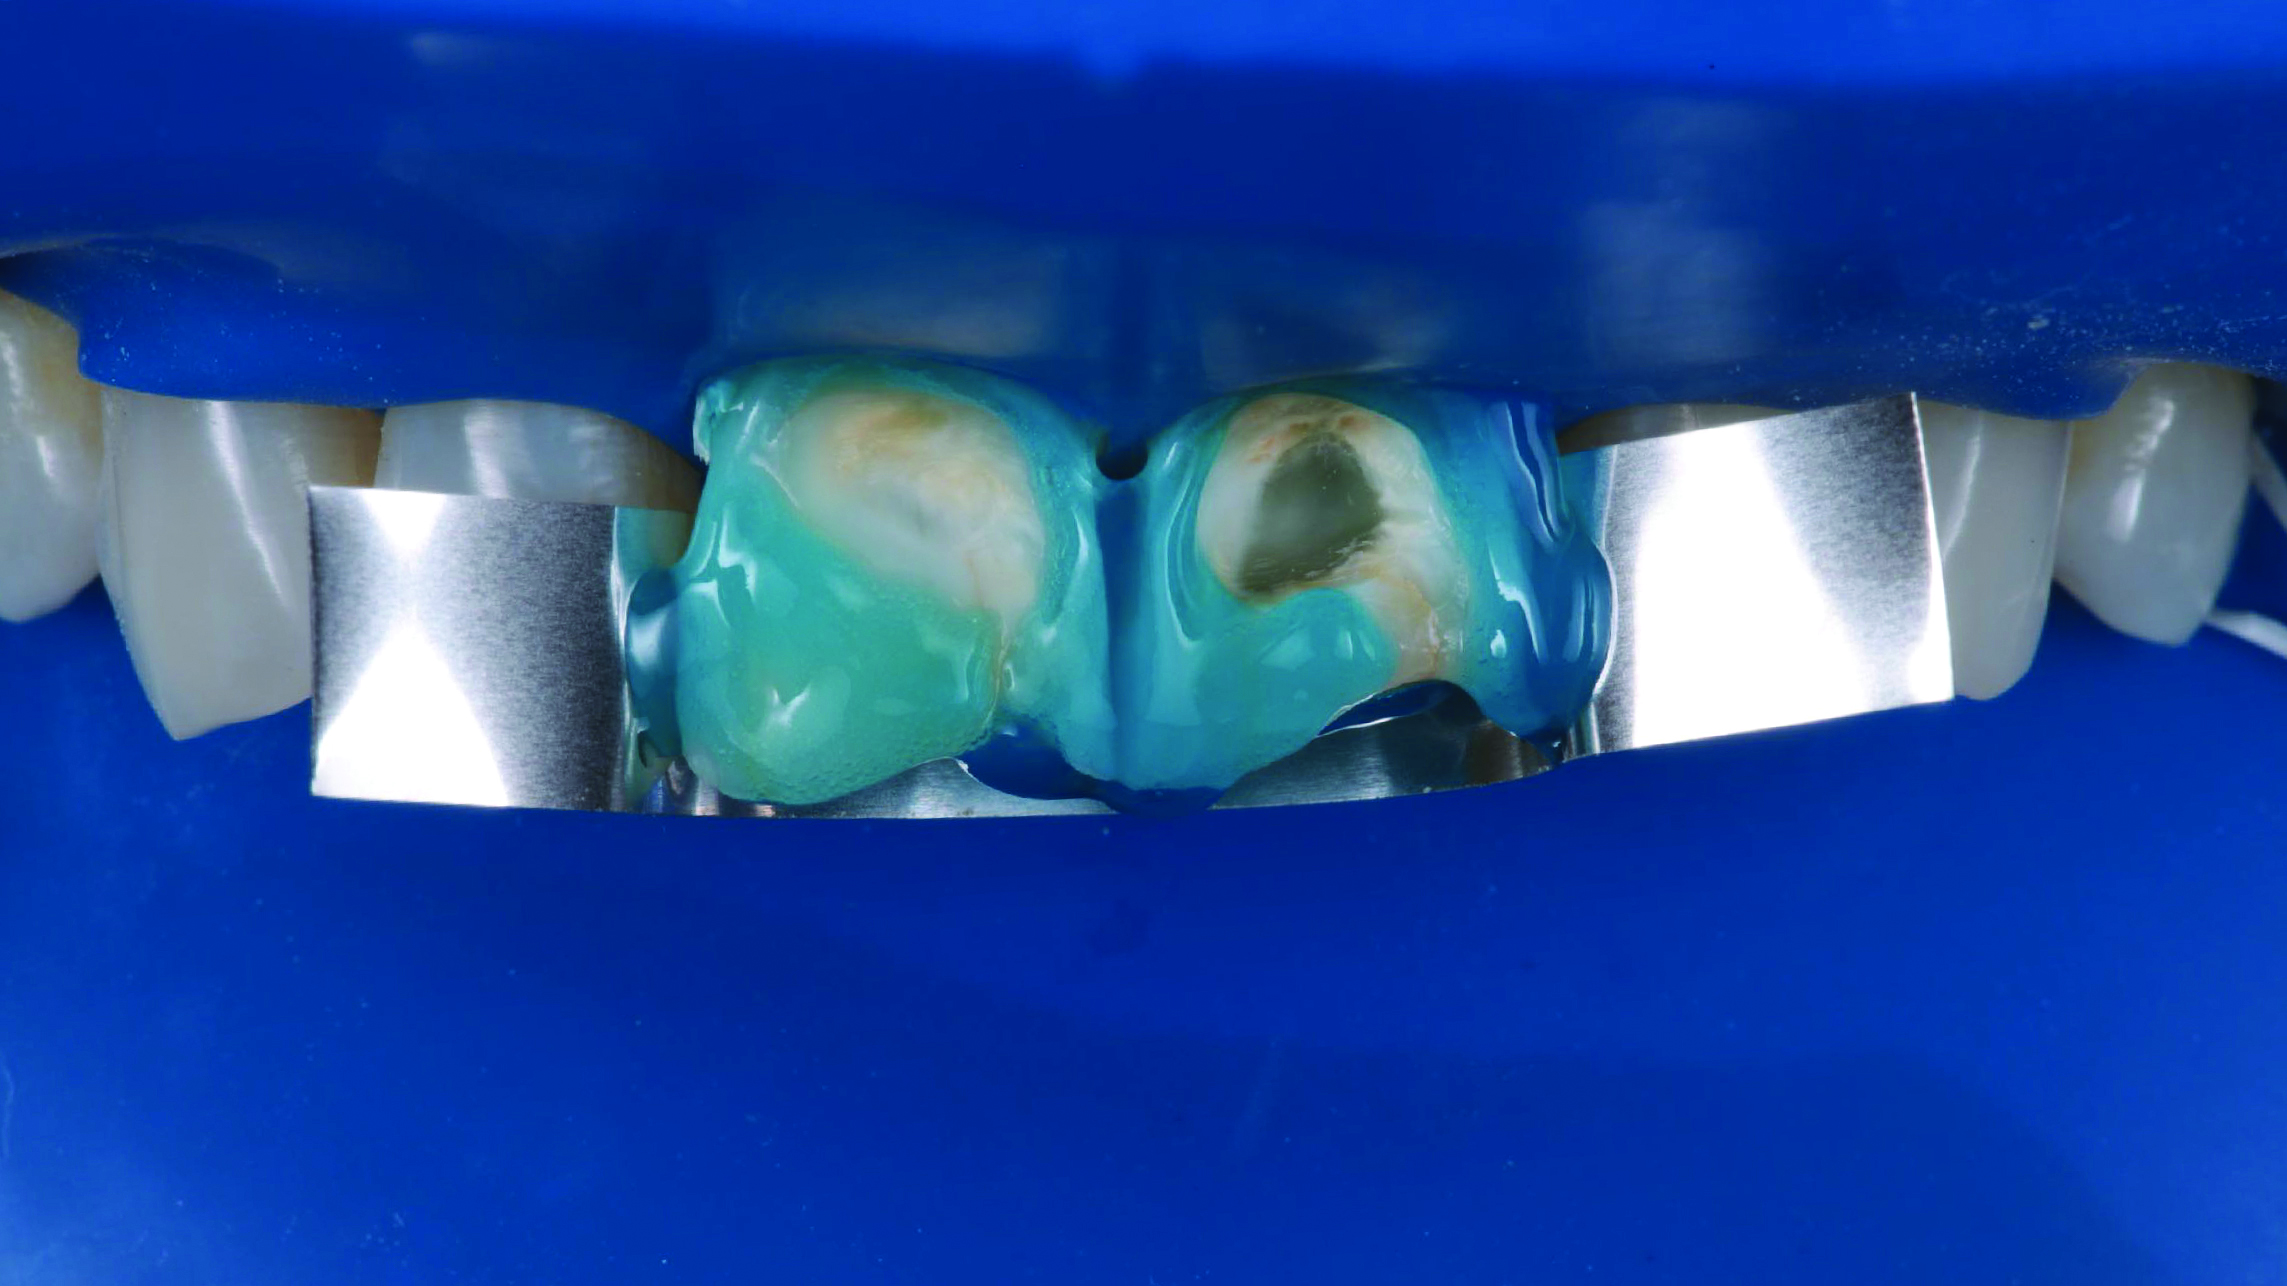
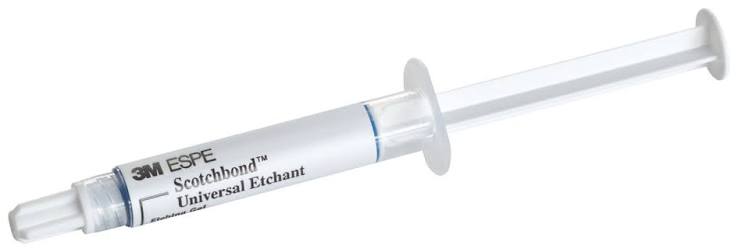
Enamel was etched with 3M™ Scotchbond™ Universal Etchant for 15 seconds. A metal matrix strip was used to protect the adjacent teeth.
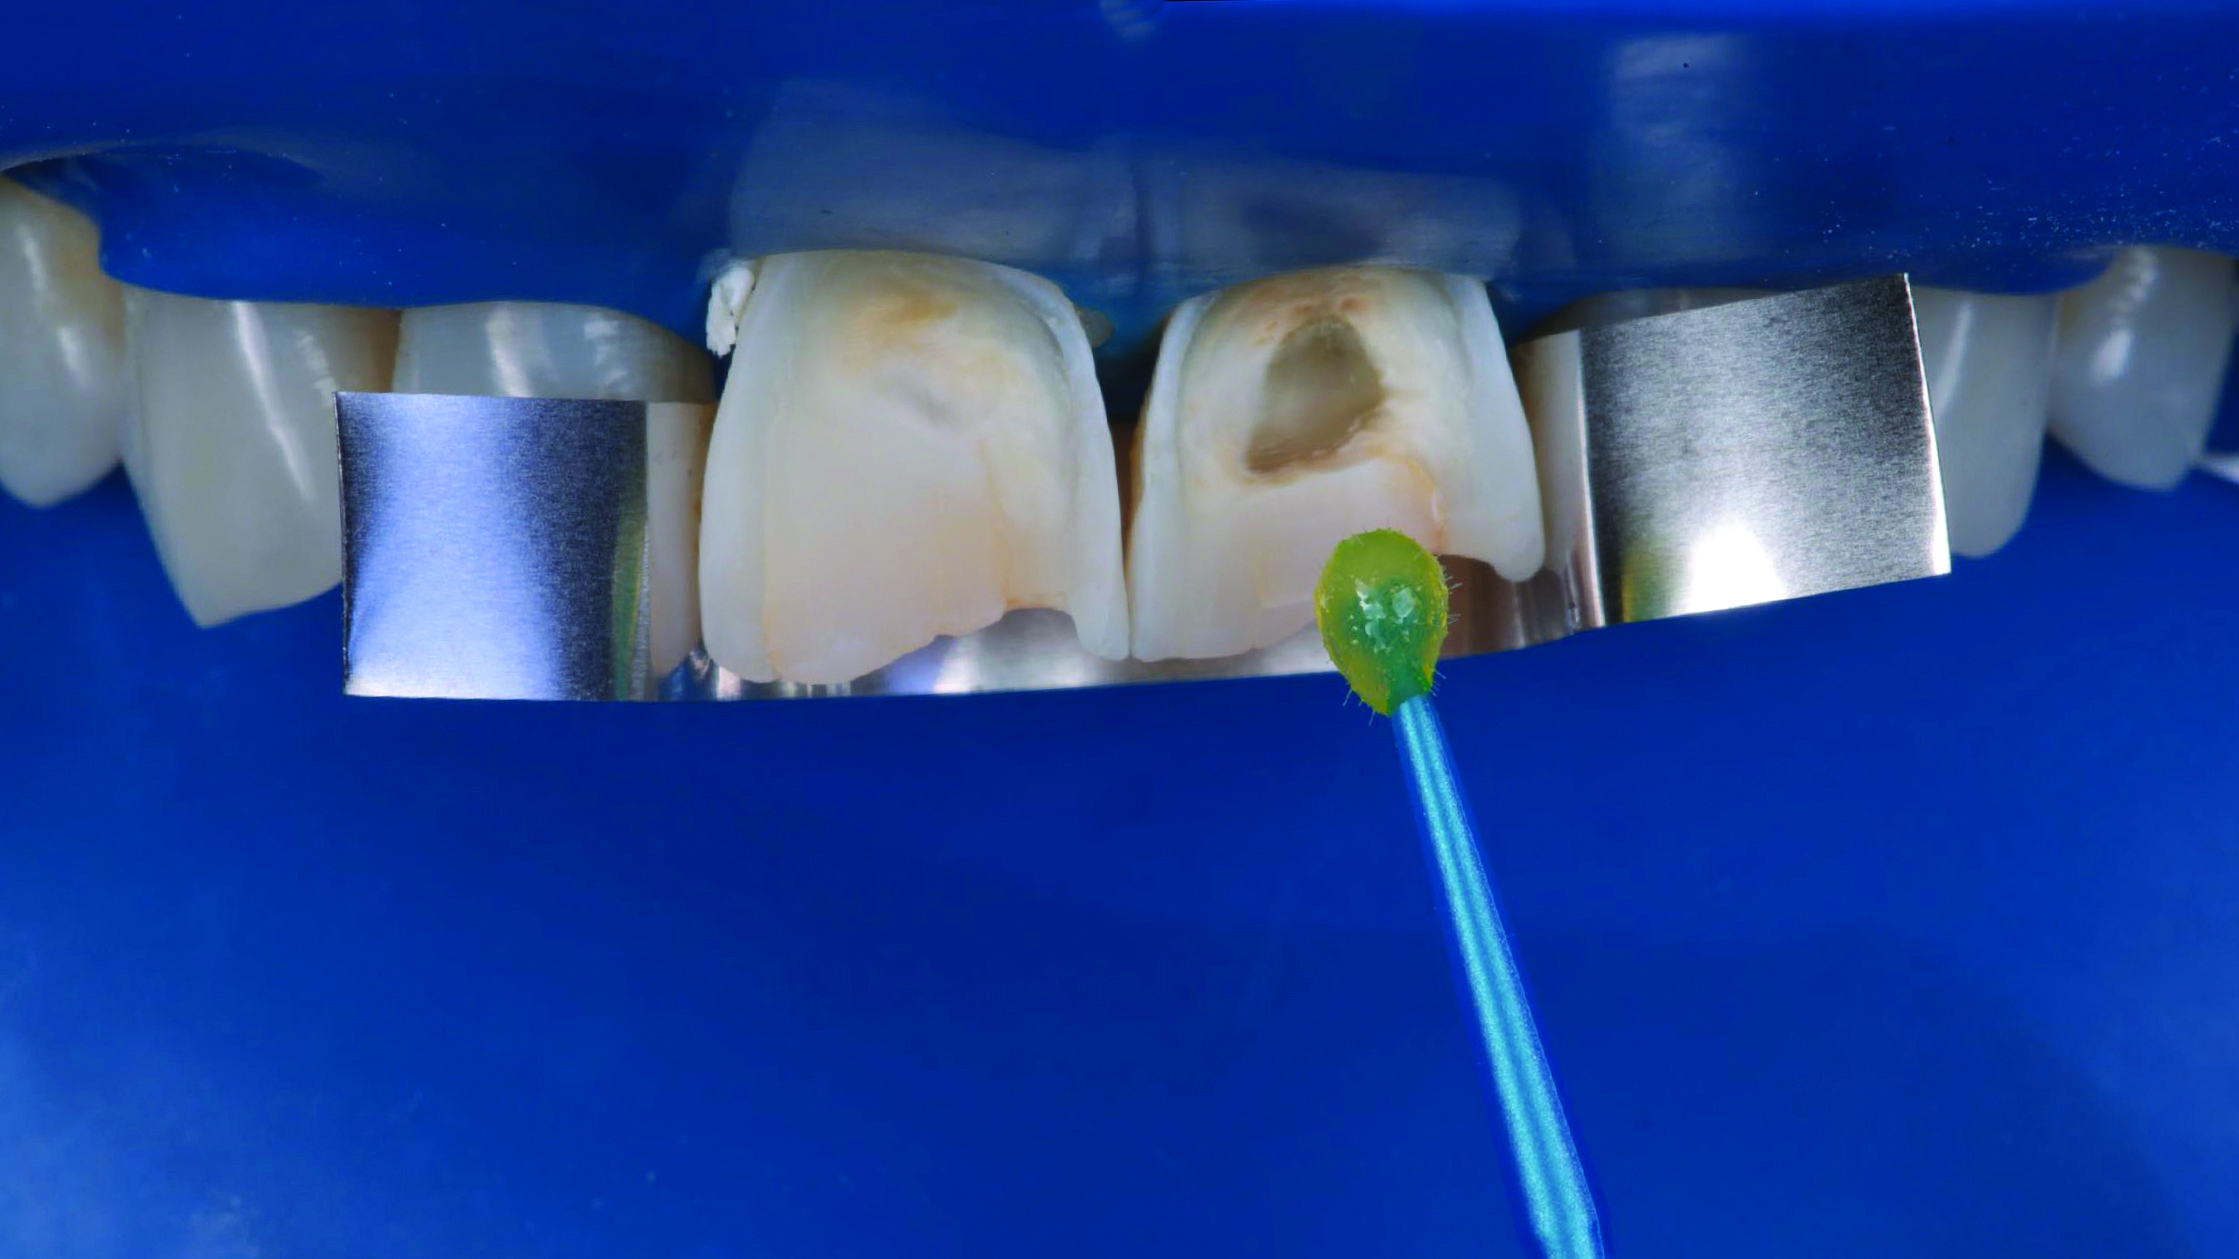
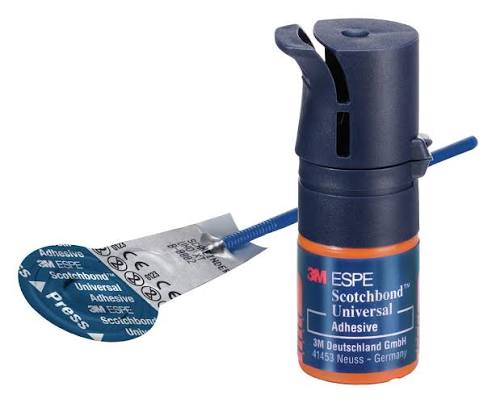
3M™ Scotchbond™ Universal Adhesive was applied to the rinsed and dried tooth structure. The adhesive was rubbed for 20 seconds, treated with a gentle stream of air for solvent evaporation, and light cured for 10 seconds.
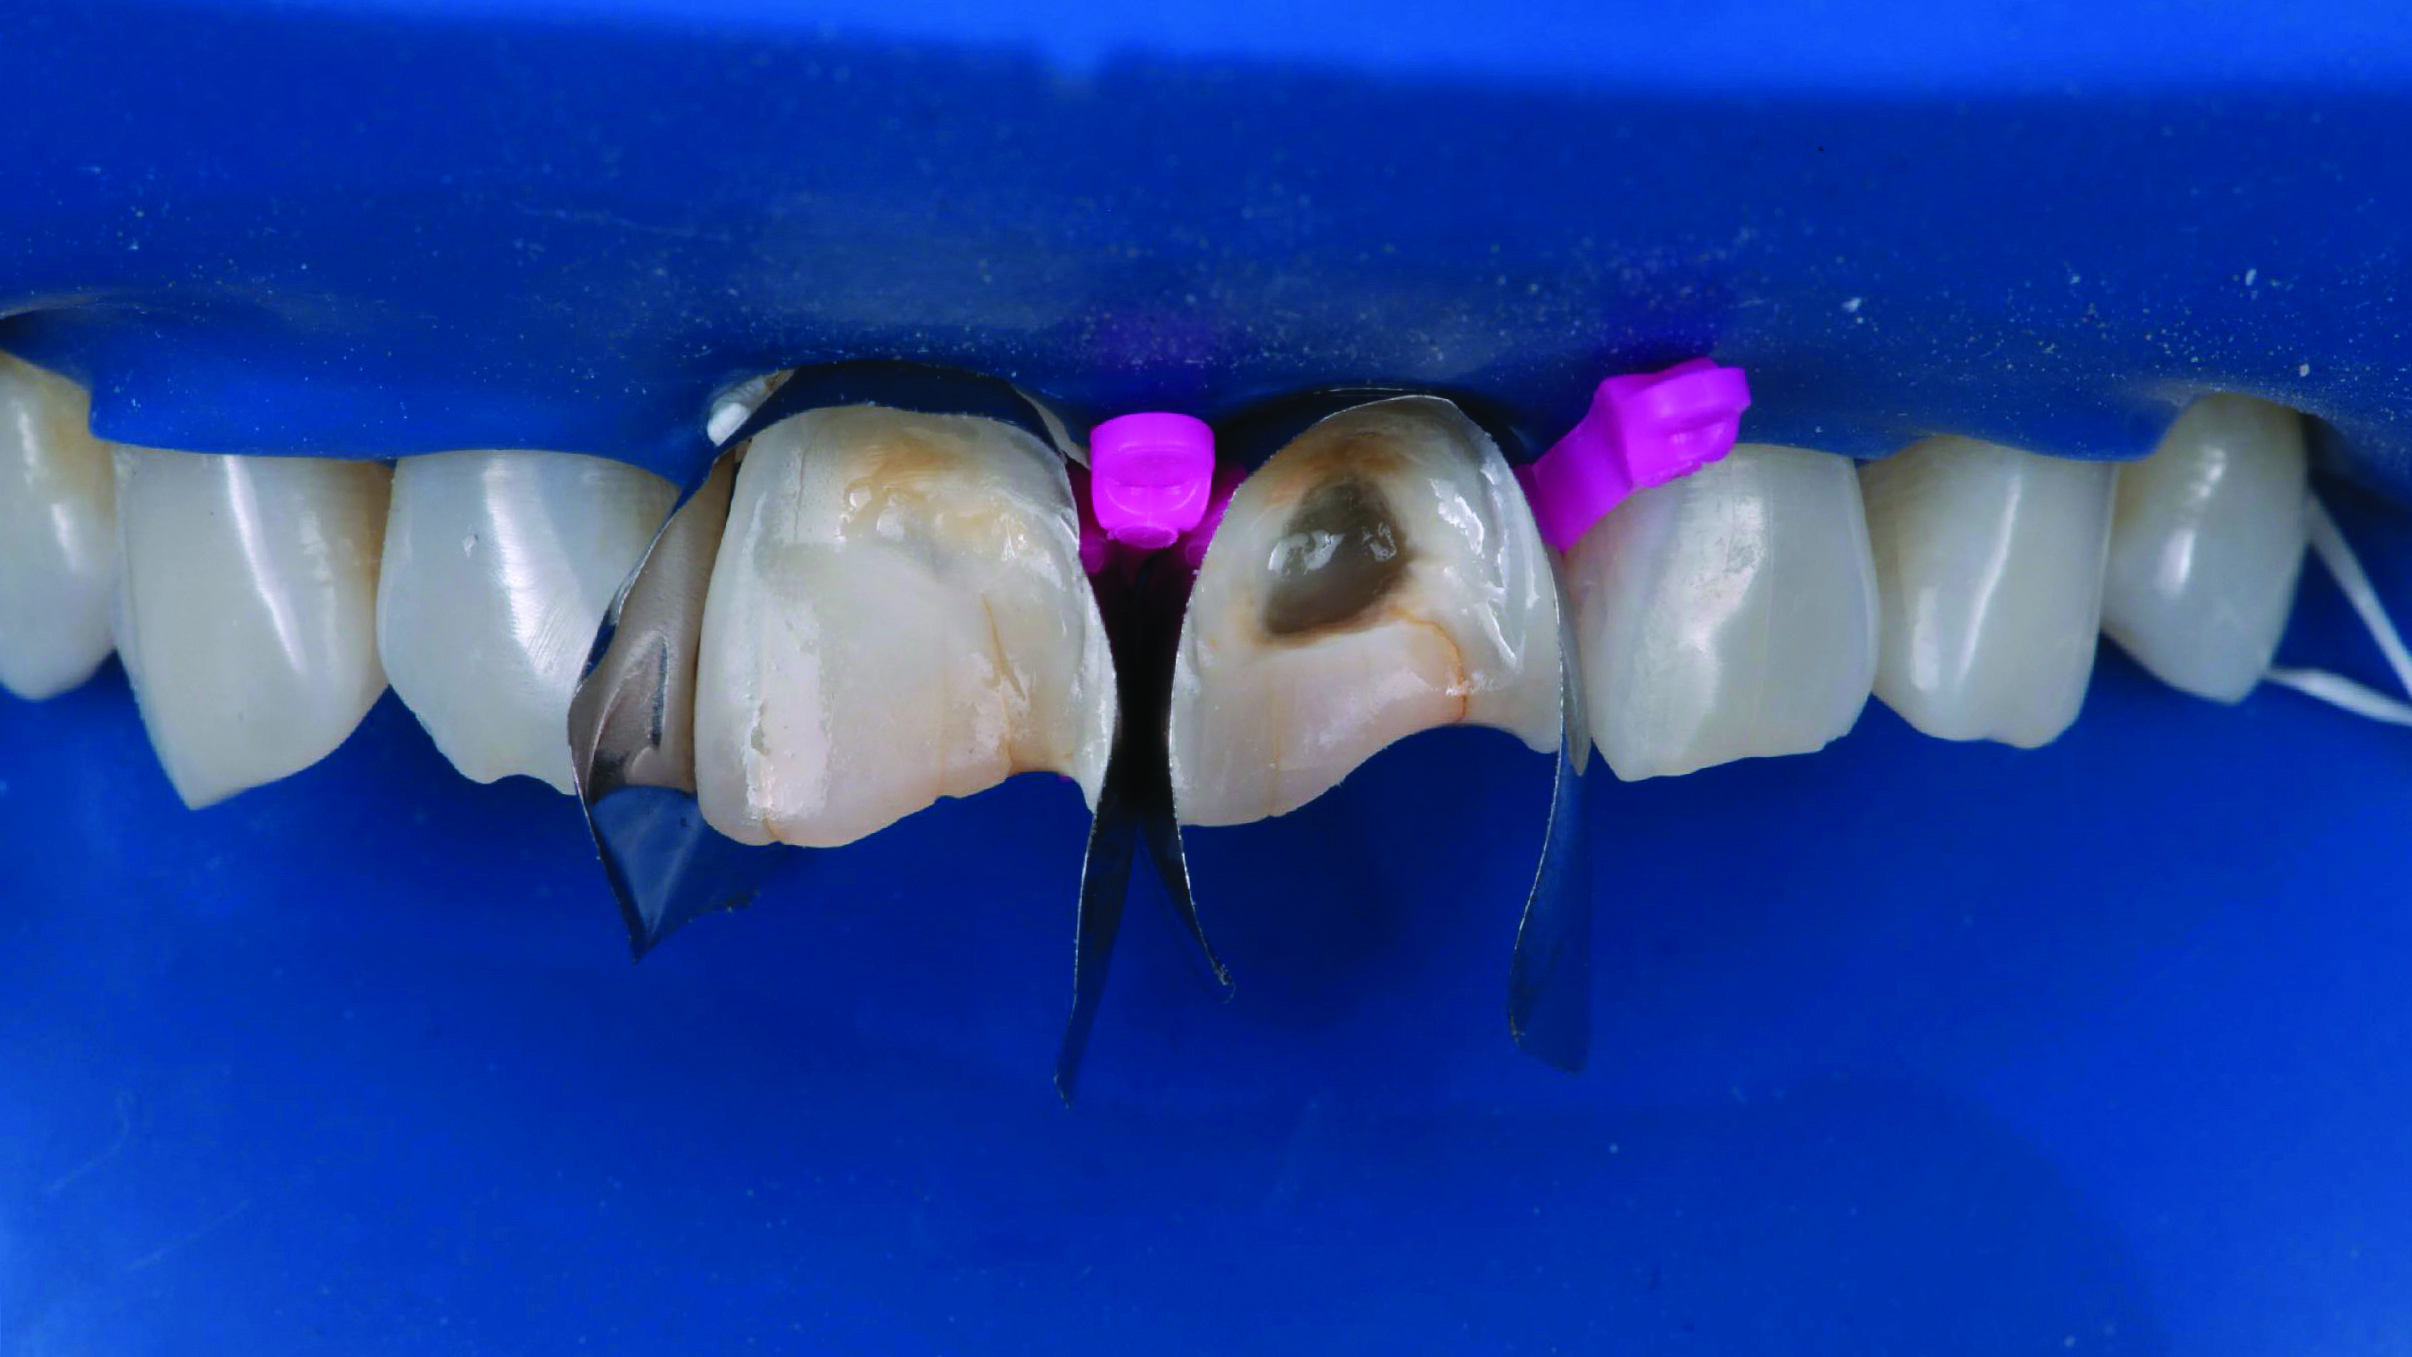
Two anterior matrices were placed to help create a natural anterior tooth shape and facilate restoration of the interproximal and cervical margins.
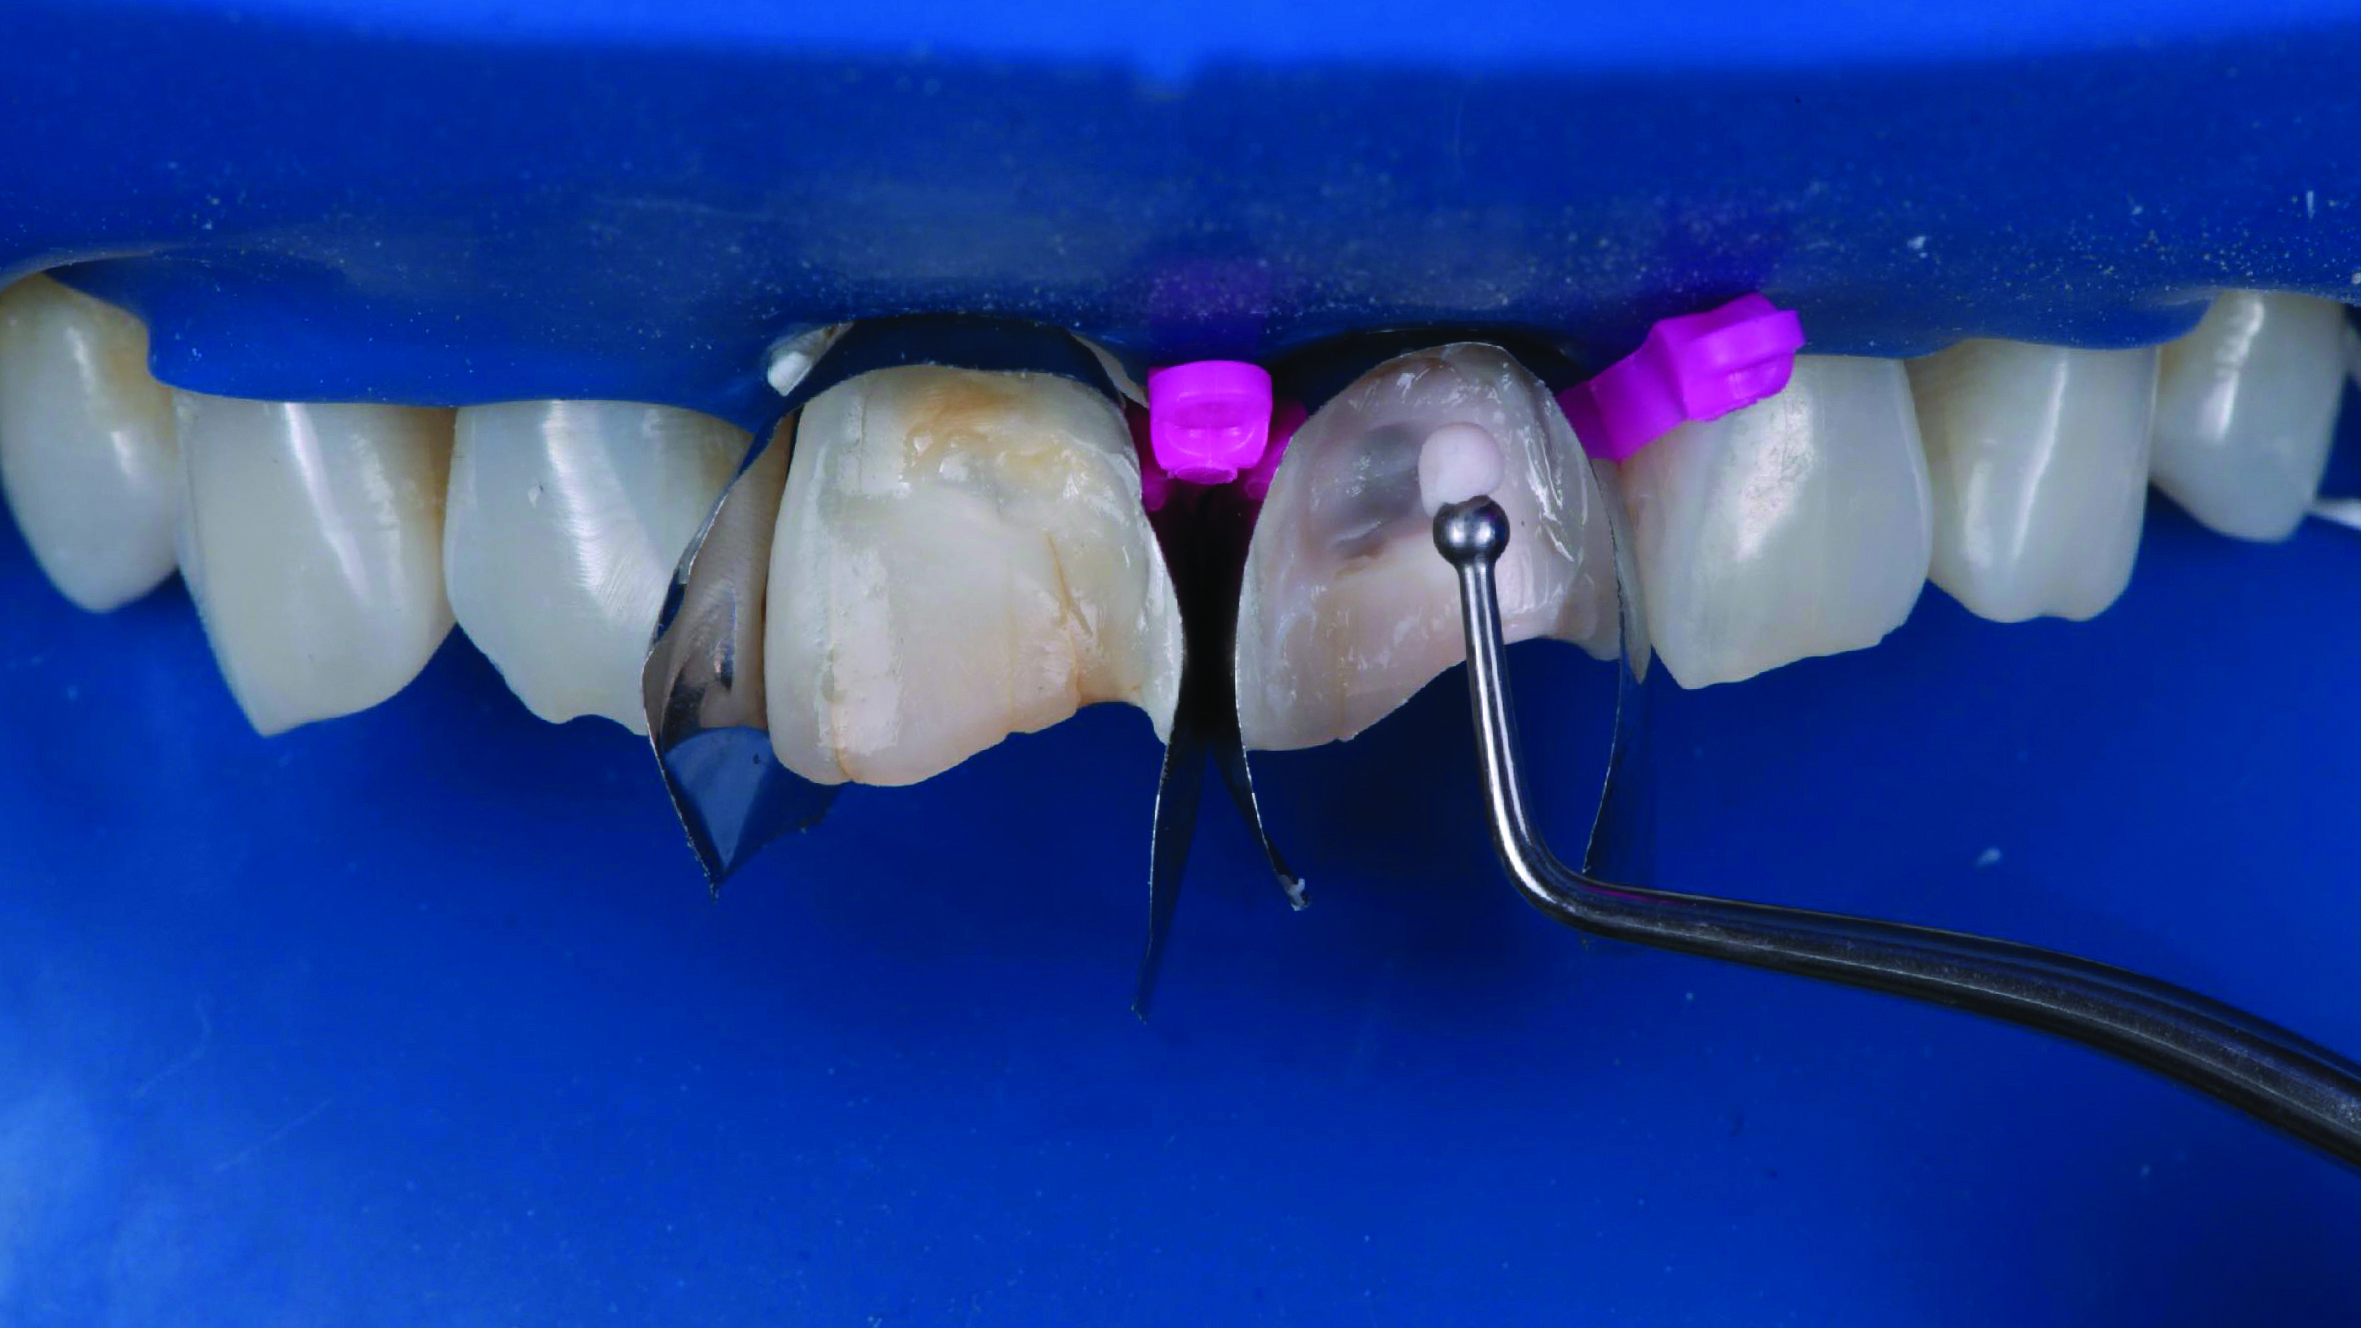
A 1 mm layer of the Pink Opaquer (PO) was placed onto the discolored sclerotic dentin to mask dark areas and light cured for 20 seconds. The material offered a similar creamy handling as the body shades of 3M™ Filtek™ Universal Restorative.
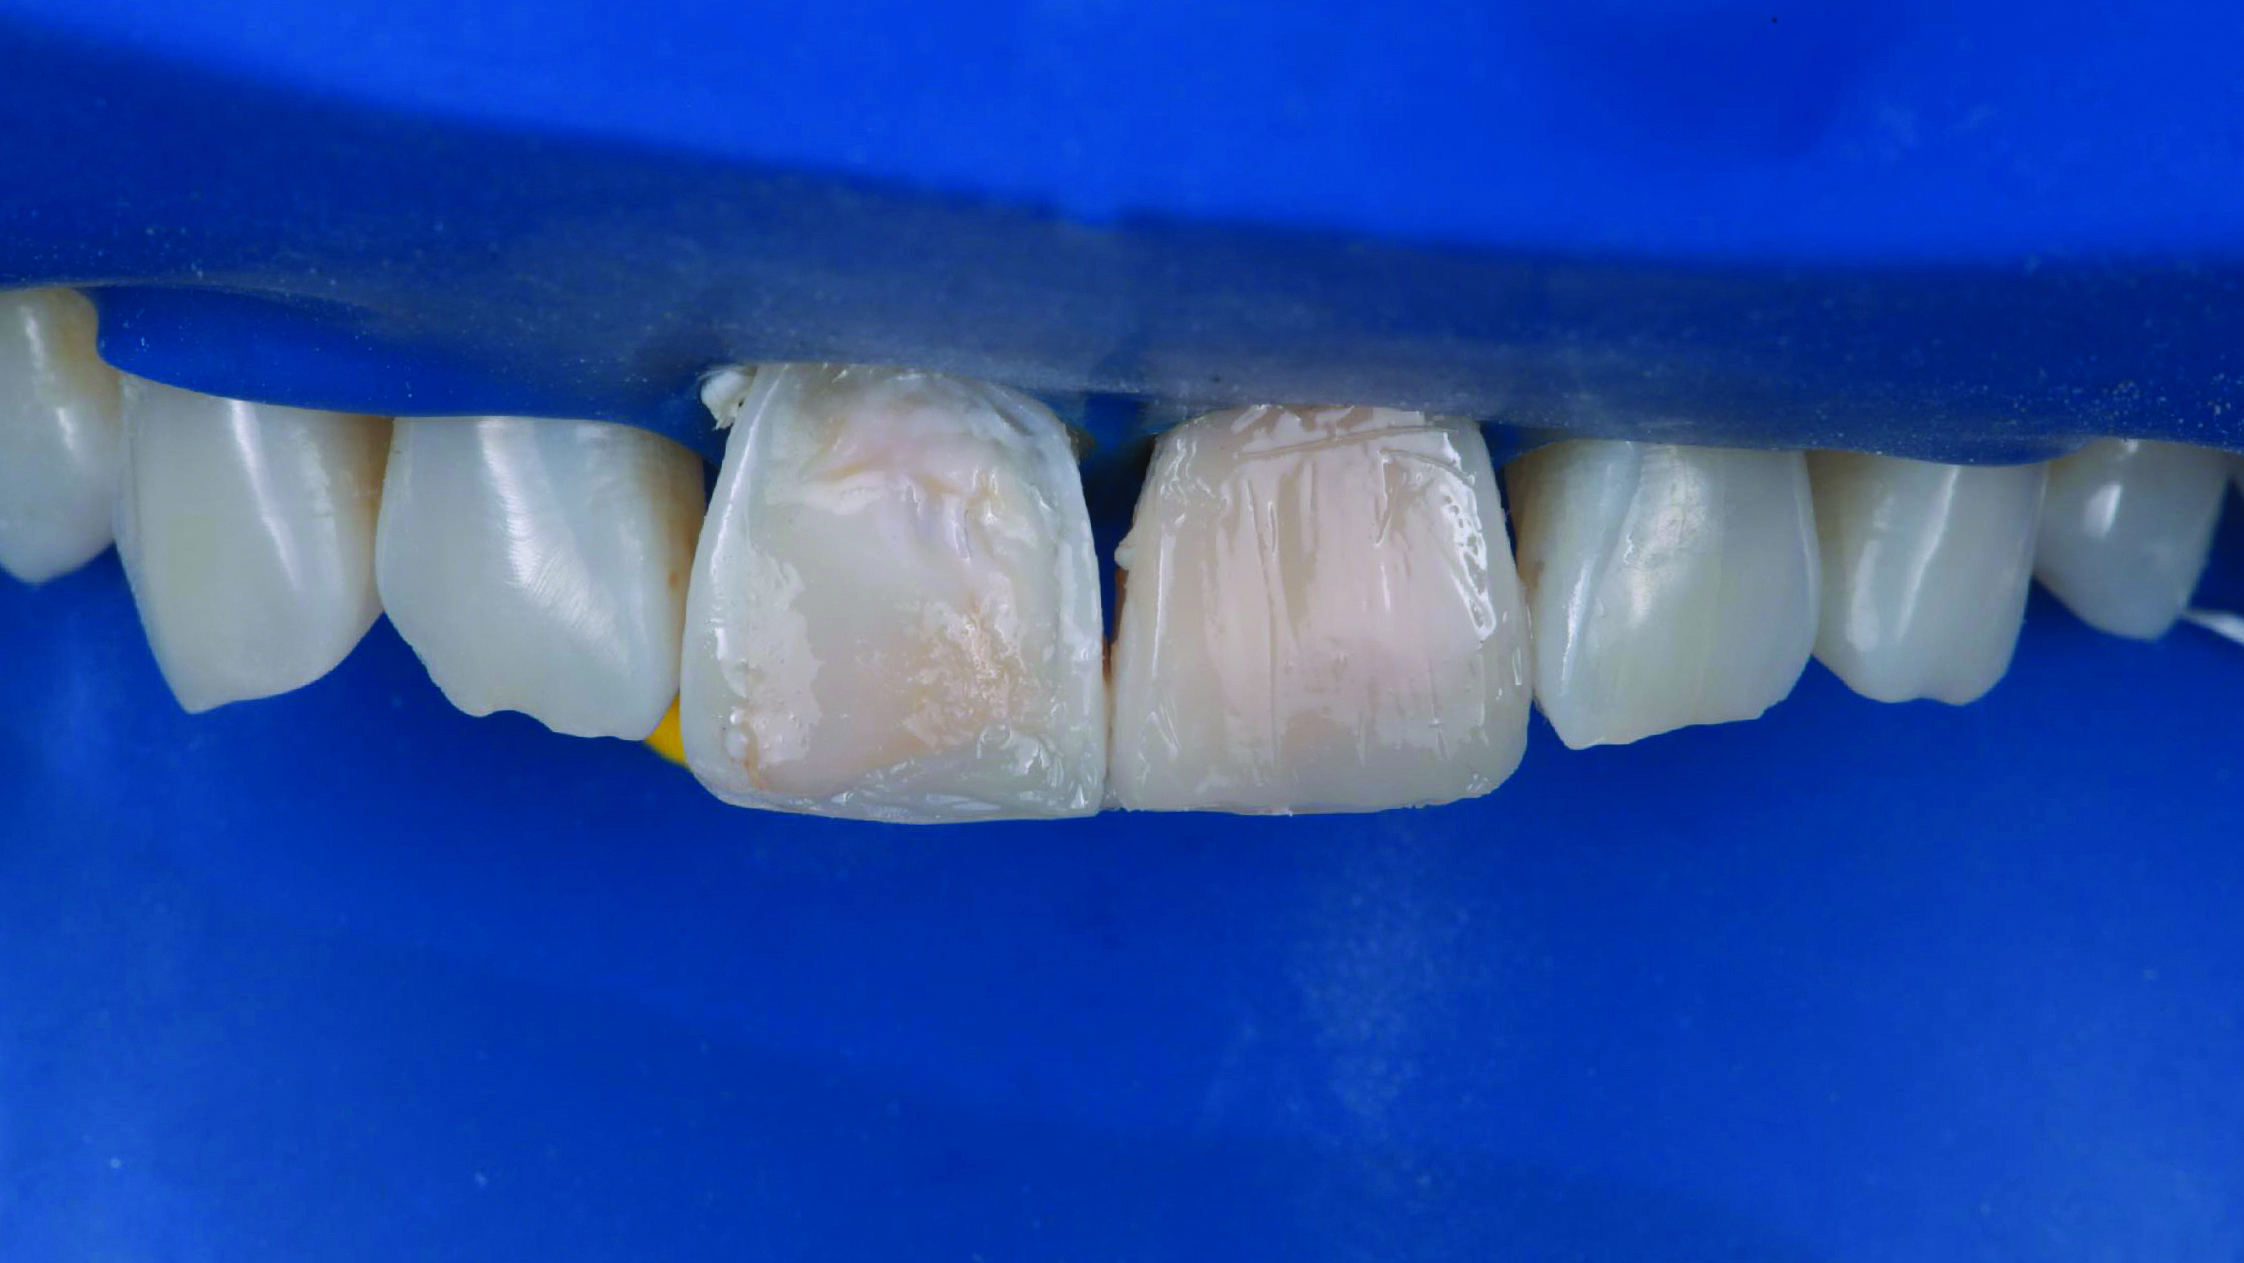
Appearance of the teeth after the first application of 3M™ Filtek™ Universal Restorative A1 shade. No additional body shades were needed (to mask sclerotic dentin) when using the Pink Opaquer.
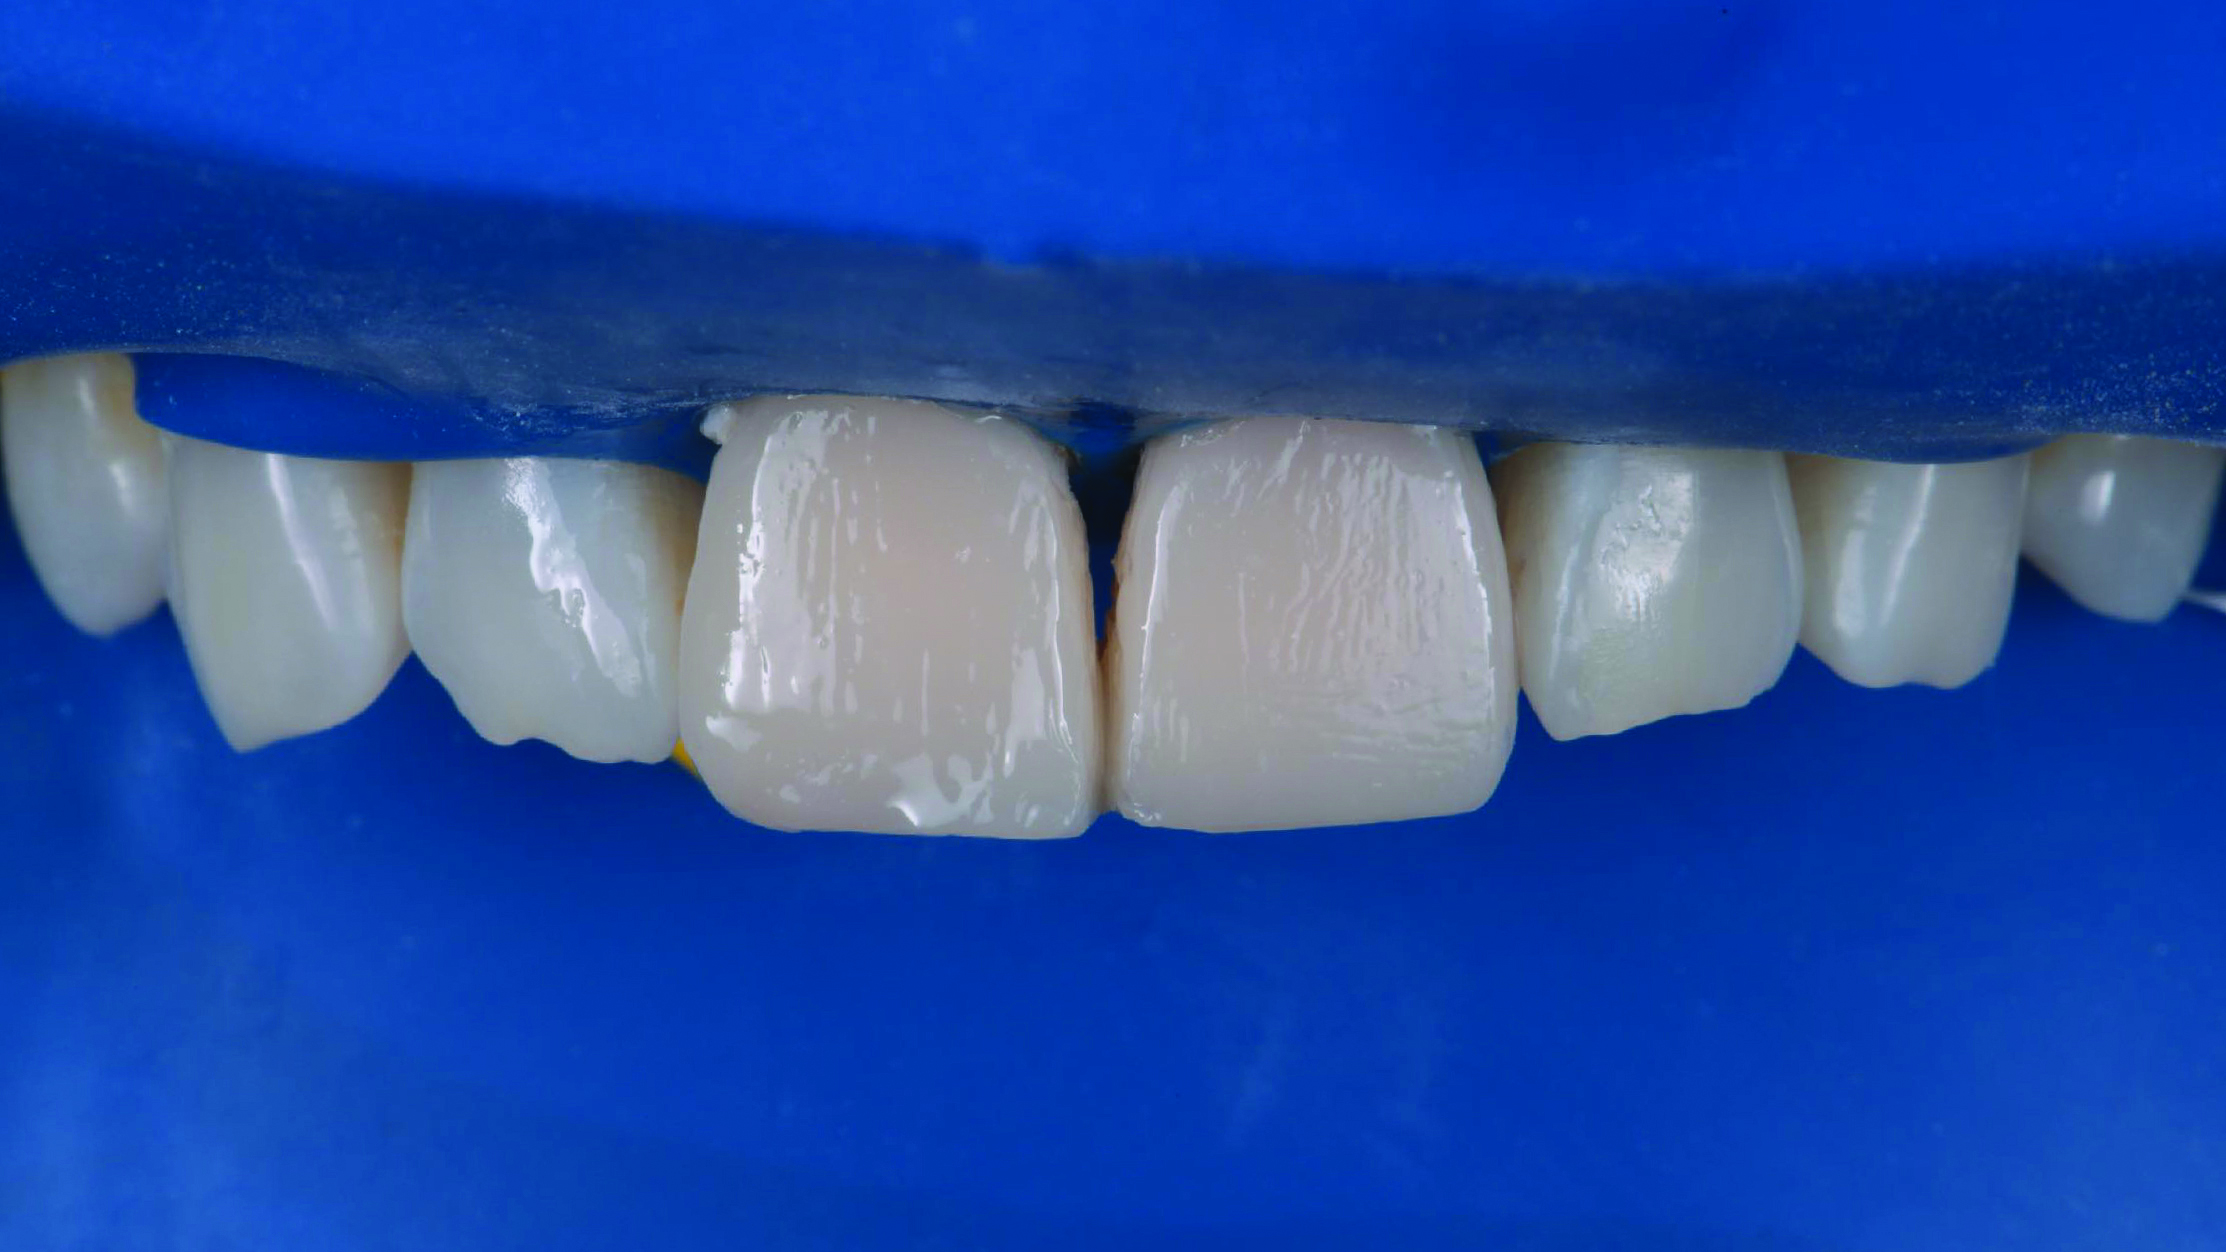
Placement of the second and final layer of 3M™ Filtek™ Universal Restorative A1 shade.
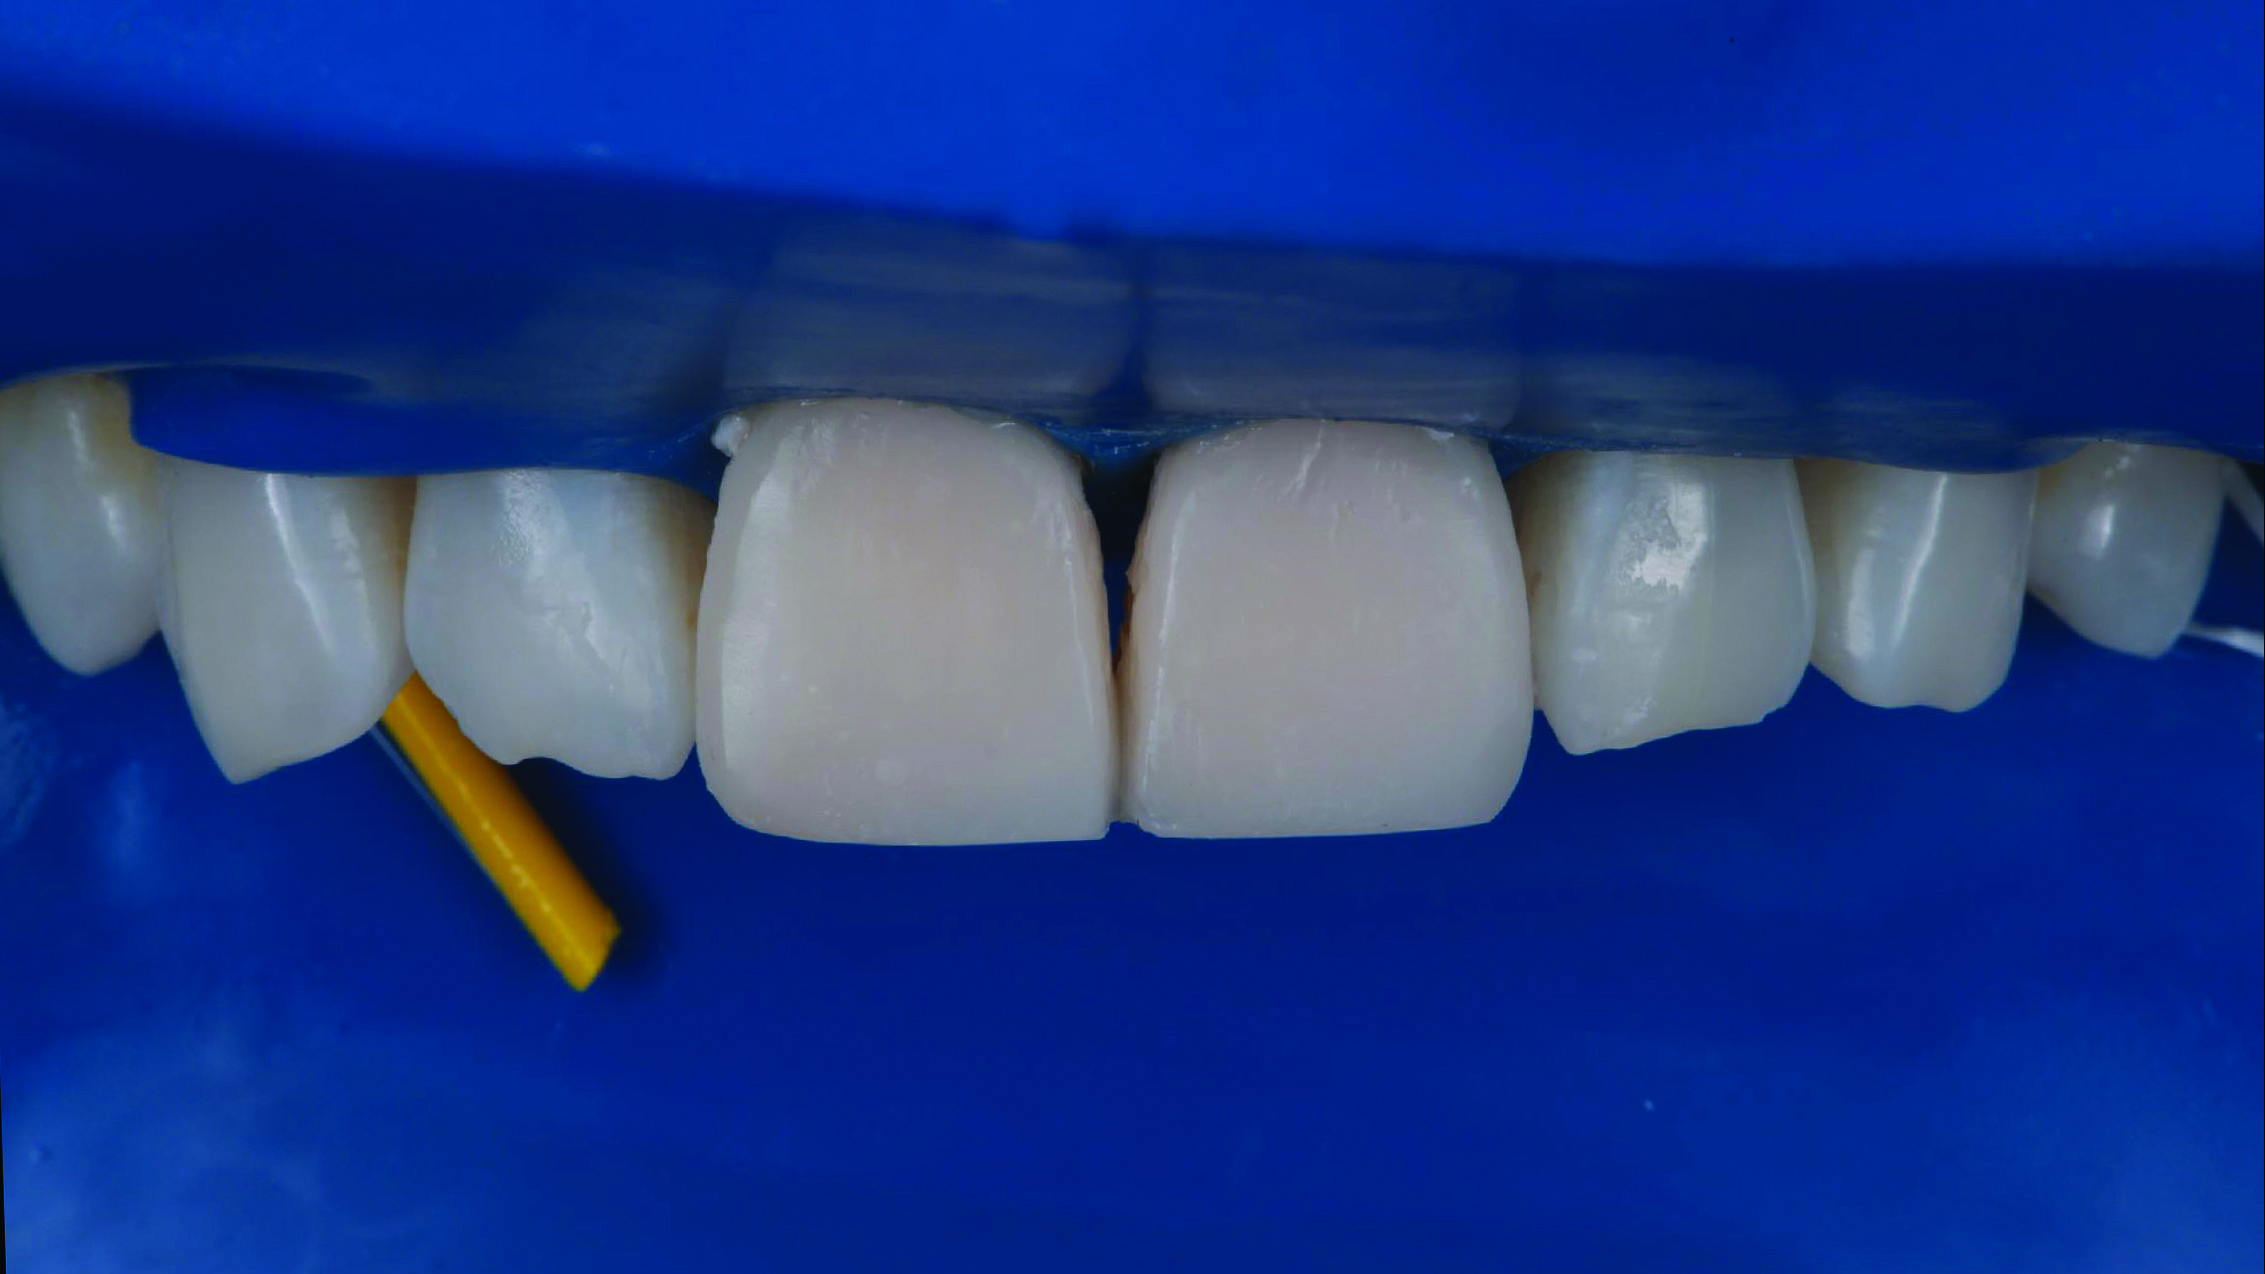
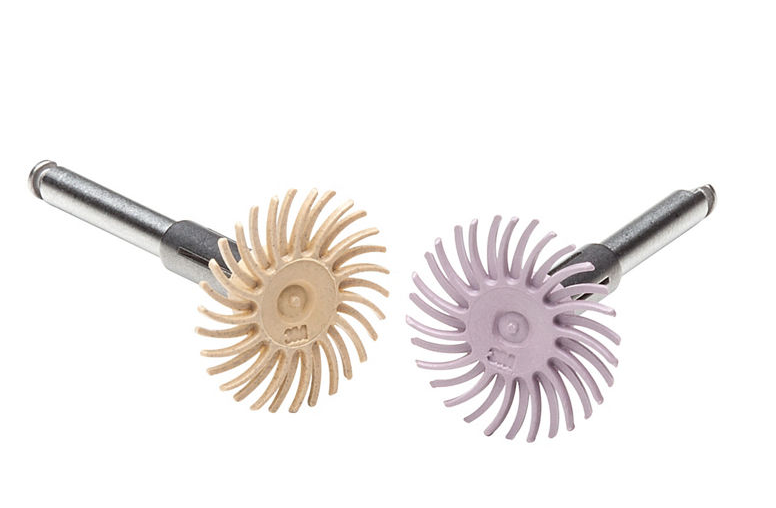
Restorations after polishing using the 3M™ Sof-Lex™ Diamond Polishing System.
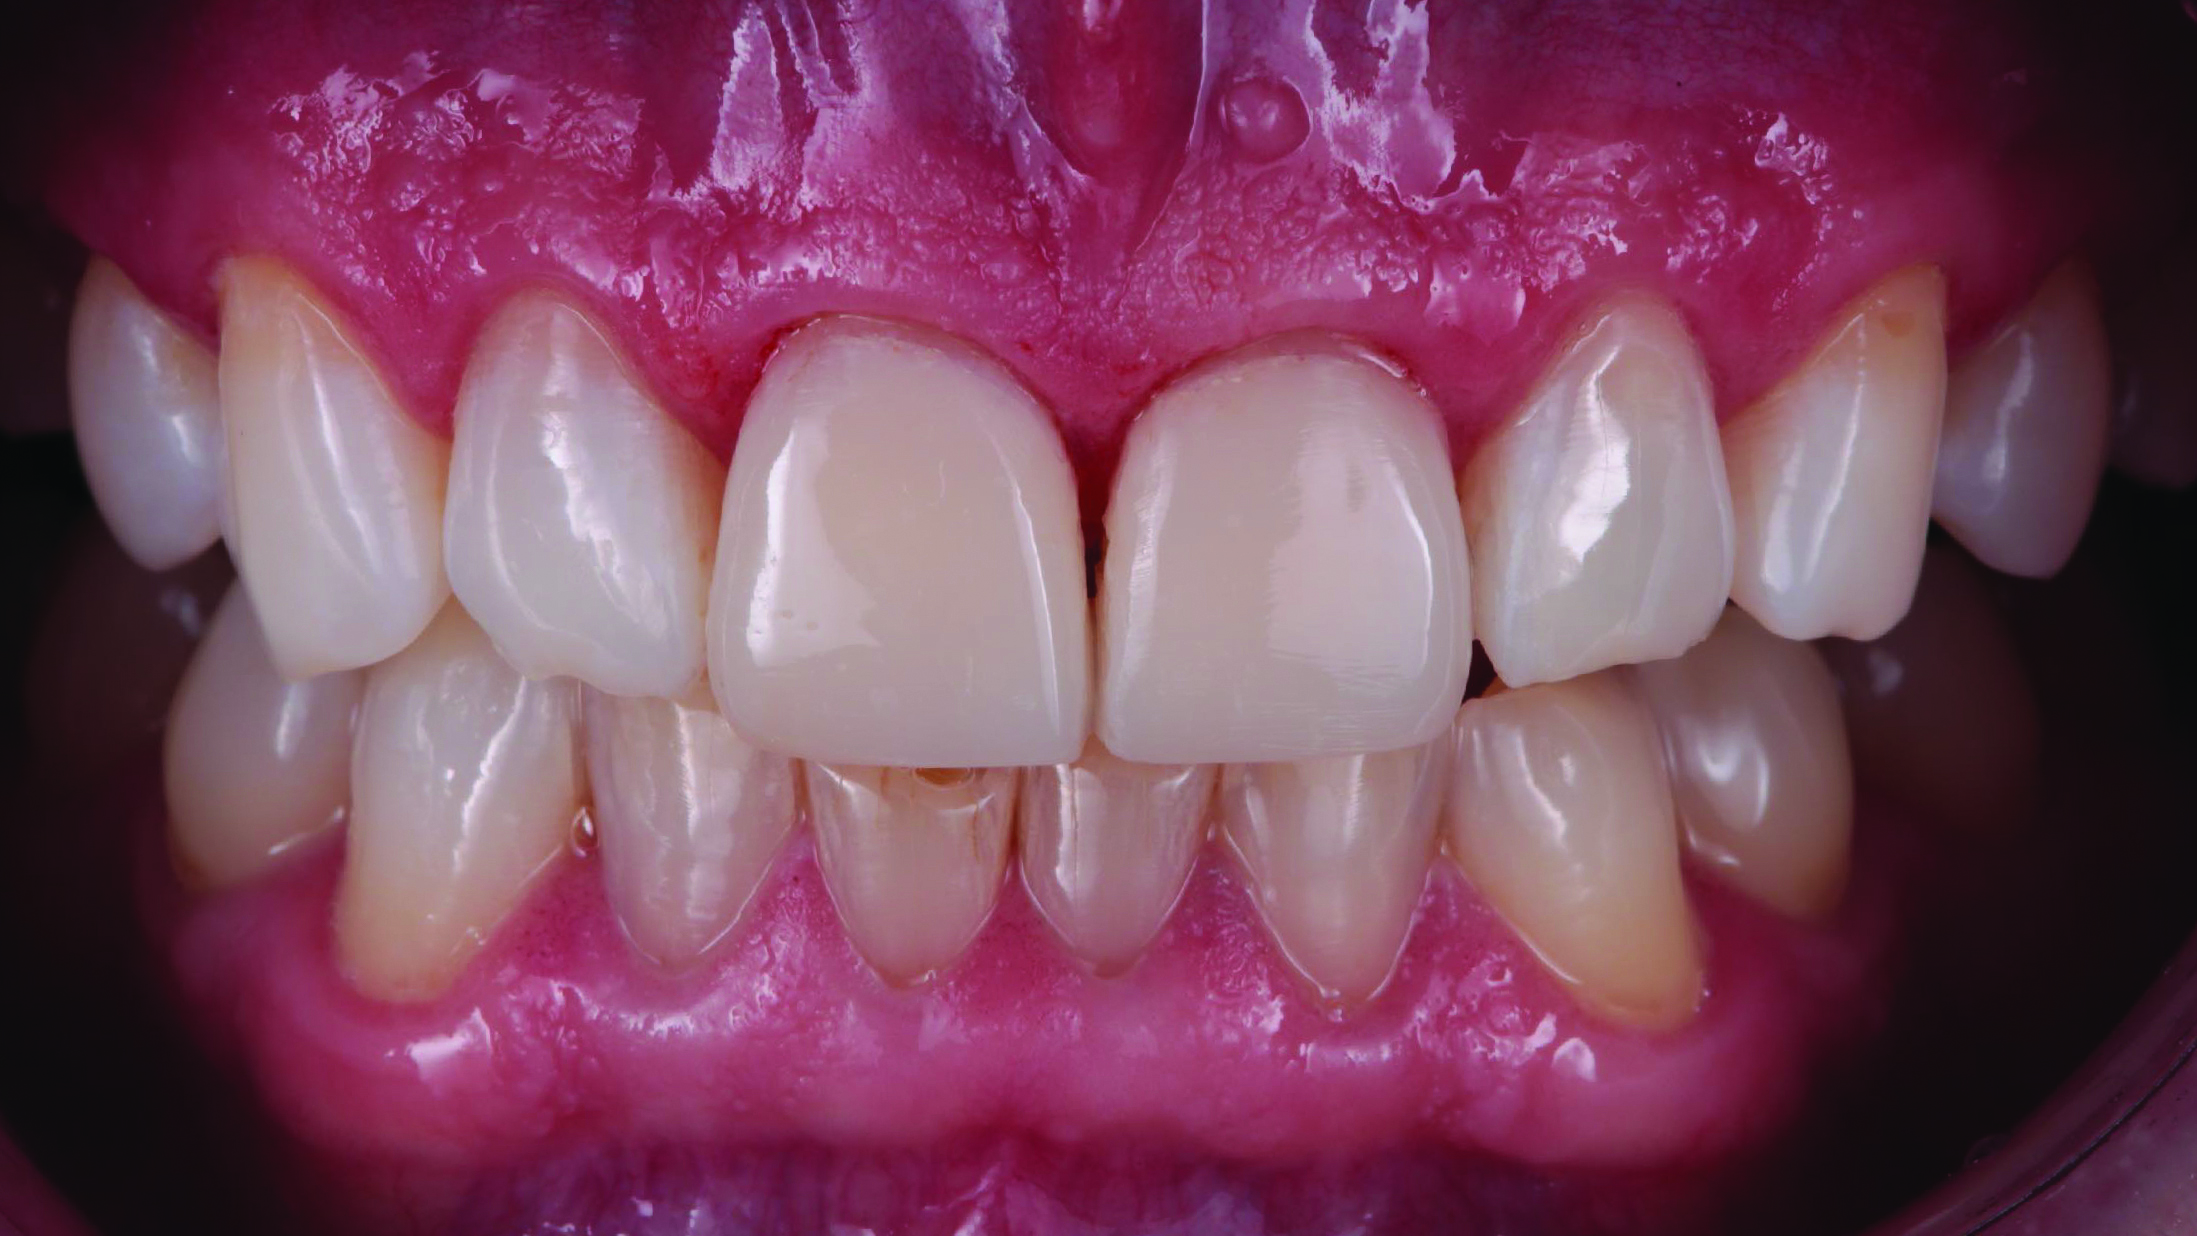
Immediate Post-Op. Treatment outcome immediately after rubber dam removal. The discolorations were gone, the restorations and the adjacent teeth had a similar shade, and a natural shape was achieved.
The patient was happy with the treatment outcome. Three things were achieved with minimal effort. The discolorations were masked, the teeth were restored to their natural shape and the shade blended naturally with the adjacent teeth.
Would you like this clinical case as a PDF? You can

Become a part of our Brain Floss blog family and share your clinical case, your insights and your skills with this great community .
We are looking forward to hearing from you!!
Refer to Instructions for Use (IFU) for complete product information. Results may vary.