Clinical Case
Jun 14, 2026
/ Clinical Cases / Narrow Class II Restorations with 3M™ Filtek™ Easy Match
February 24, 2026
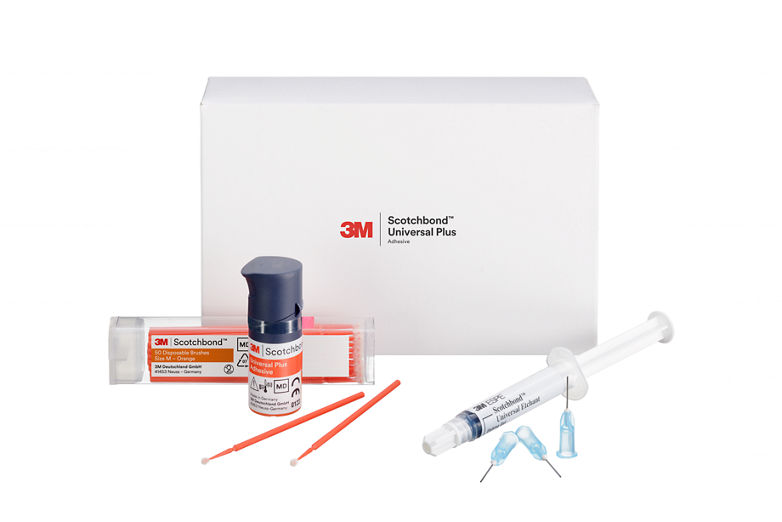
Using 3M™ Filtek™ Easy Match Universal Restorative.
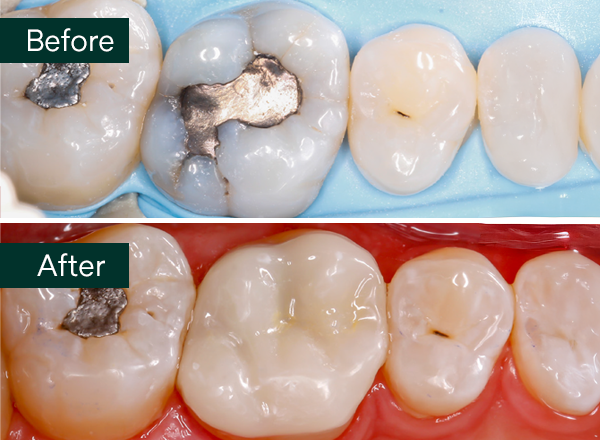
This young 20-year-old man came to my office for a check-up. He told me he used an electric toothbrush but did not use dental floss. His oral hygiene was fair. After performing a clinical examination and bitewing radiographs, I found the presence of interproximal carious lesions at the upper left premolars. According to the Anusavice and Benn classification (2005), these were D1 lesions, thus deserving restorative treatment.
The biggest challenge with such lesions is creating minimally invasive cavities for caries removal, but most importantly, ensuring proper compaction of the material in cavities that are narrow and relatively deep without creating gaps, especially at the periphery.
Another challenge is the difficulty during the etching phase, particularly in selectively applying the etching gel to enamel and dentin with correct timing.
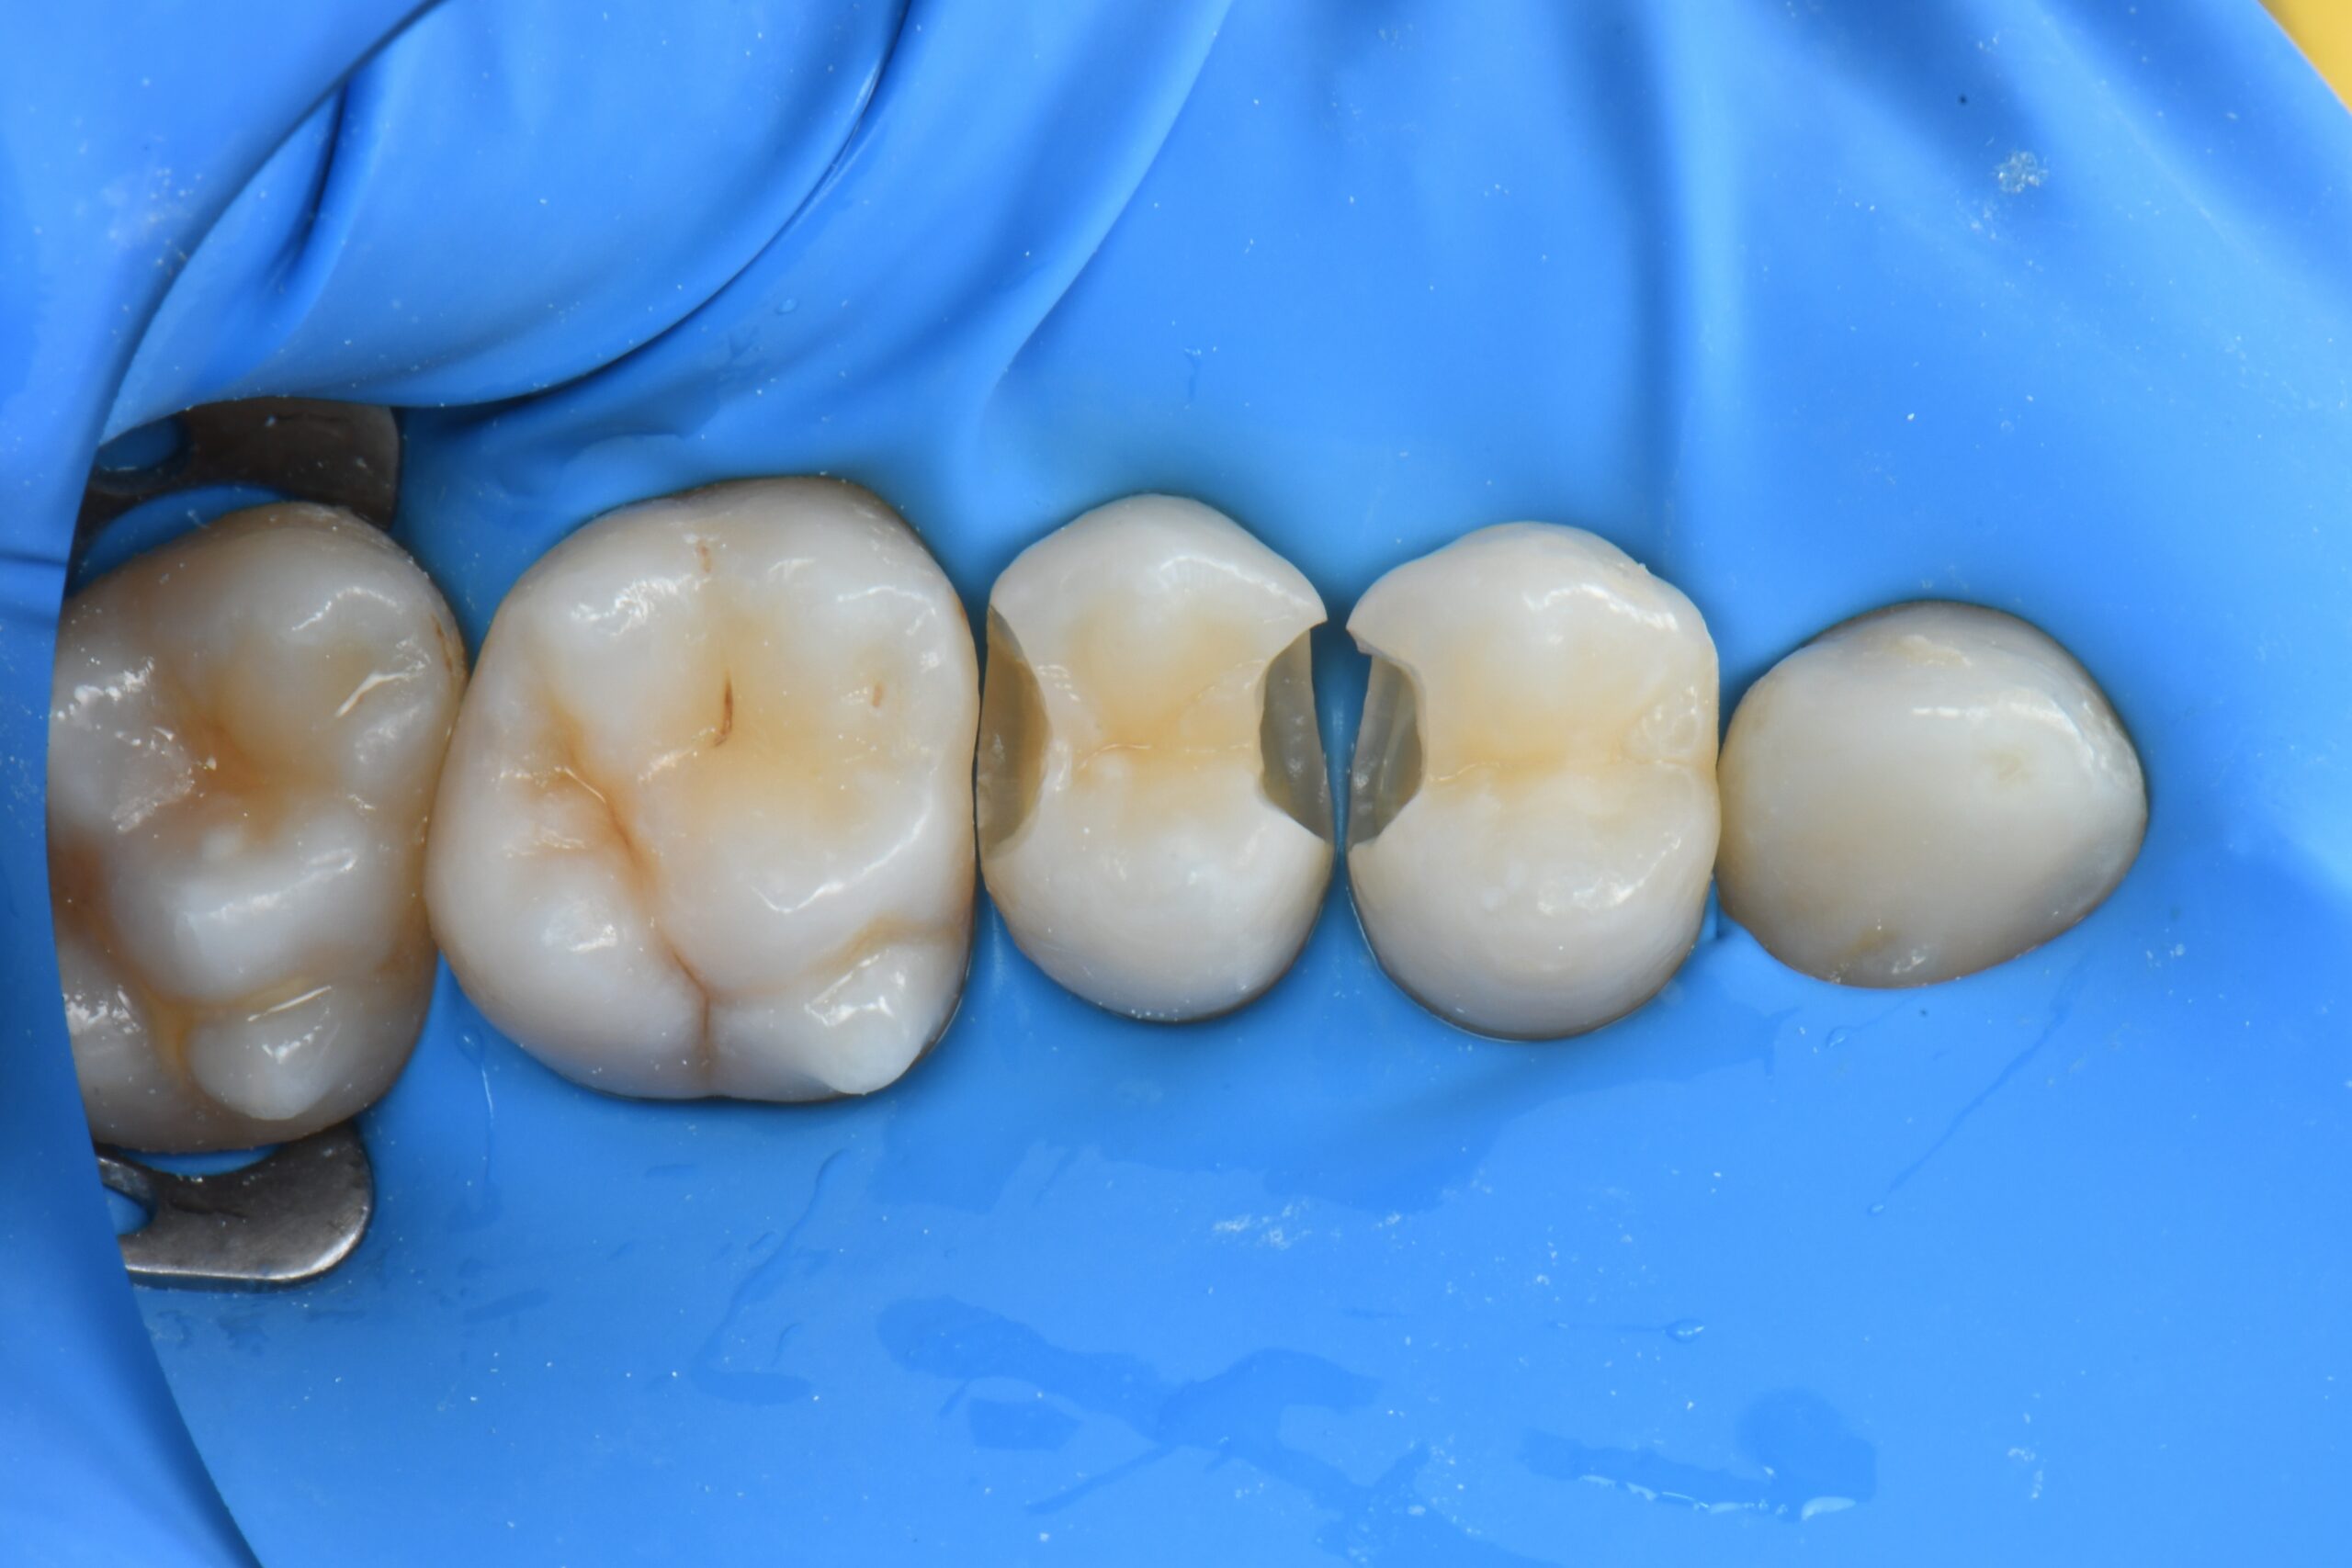
Pre-op Photo (occlusal view) As you can see it’s difficult to find interproximal cavities using only the clinical exam.
Pre-op bitewing radiograph: it’s possible to appreciate the D1 lesions on the premolars.
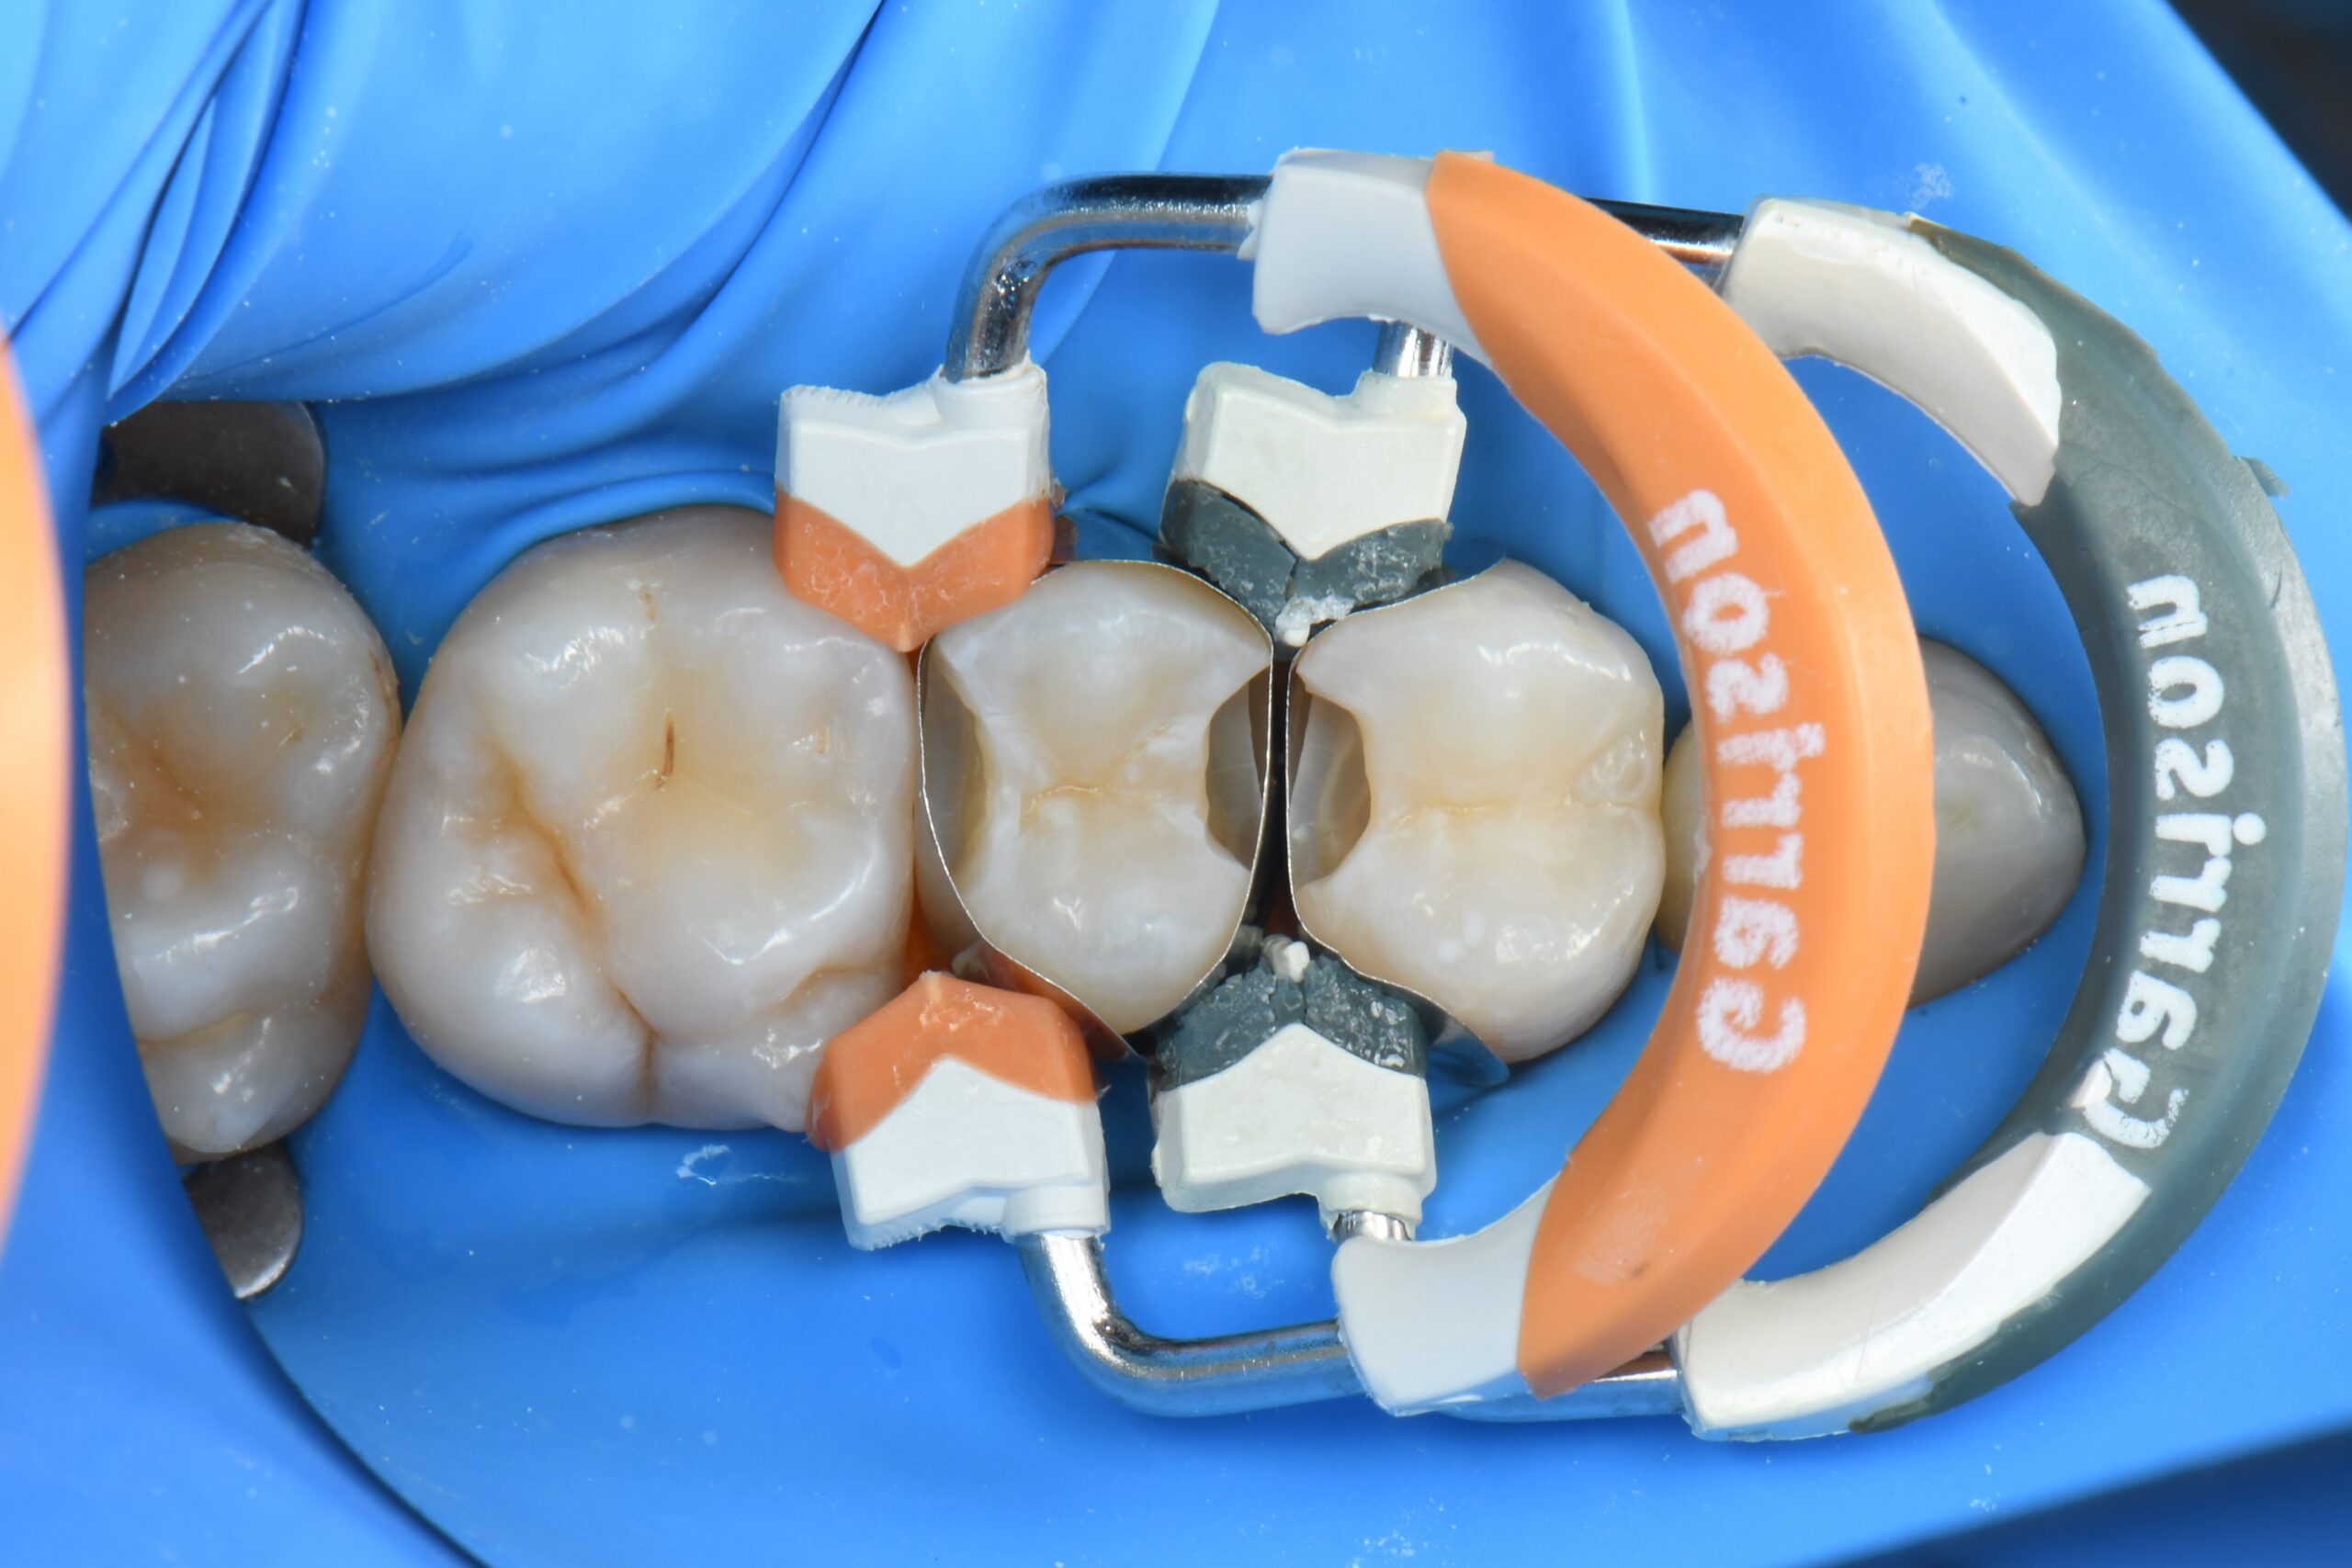
The rubber dam is properly placed.
Minimally invasive interproximal boxes are opened in order to remove the carious lesions.
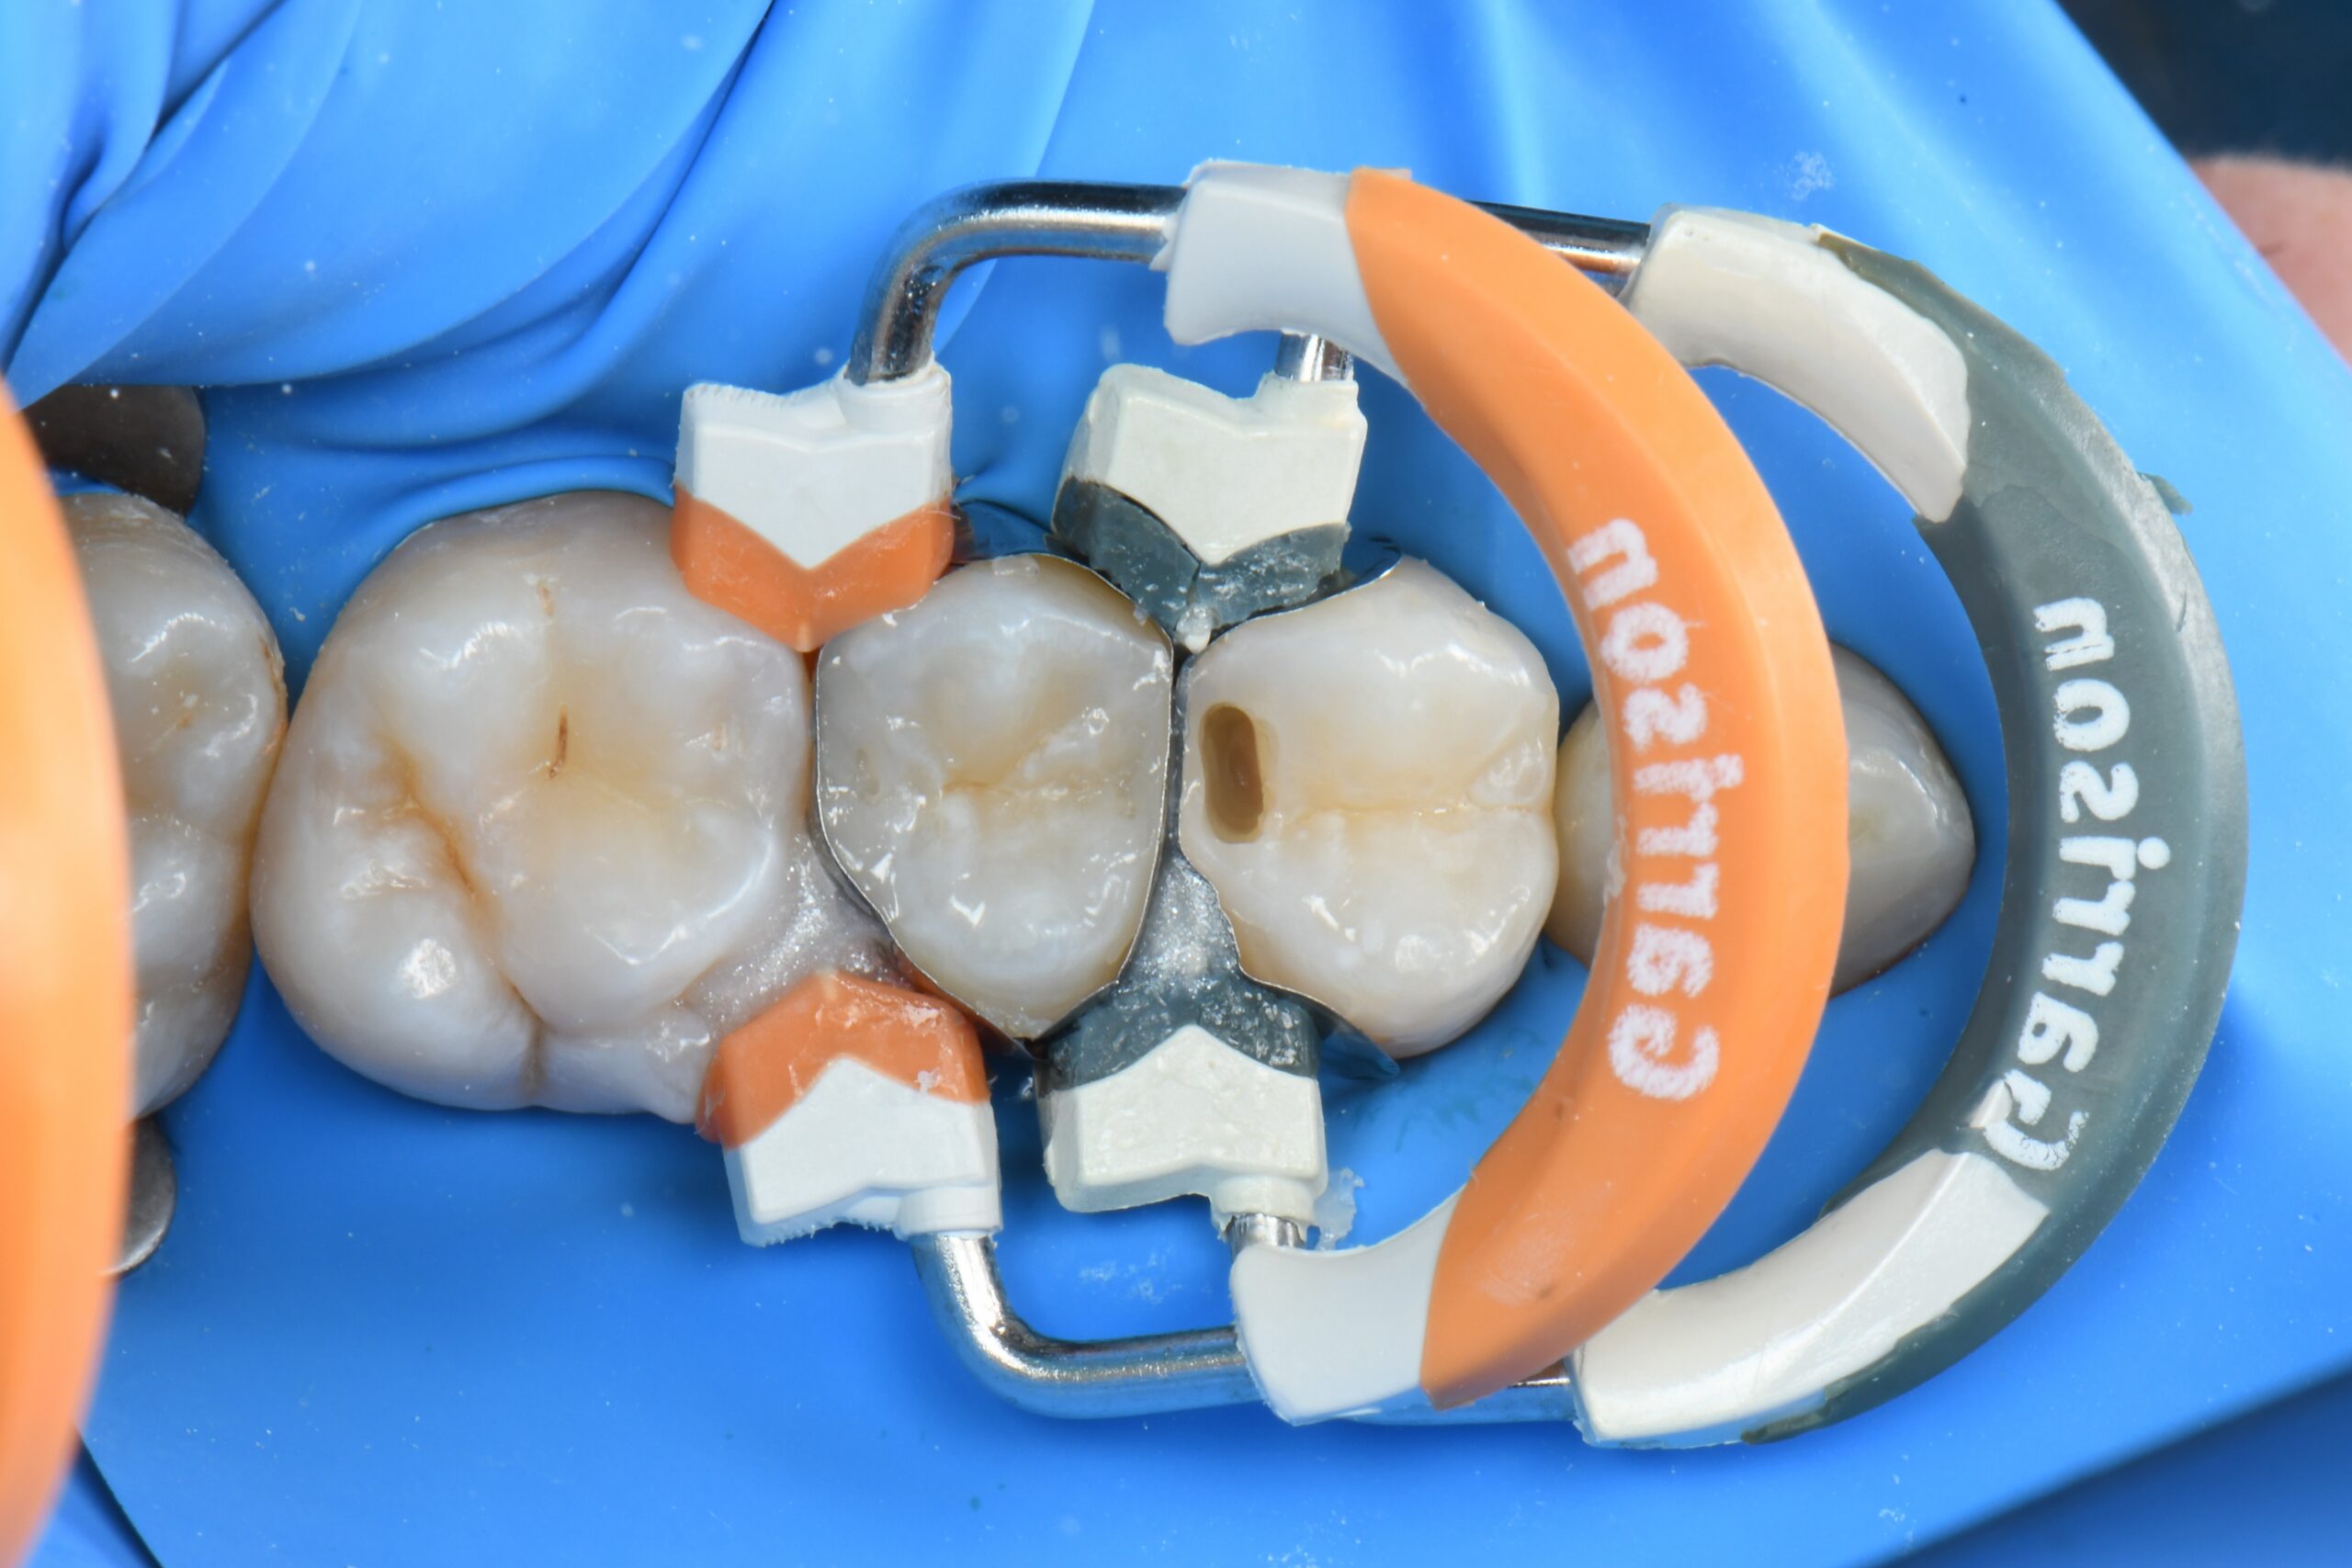
Sectional matrices, wedges and rings are properly placed, and selective enamel etching is performed.
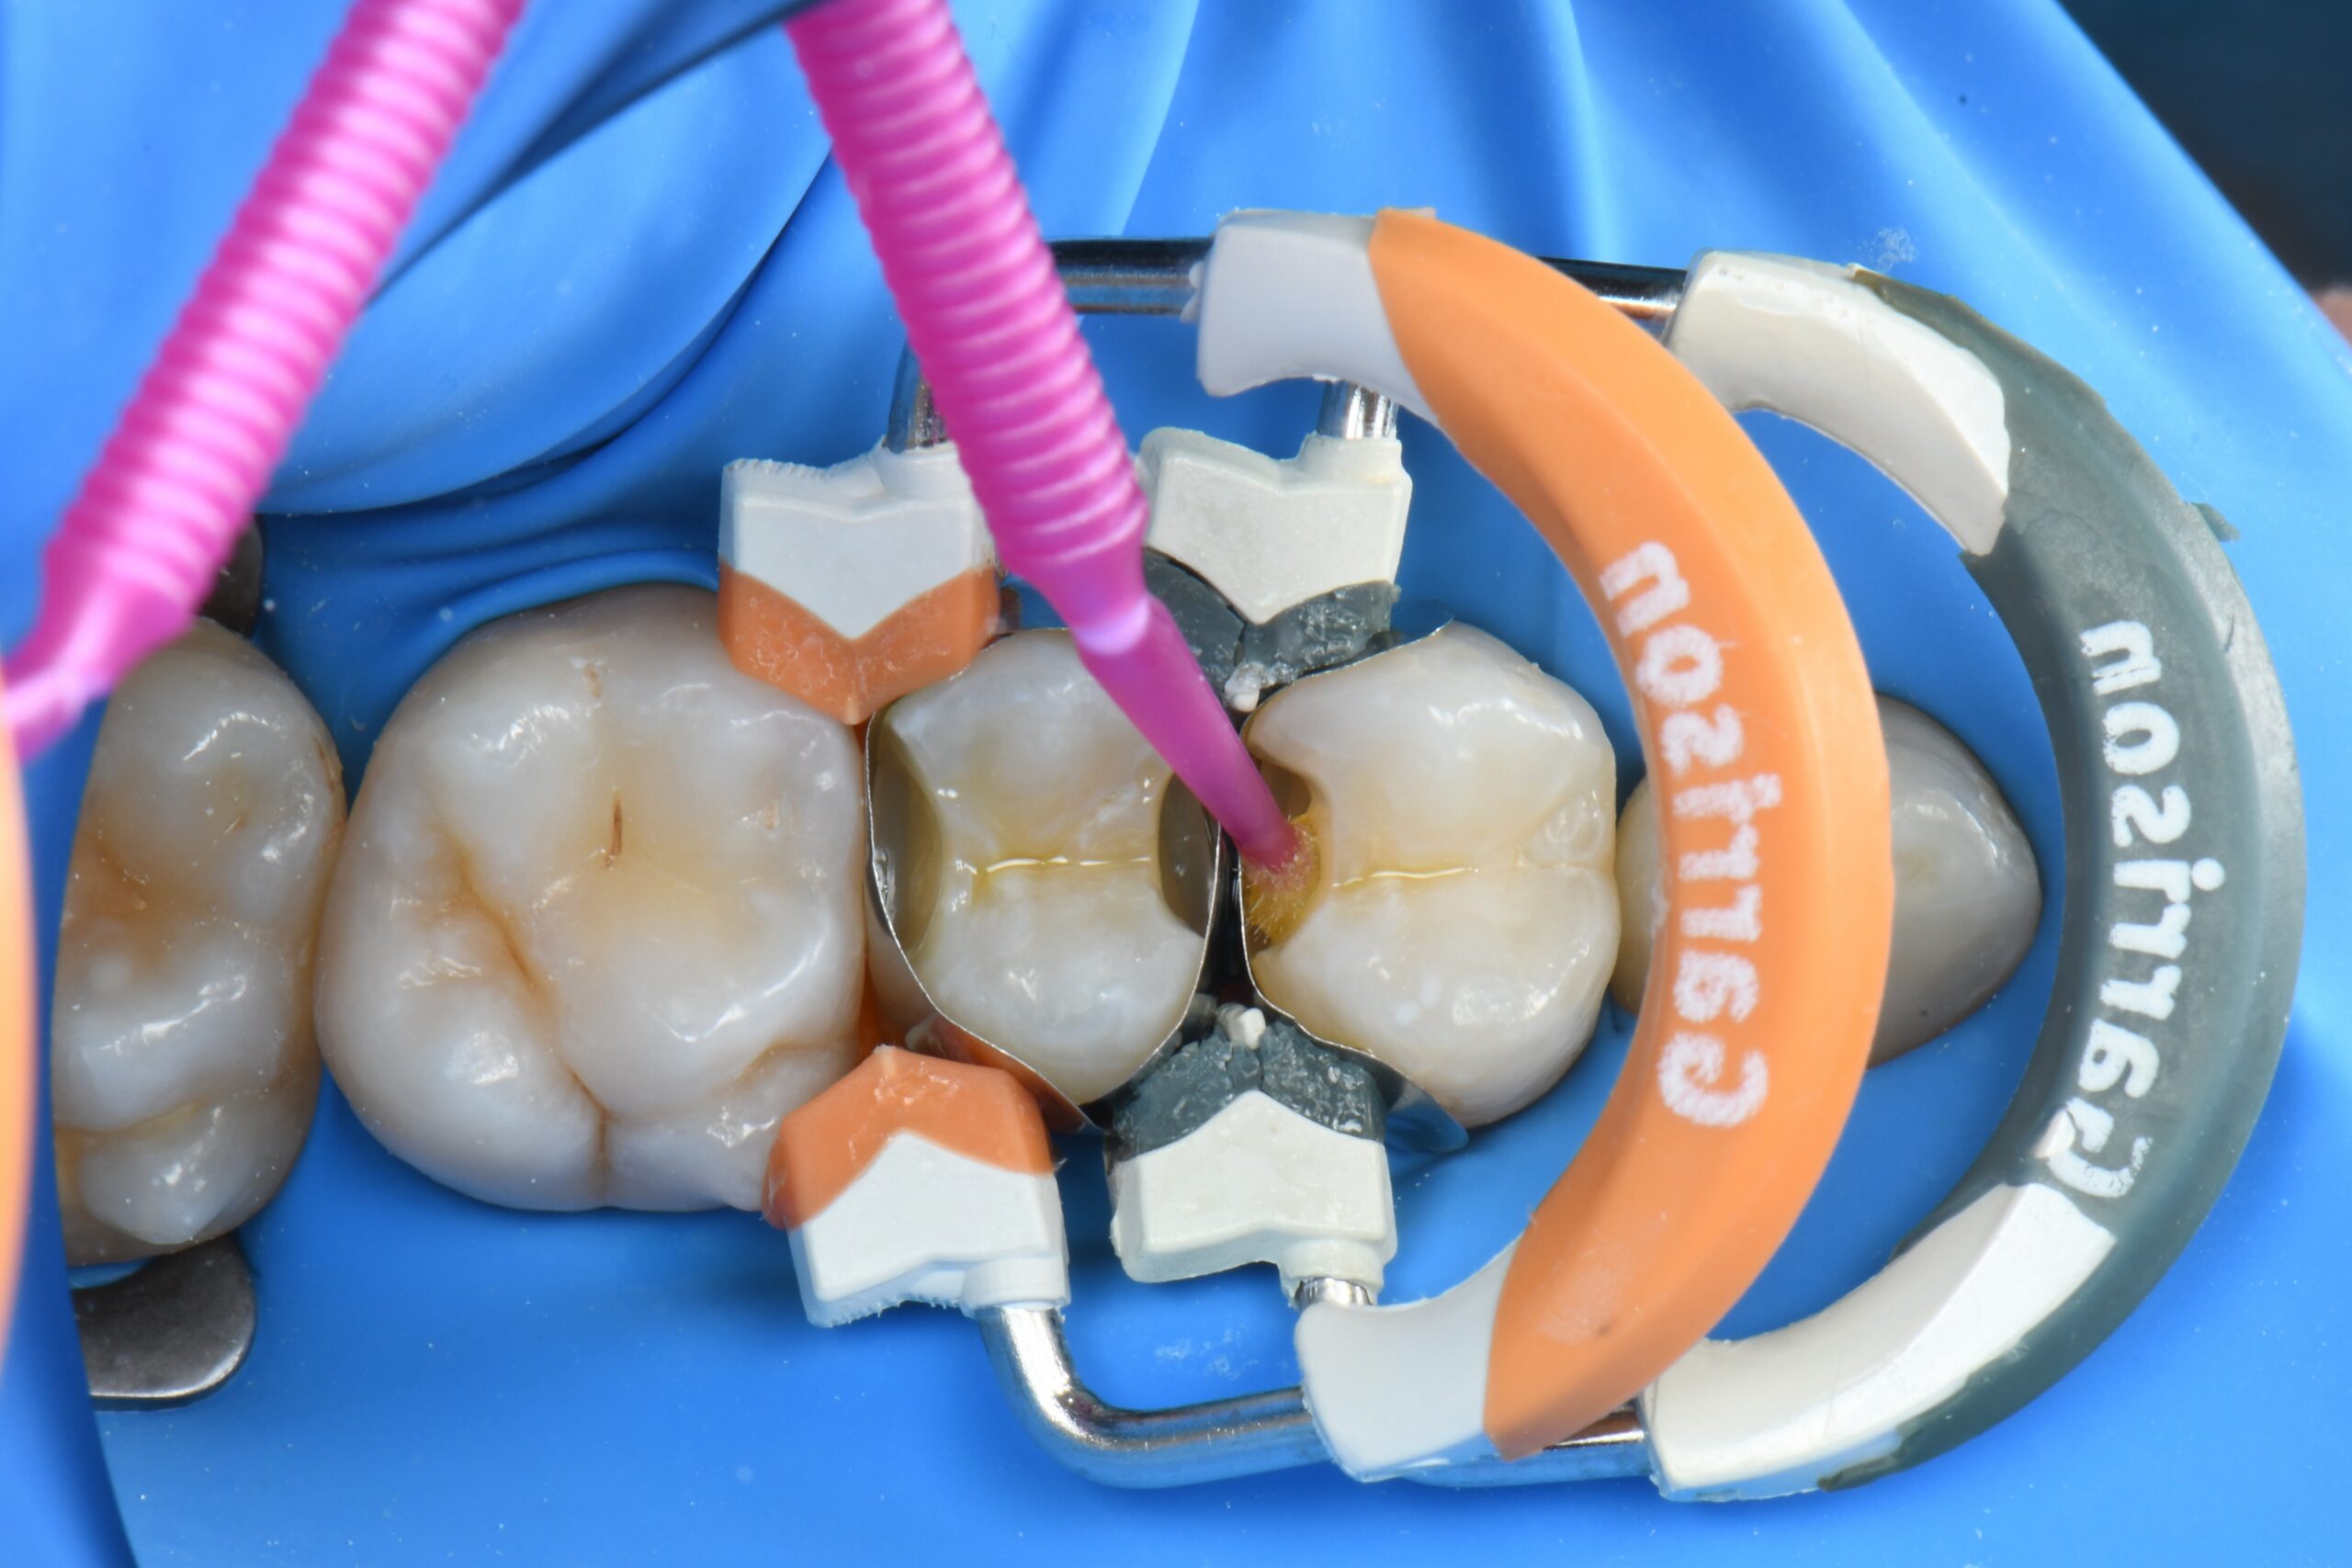
The adhesive phase is performed with 3M™ Scotchbond™ Universal Plus Adhesive and light cured.
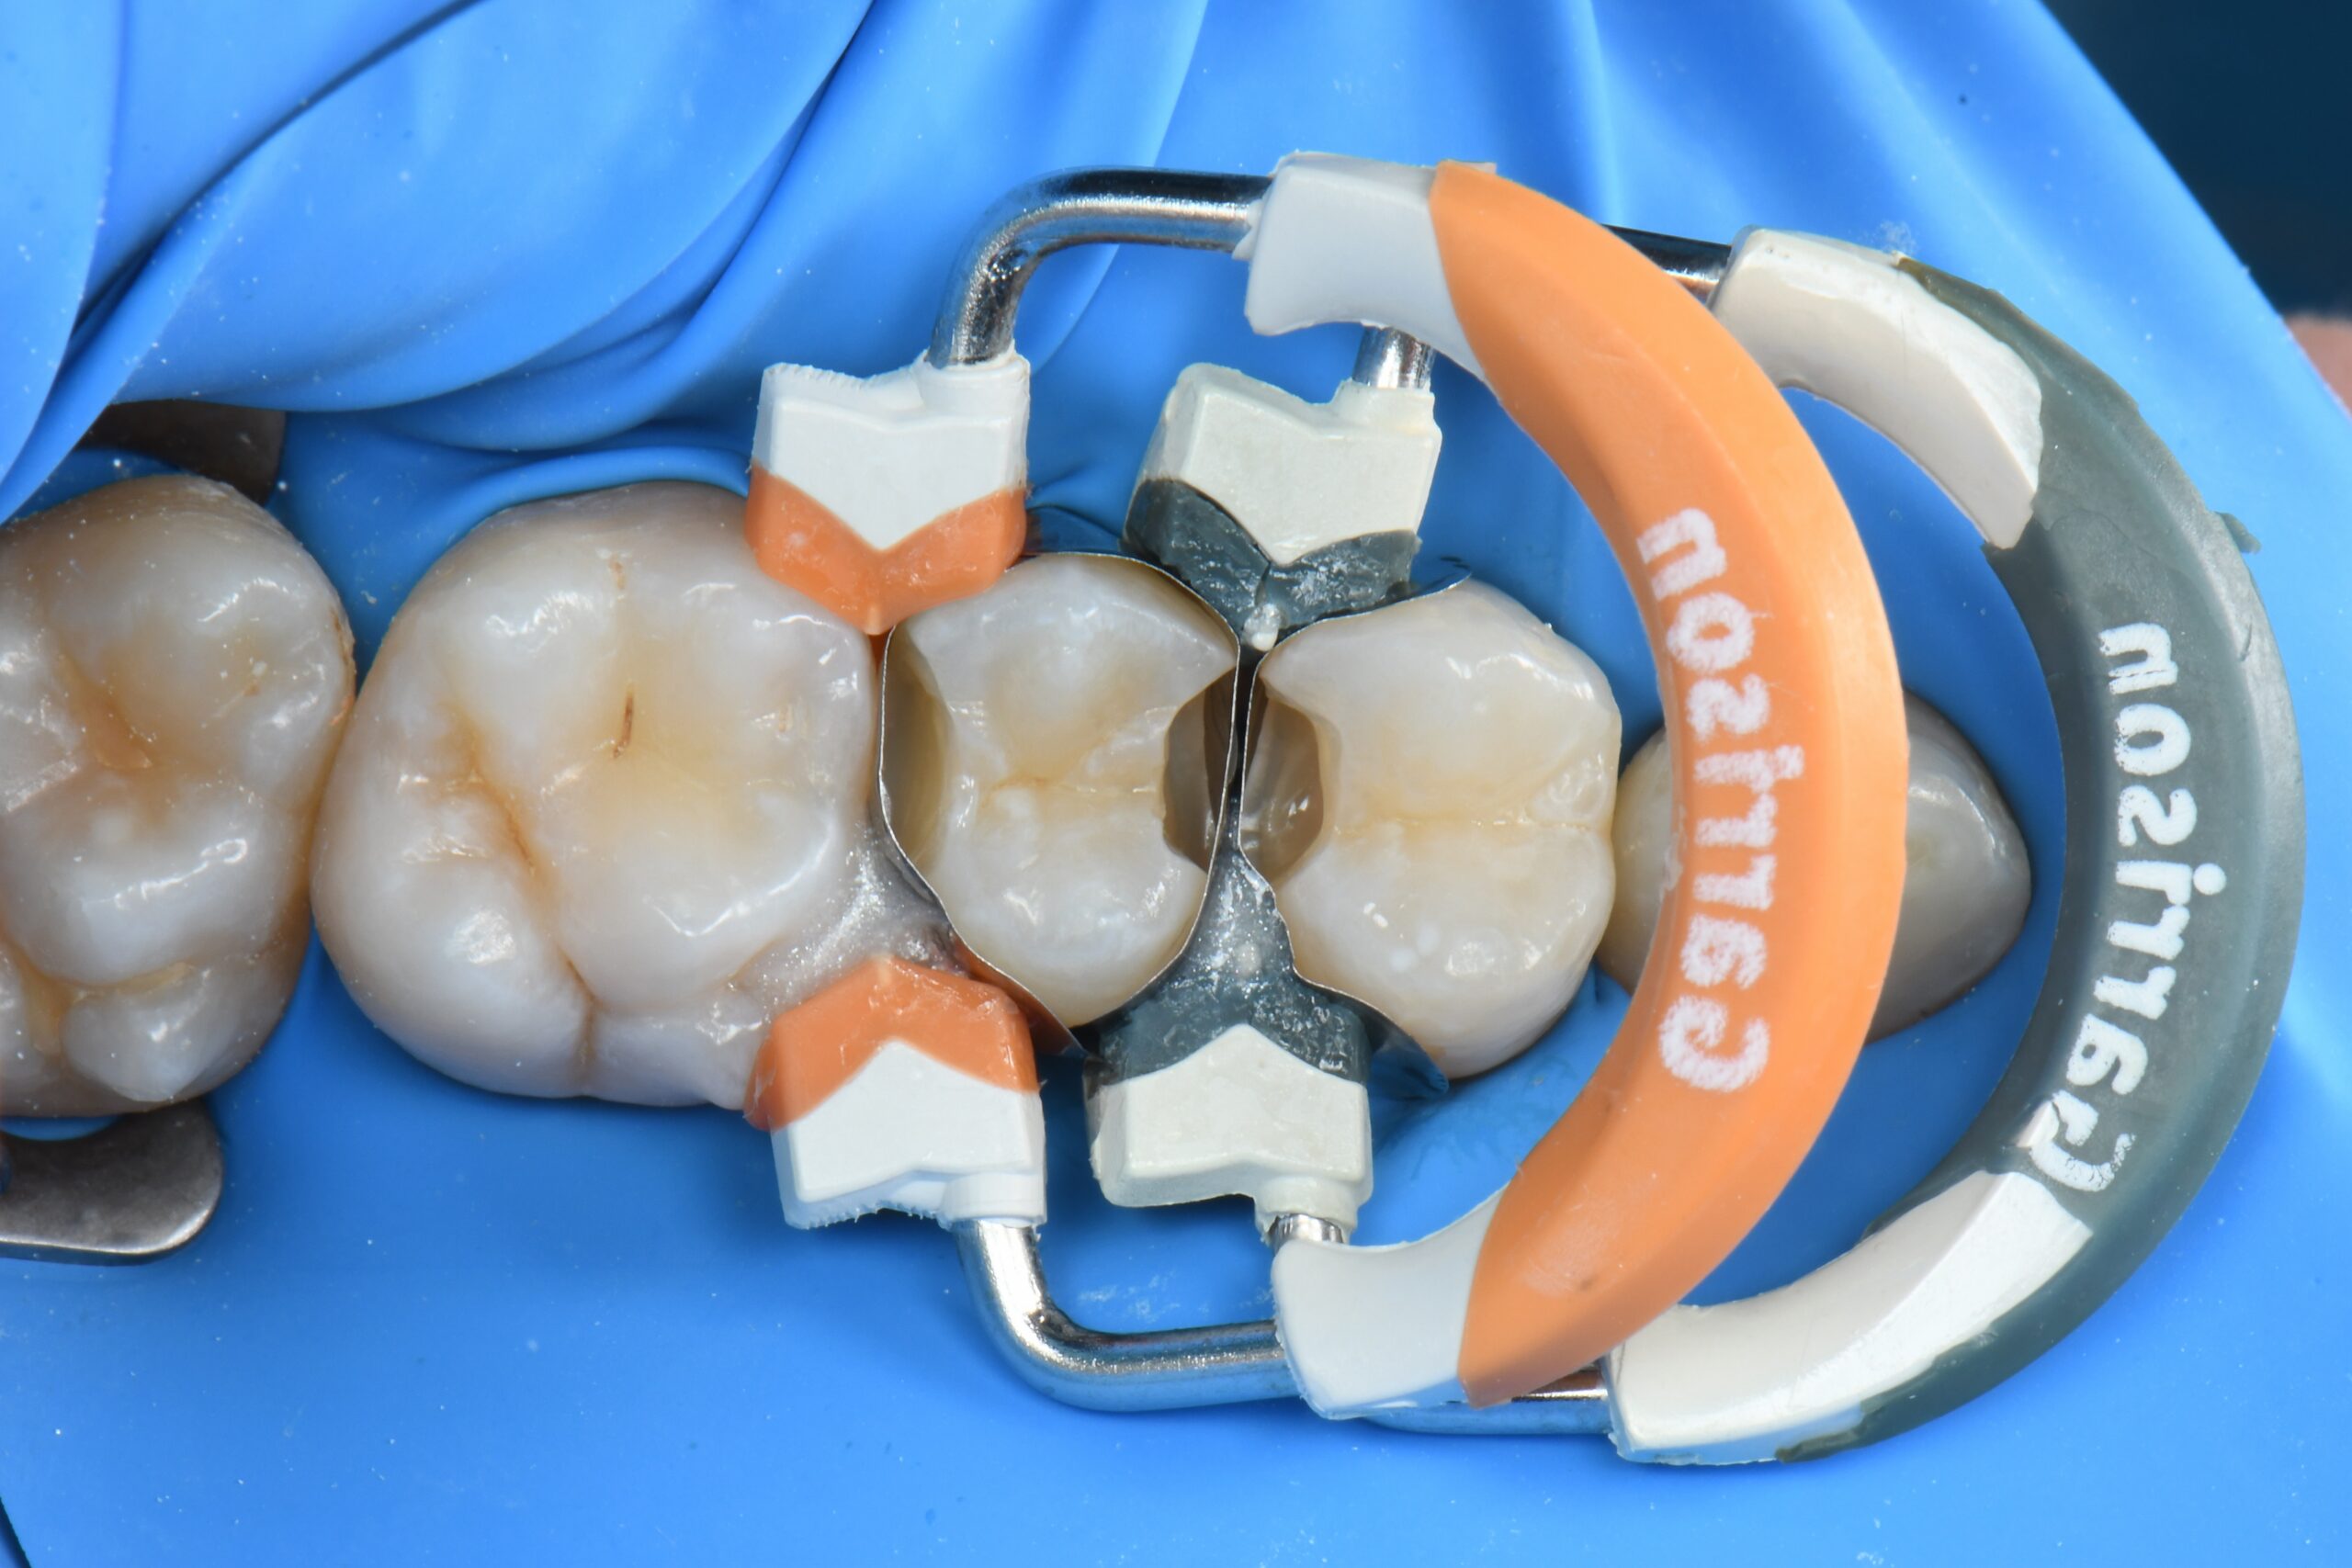
A thin layer of flowable composite is placed. Sectional matrices are fully adapted with some light-cured resin barrier, in order to achieve a perfect adaptation at the periphery of the Class II cavities for a faster and easier refining phase.
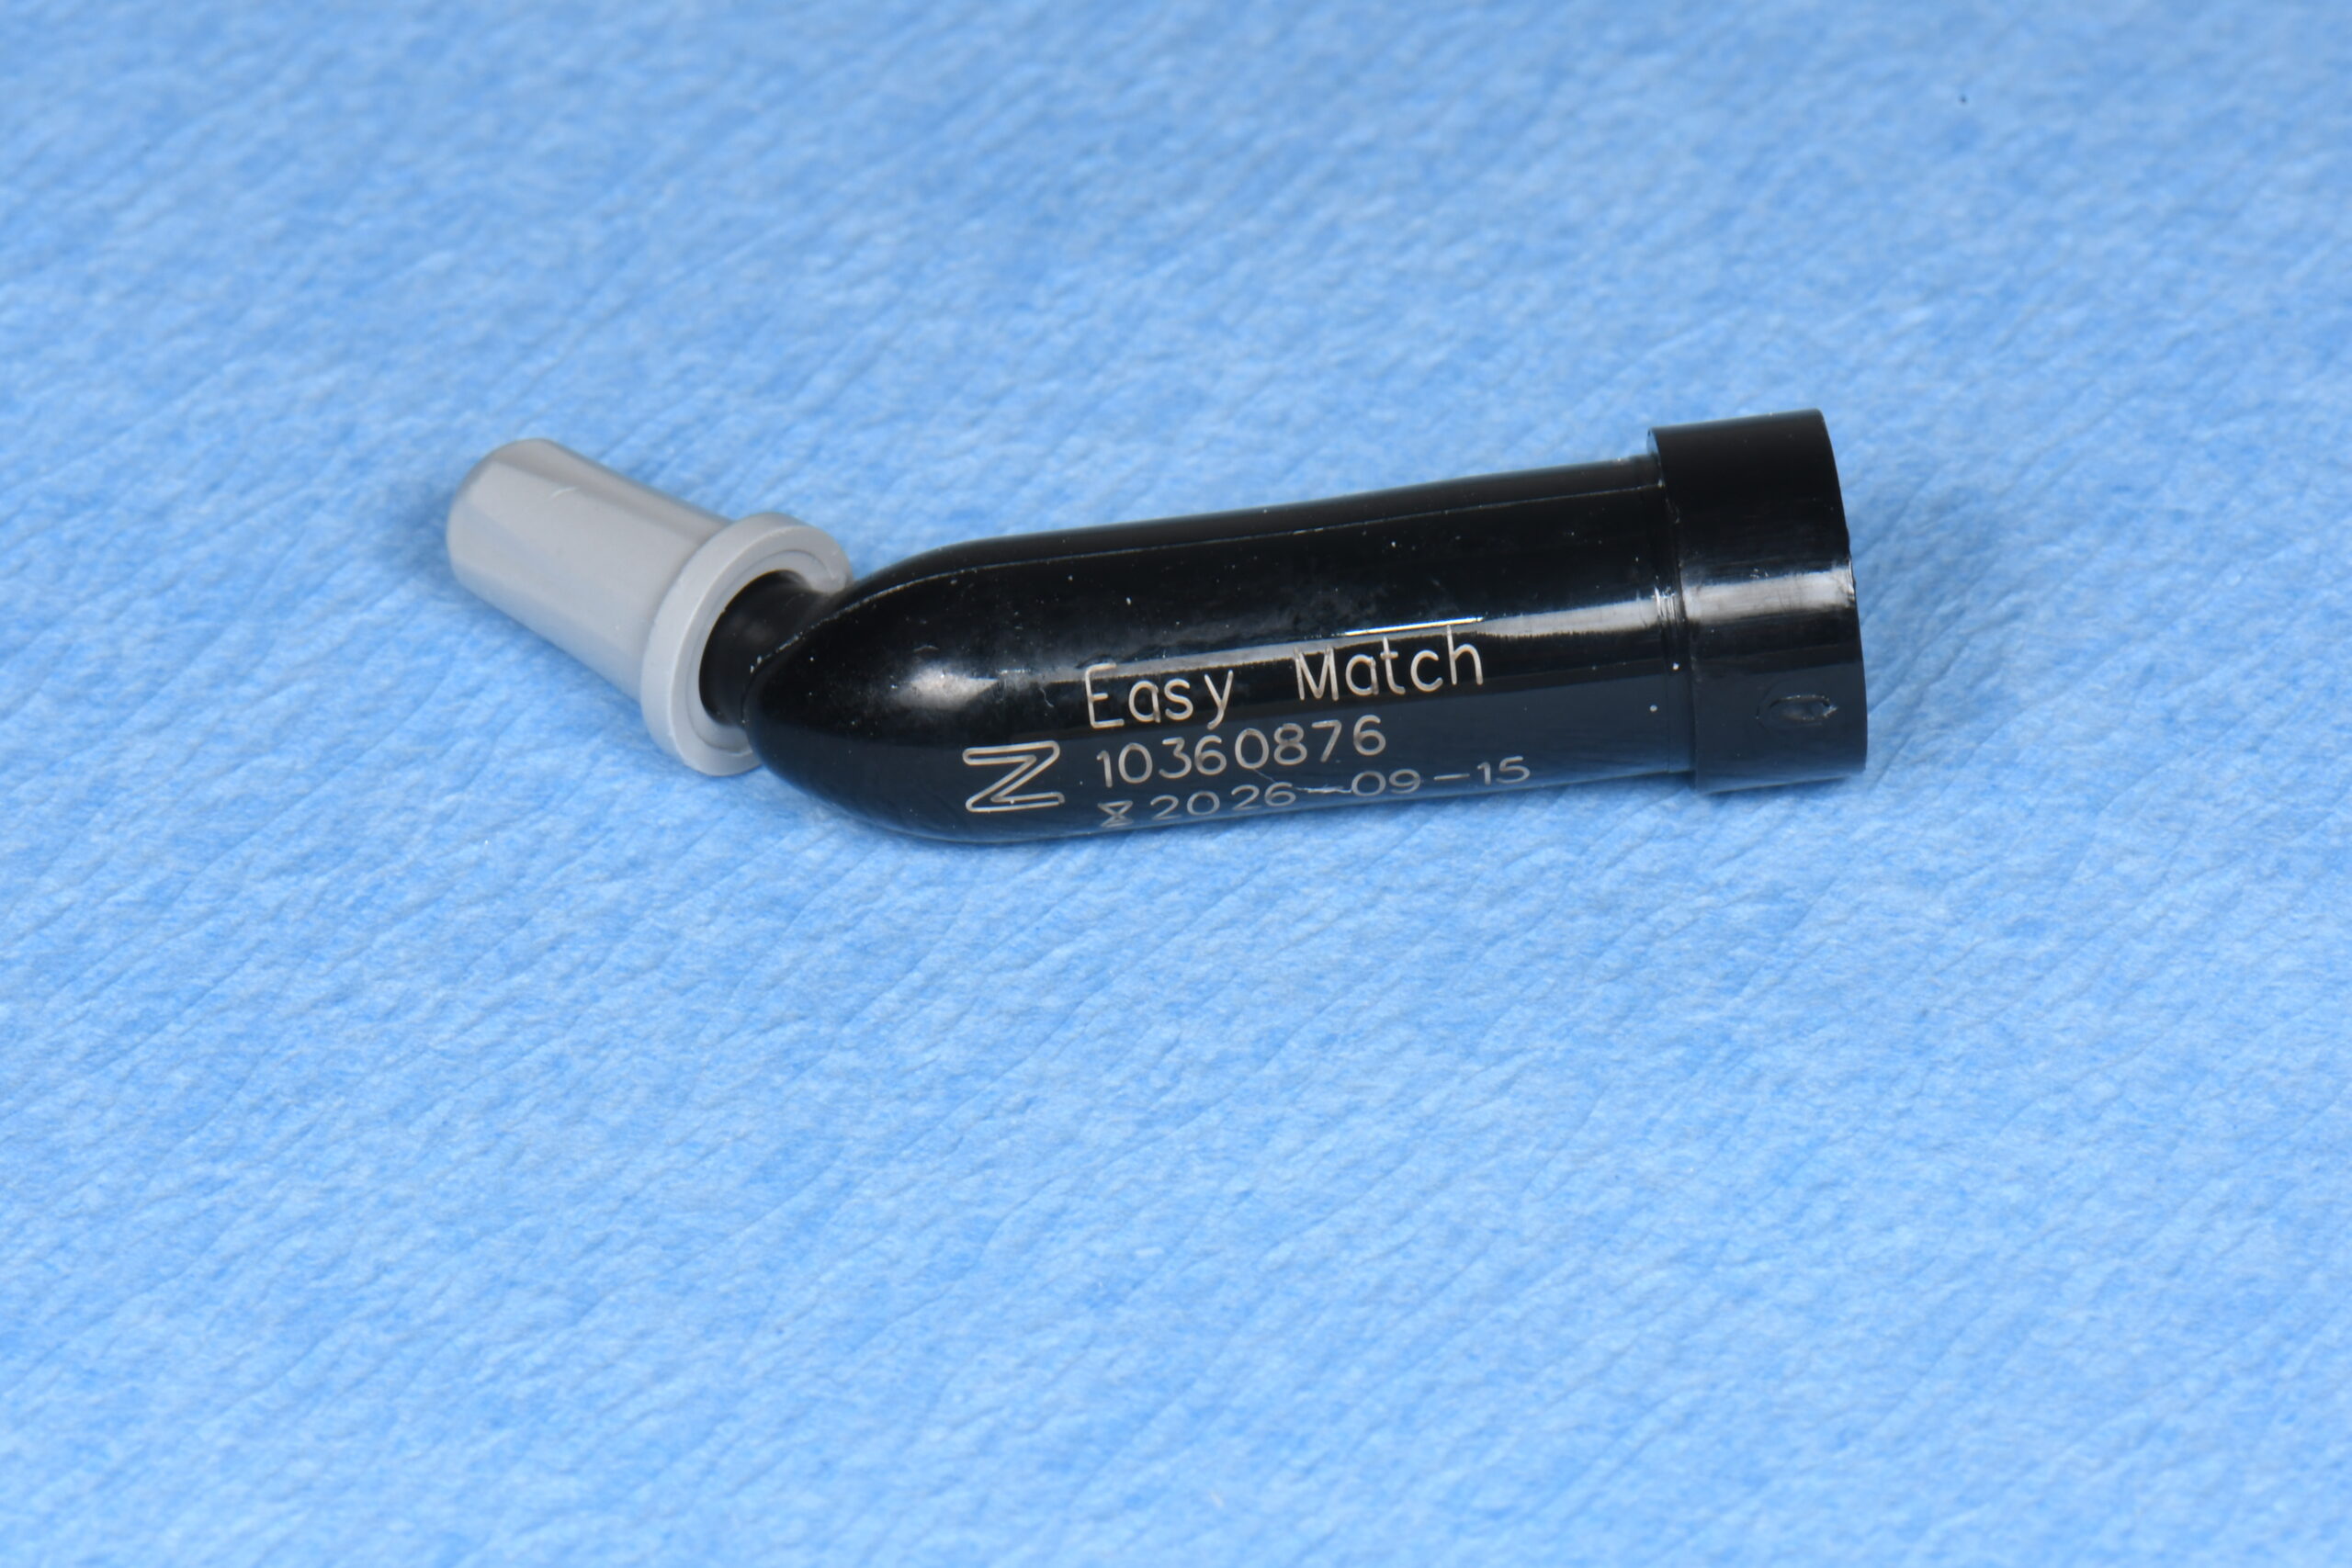
3M™ Filtek™ Easy Match Universal Restorative Natural Shade has been selected for this case.
The cavities in the second premolar are very narrow, allowing them to be filled in one step, with careful attention to proper compaction of the composite material using narrow pluggers. Additionally, marginal distal ridge is built in the first premolar.
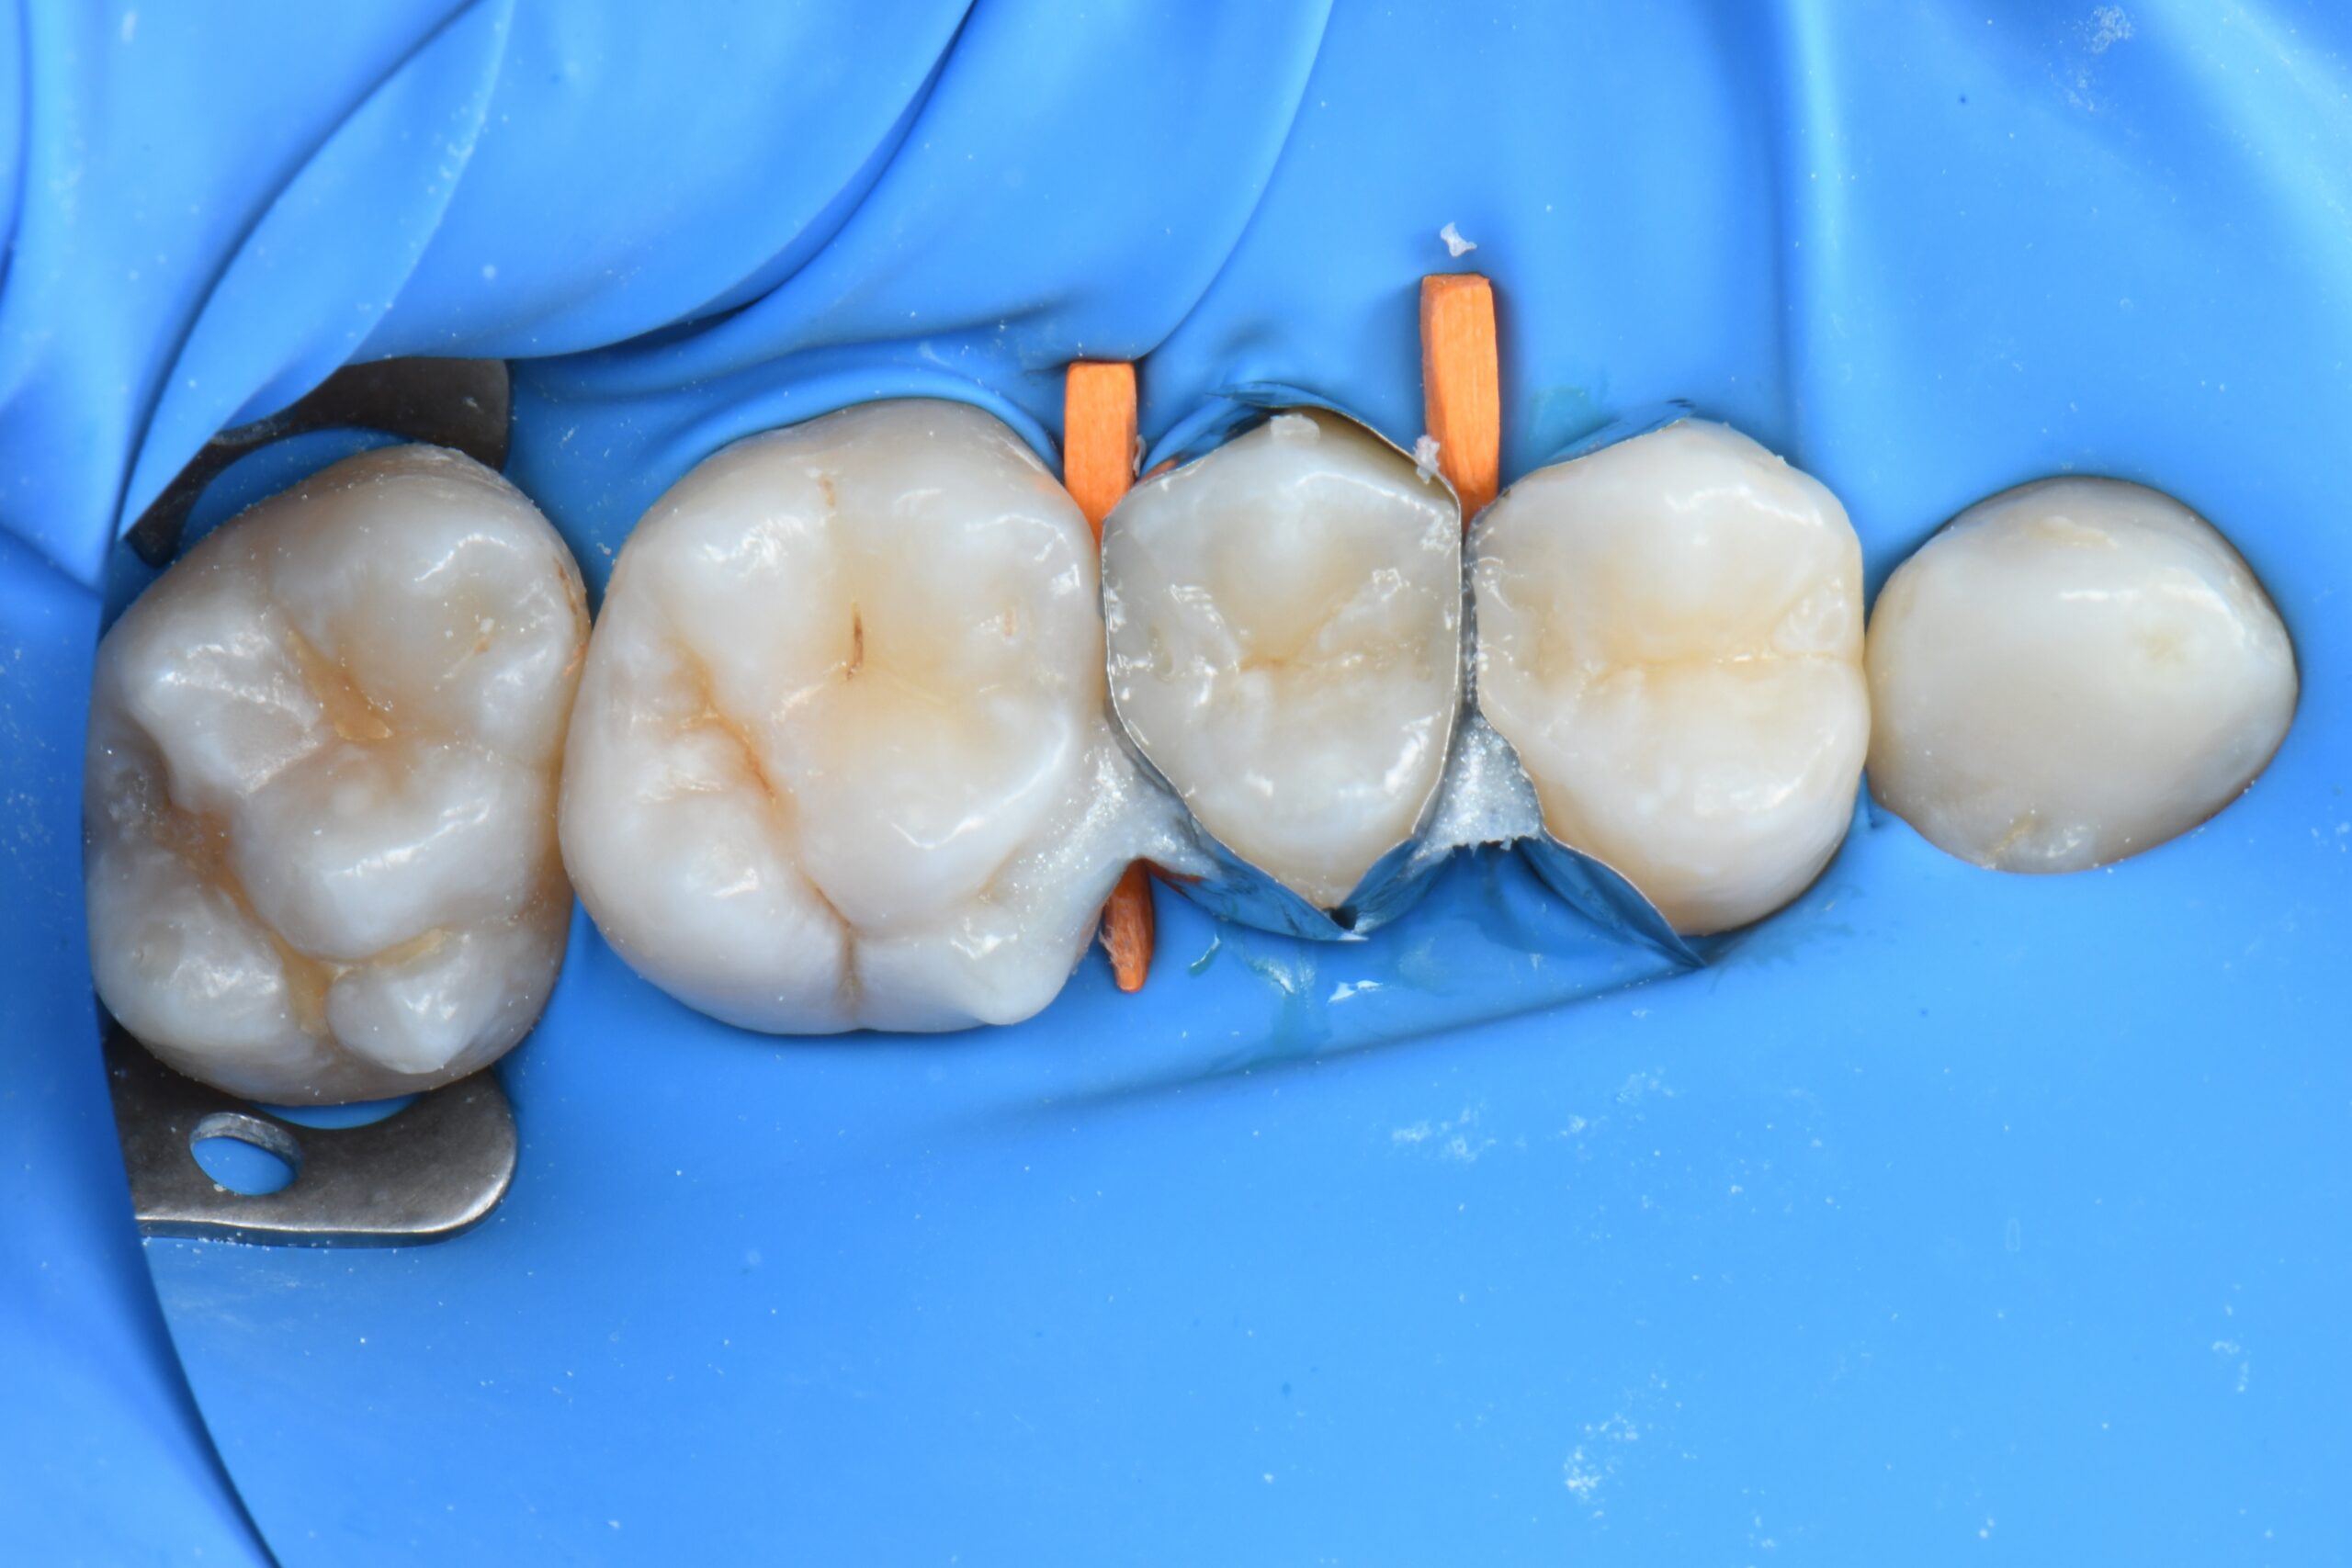
The residual cavity in the premolar is filled and occlusal anatomy is shaped.
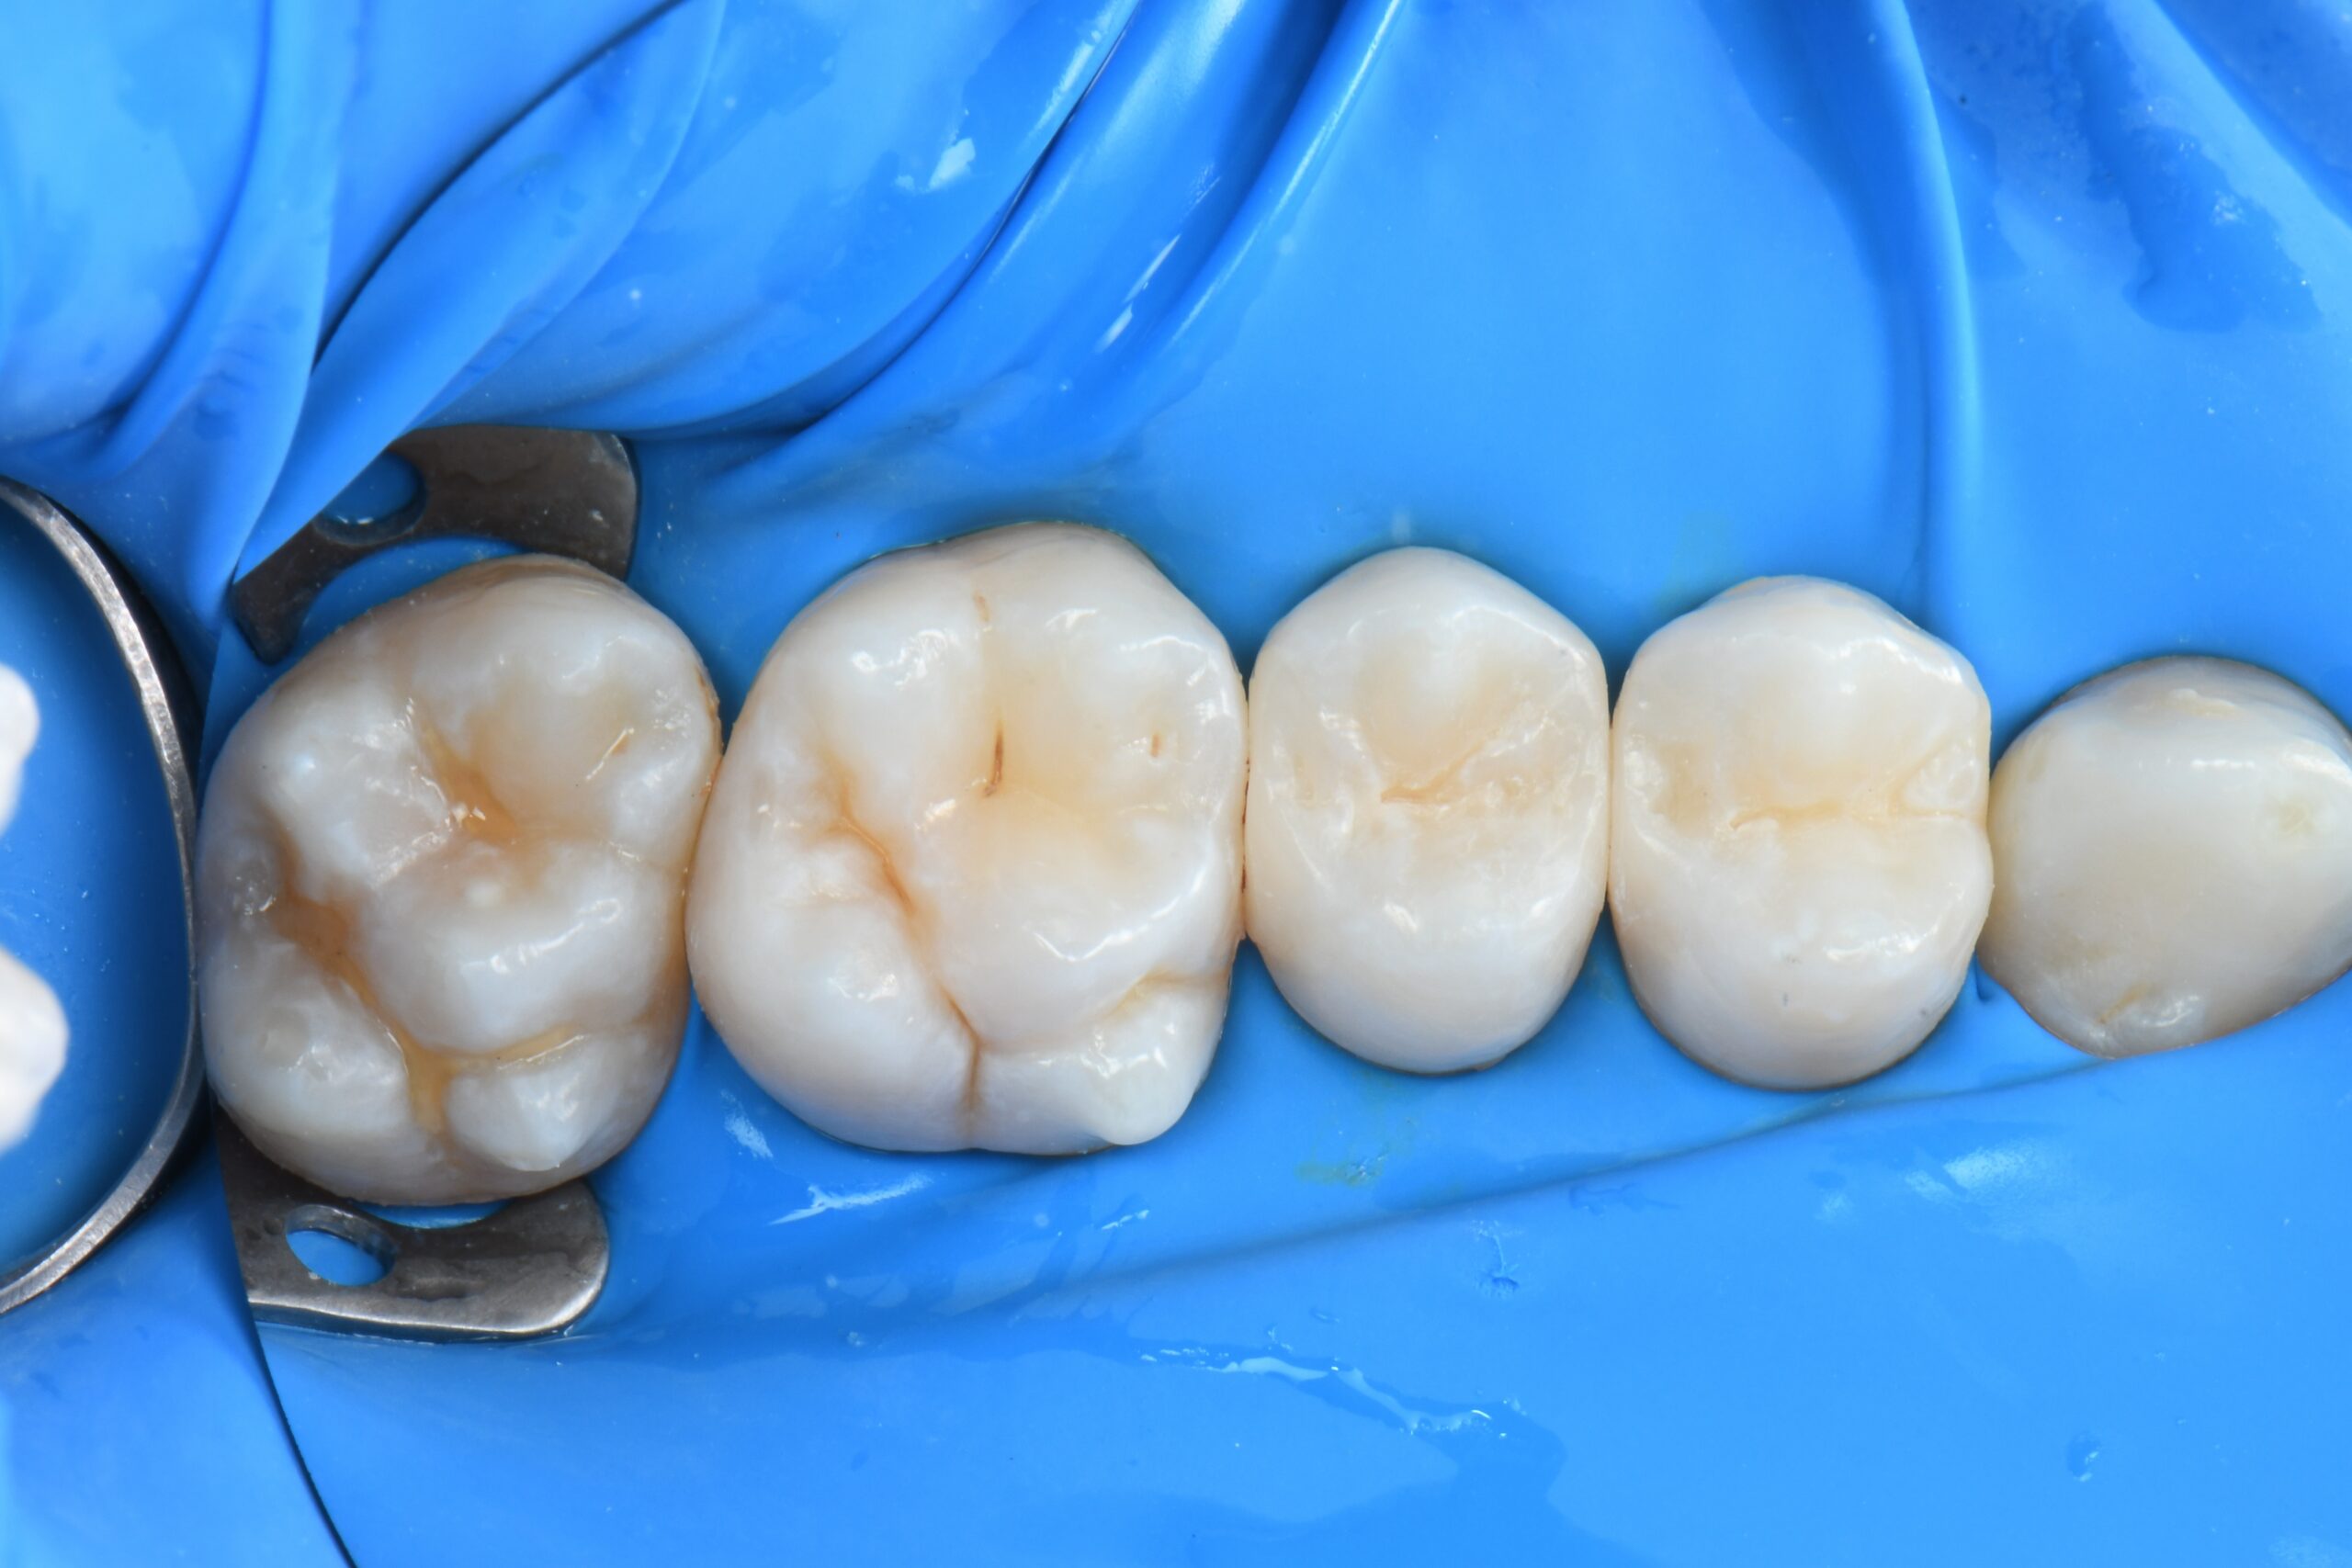
After a quick finishing phase, the restorations are polished with rubber burs and a polishing brush.
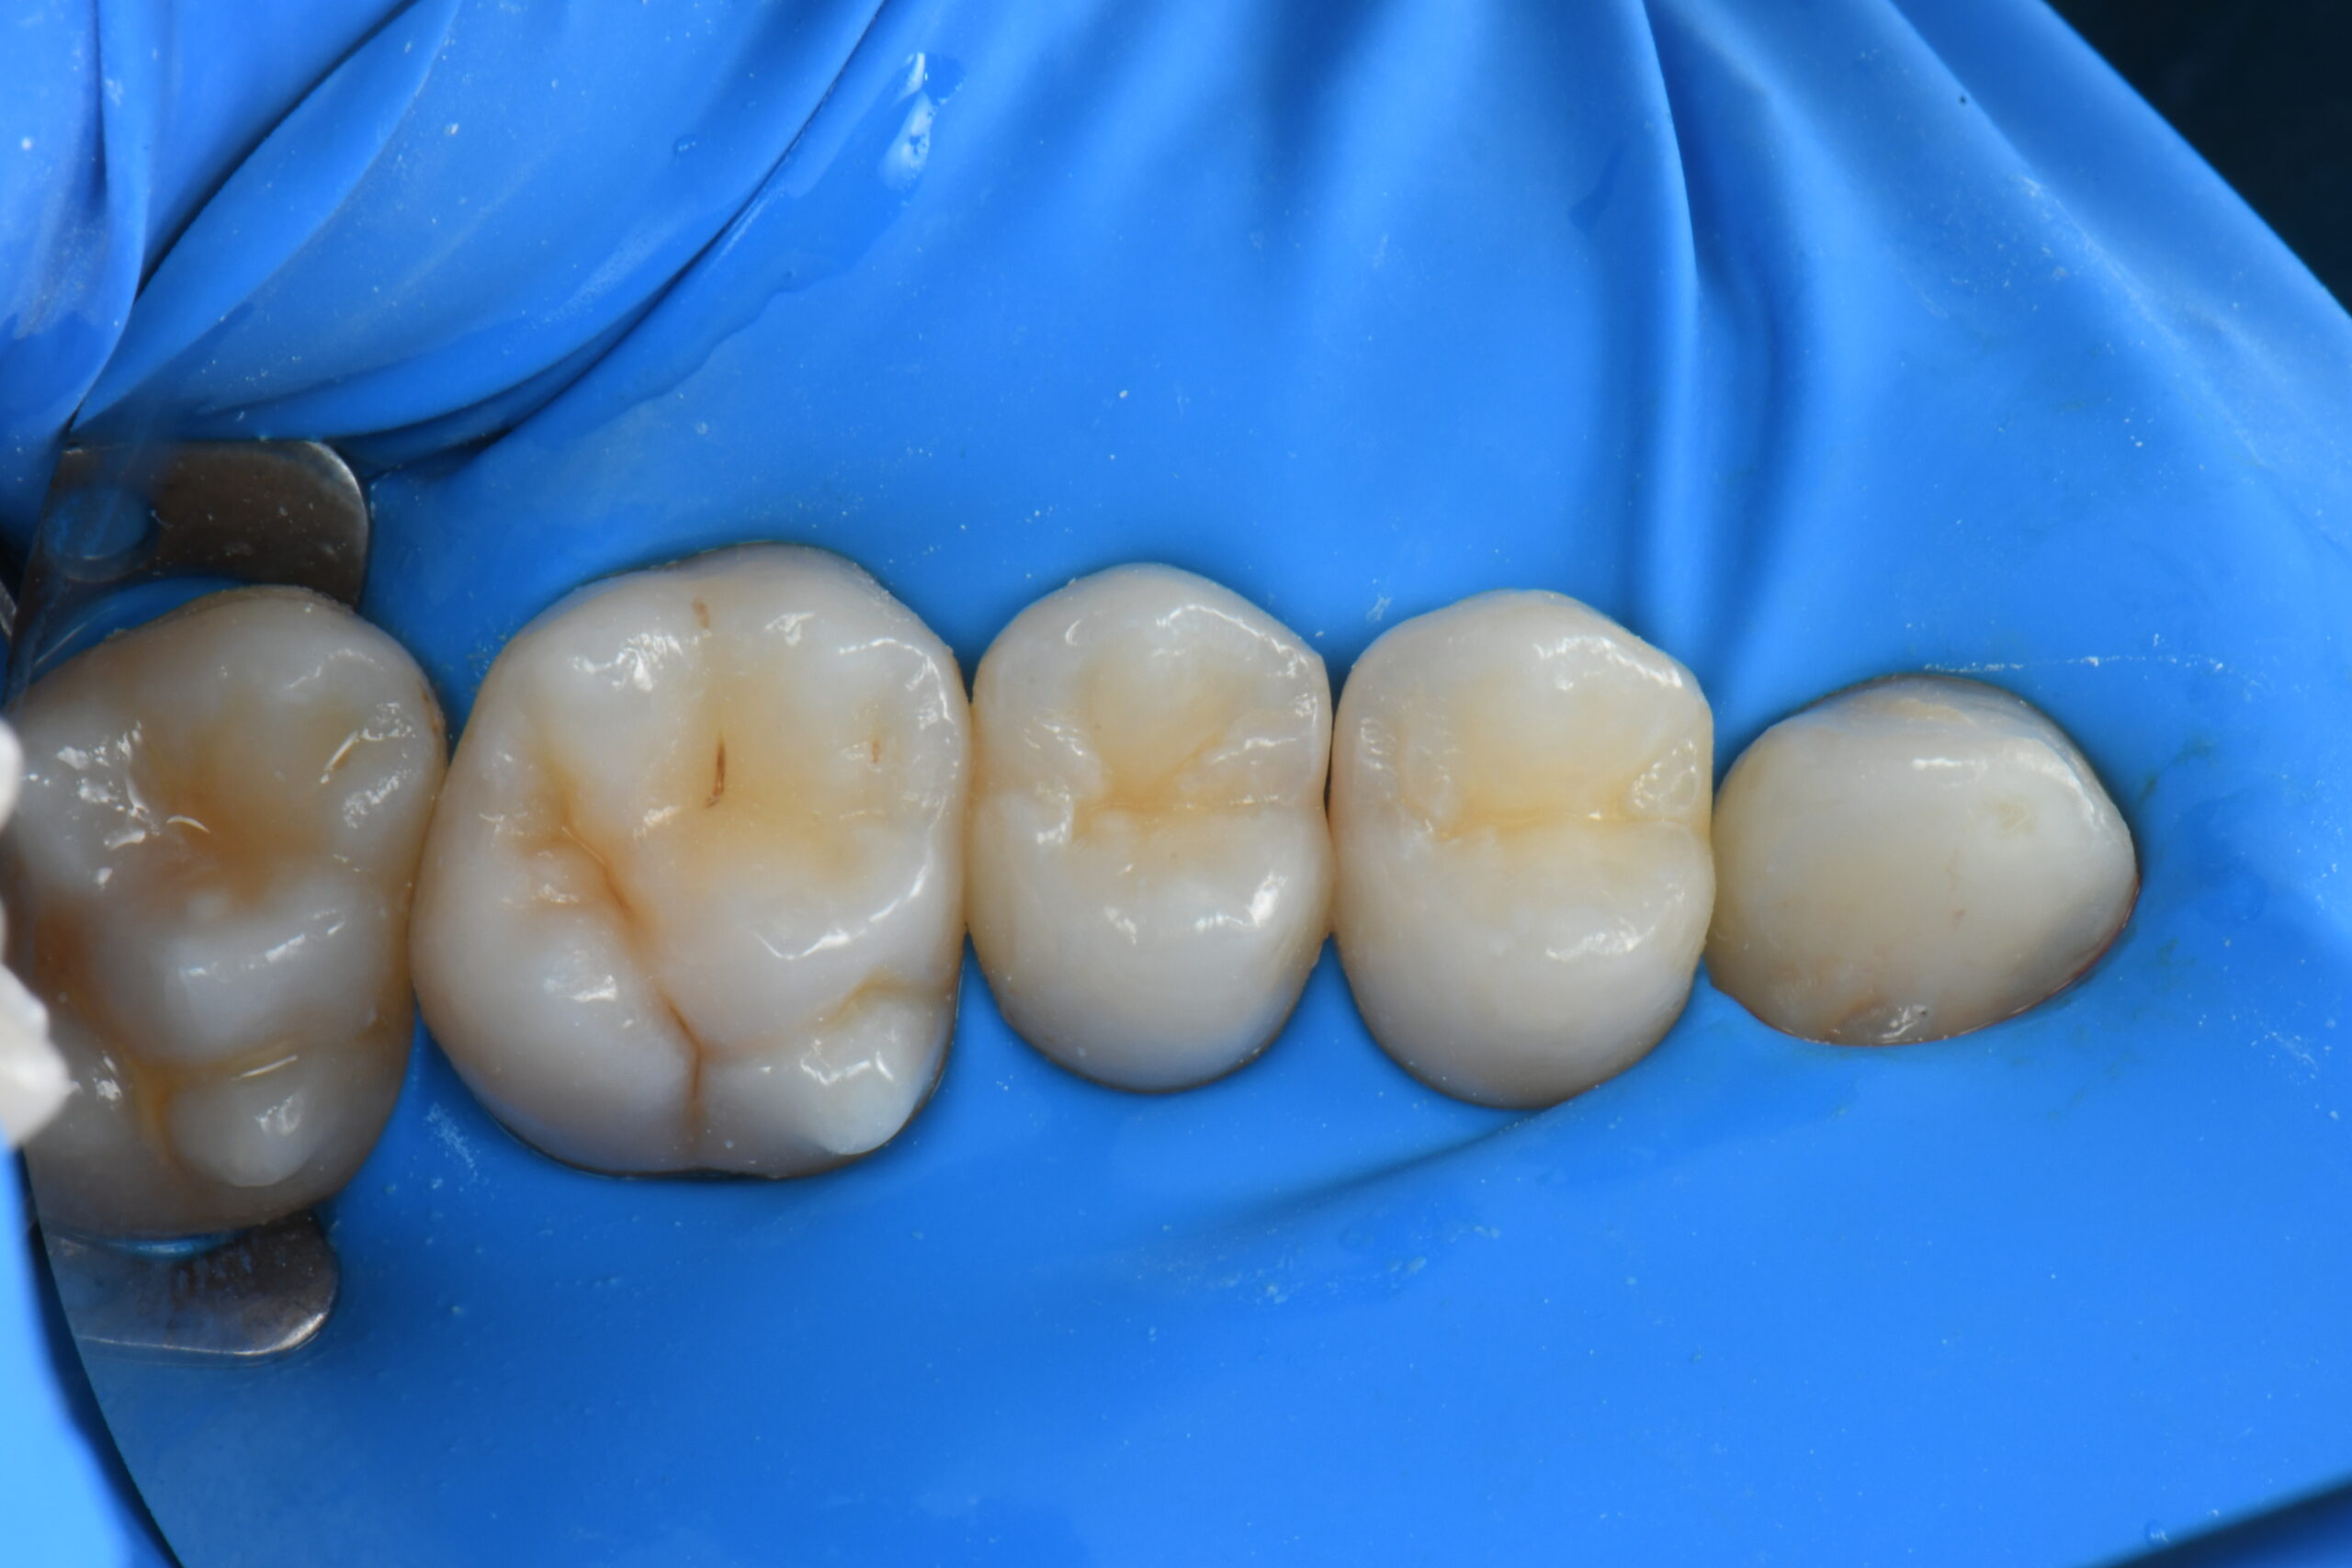
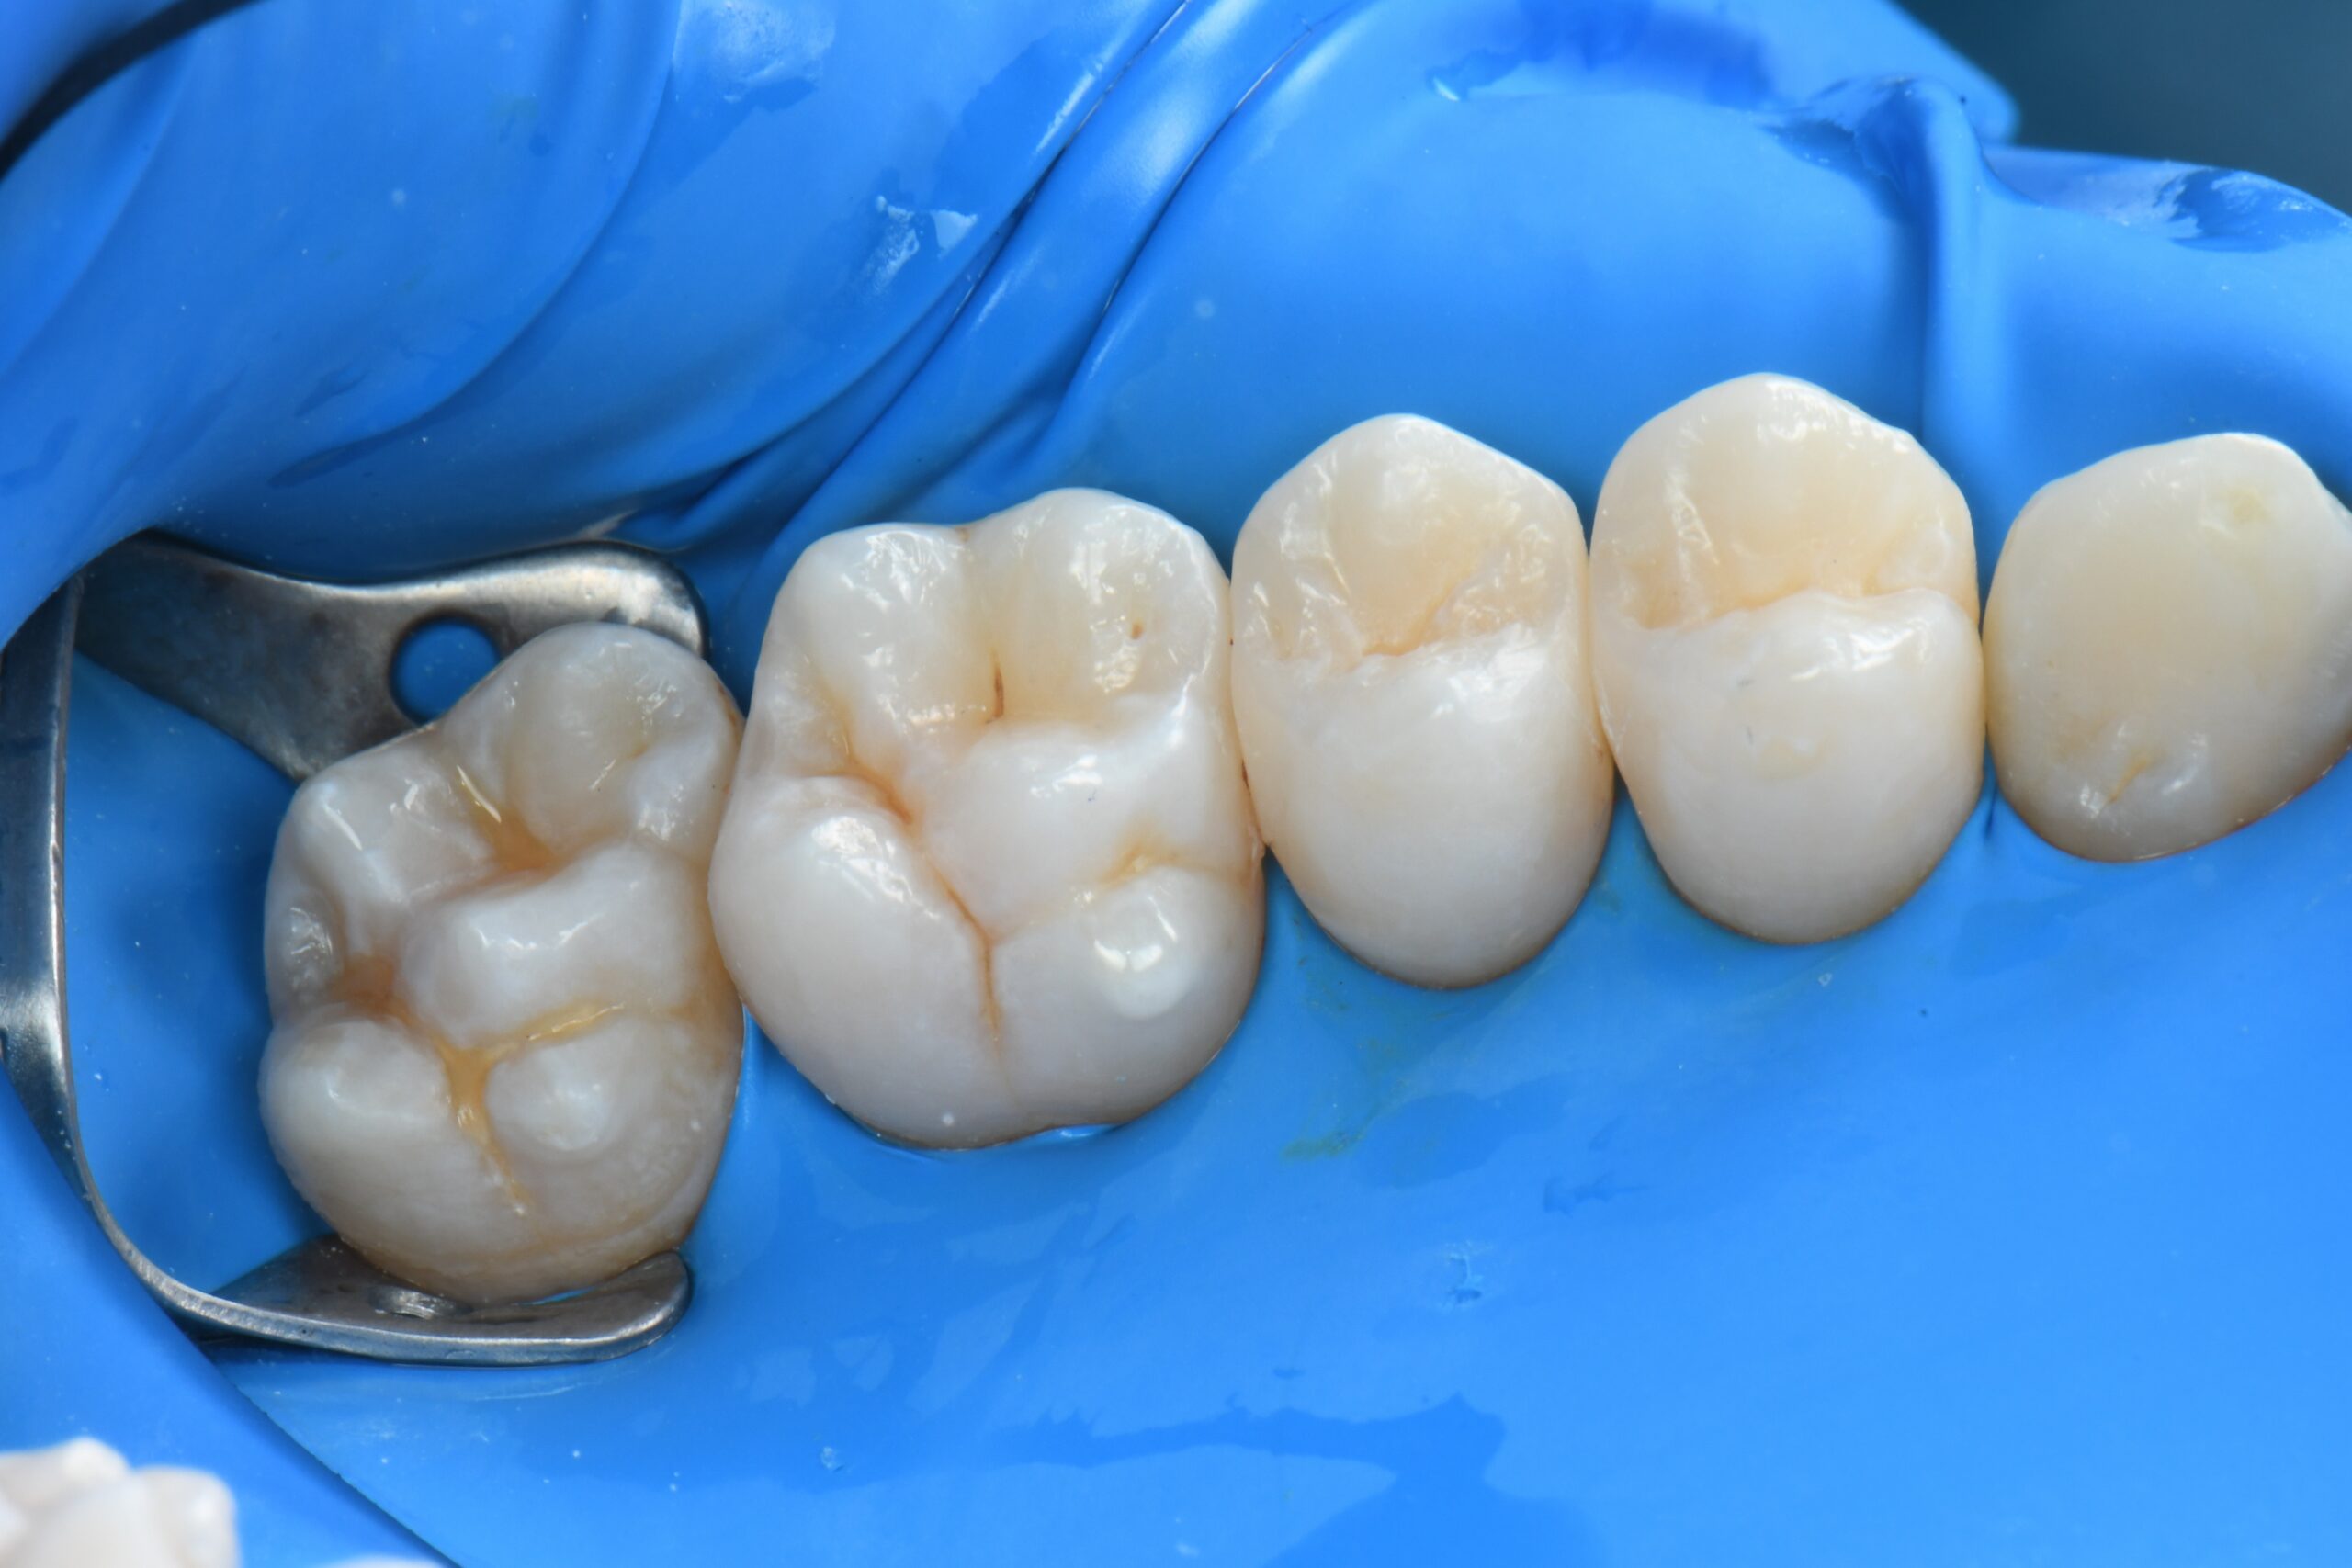
Immediate occlusal post-op photo after rubber dam removal and occlusal adjustments.
Pre-op palatal view.
Post-op palatal view under rubber dam isolation.
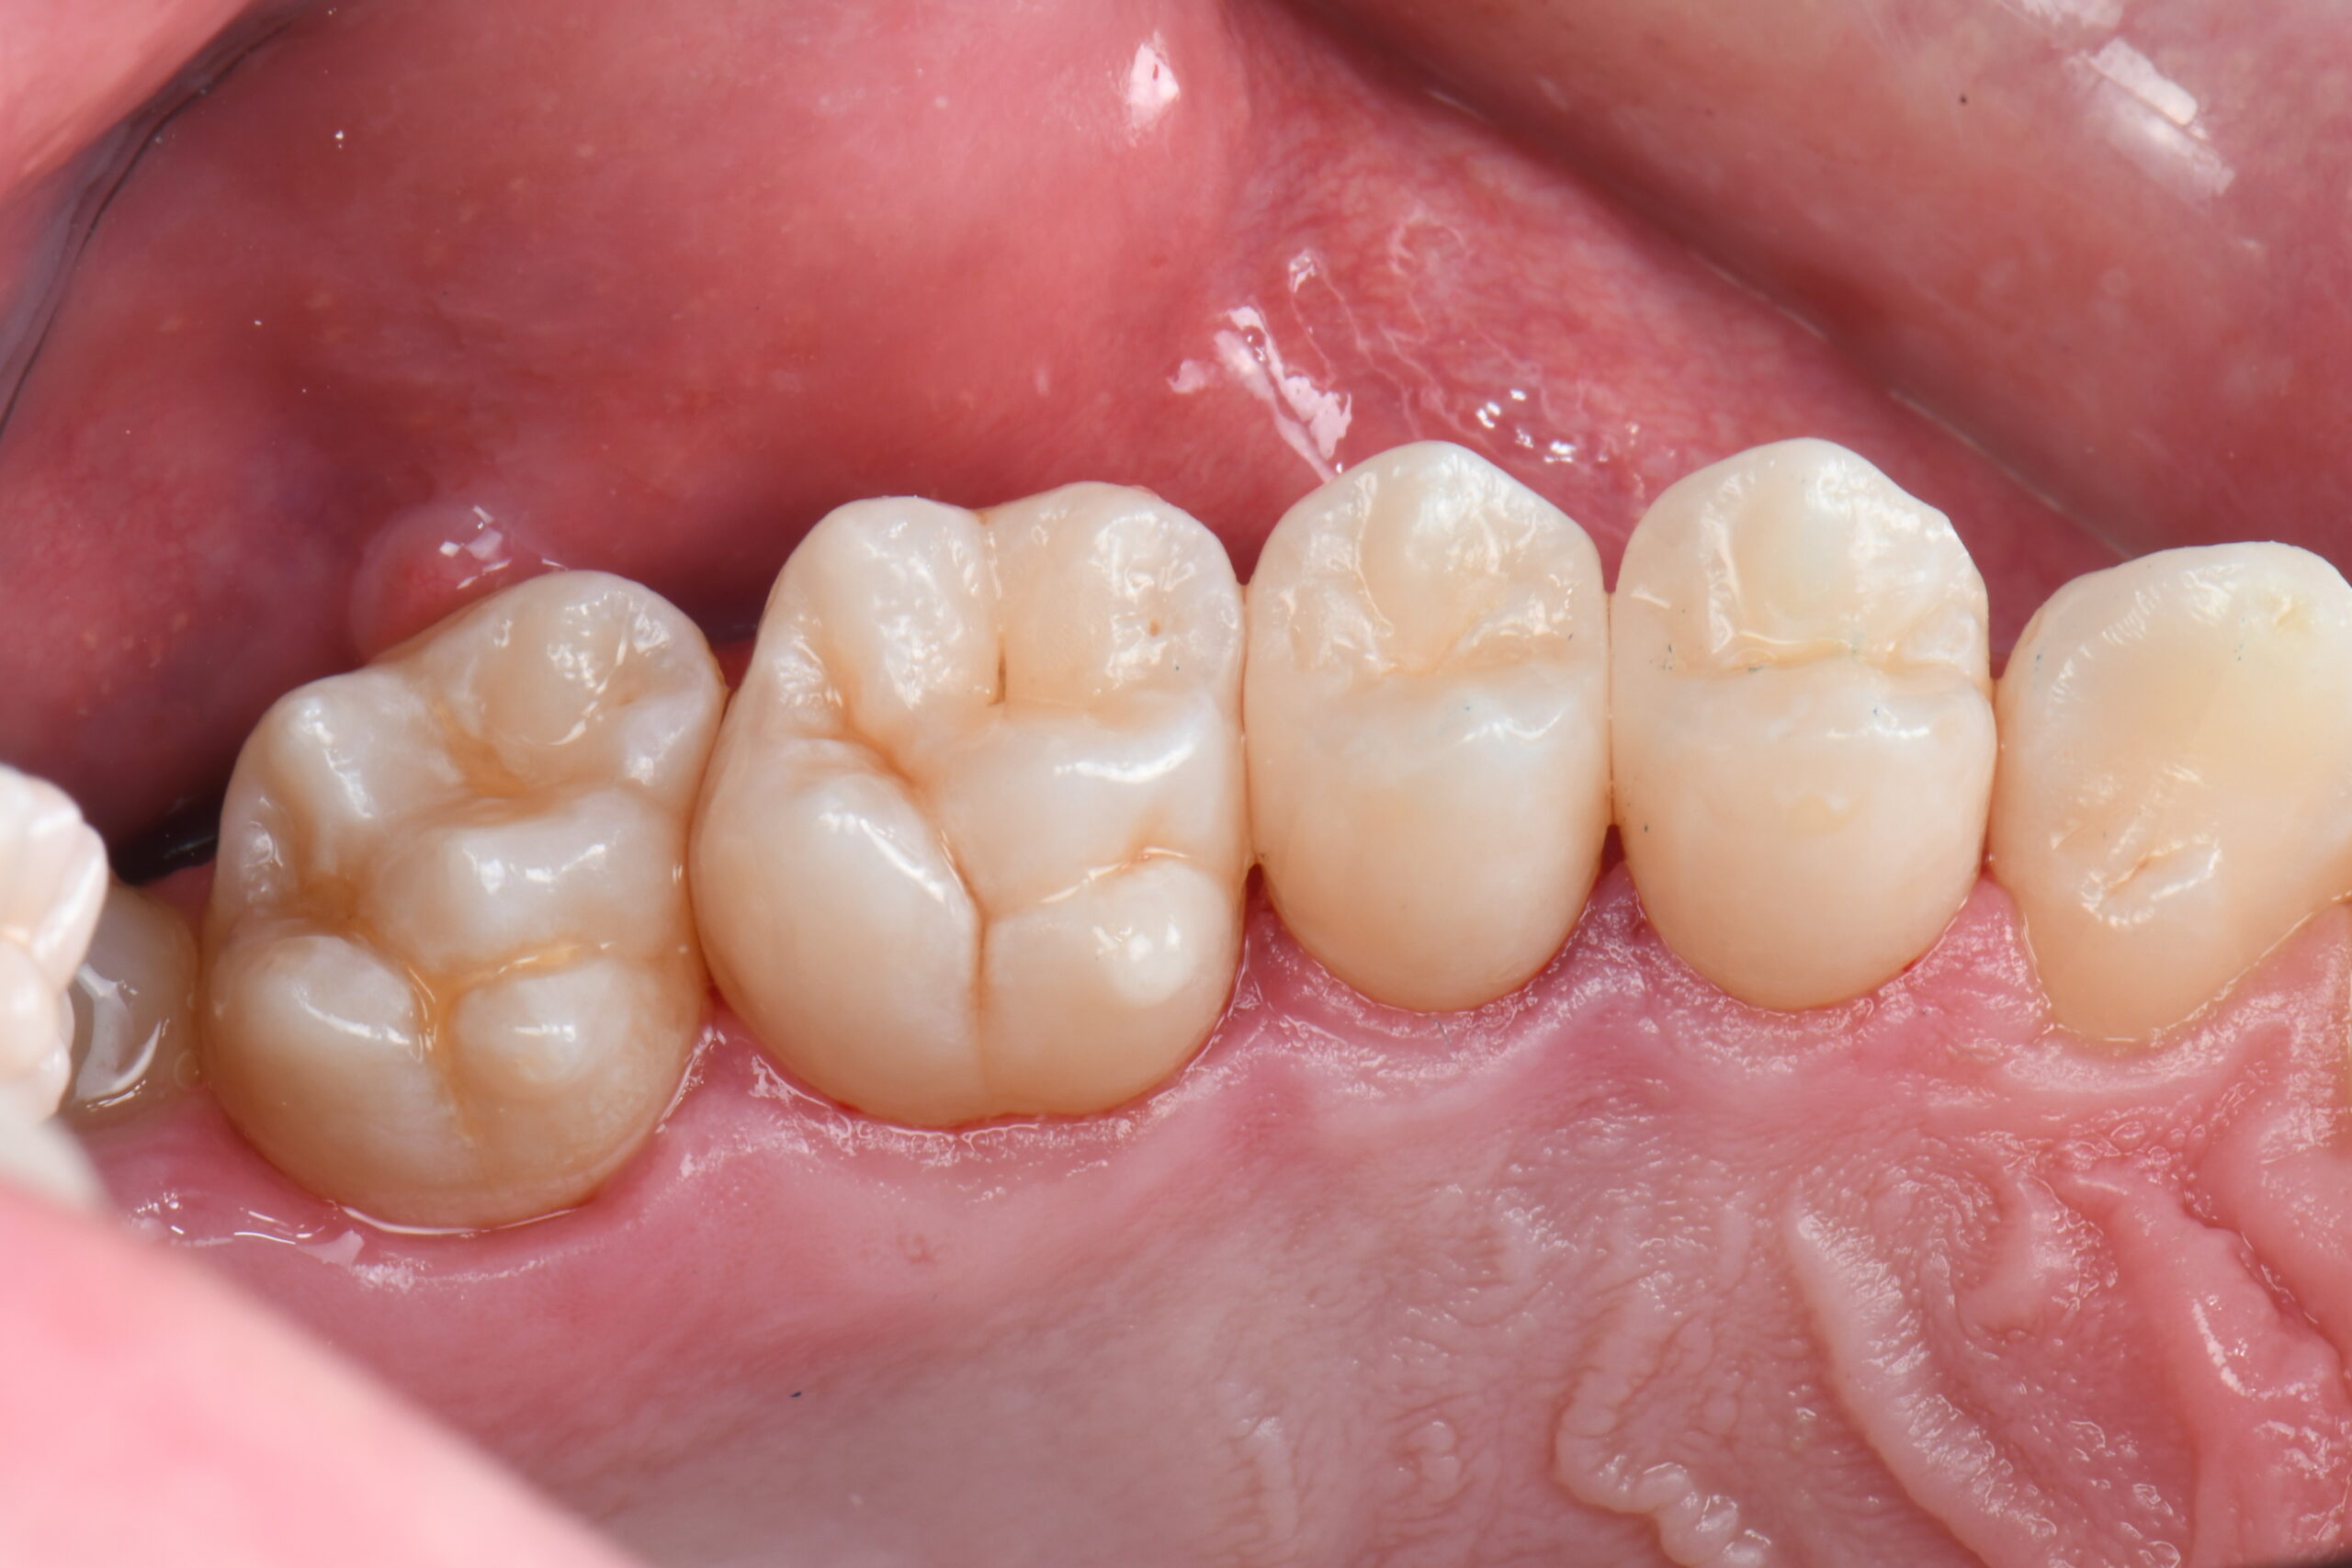
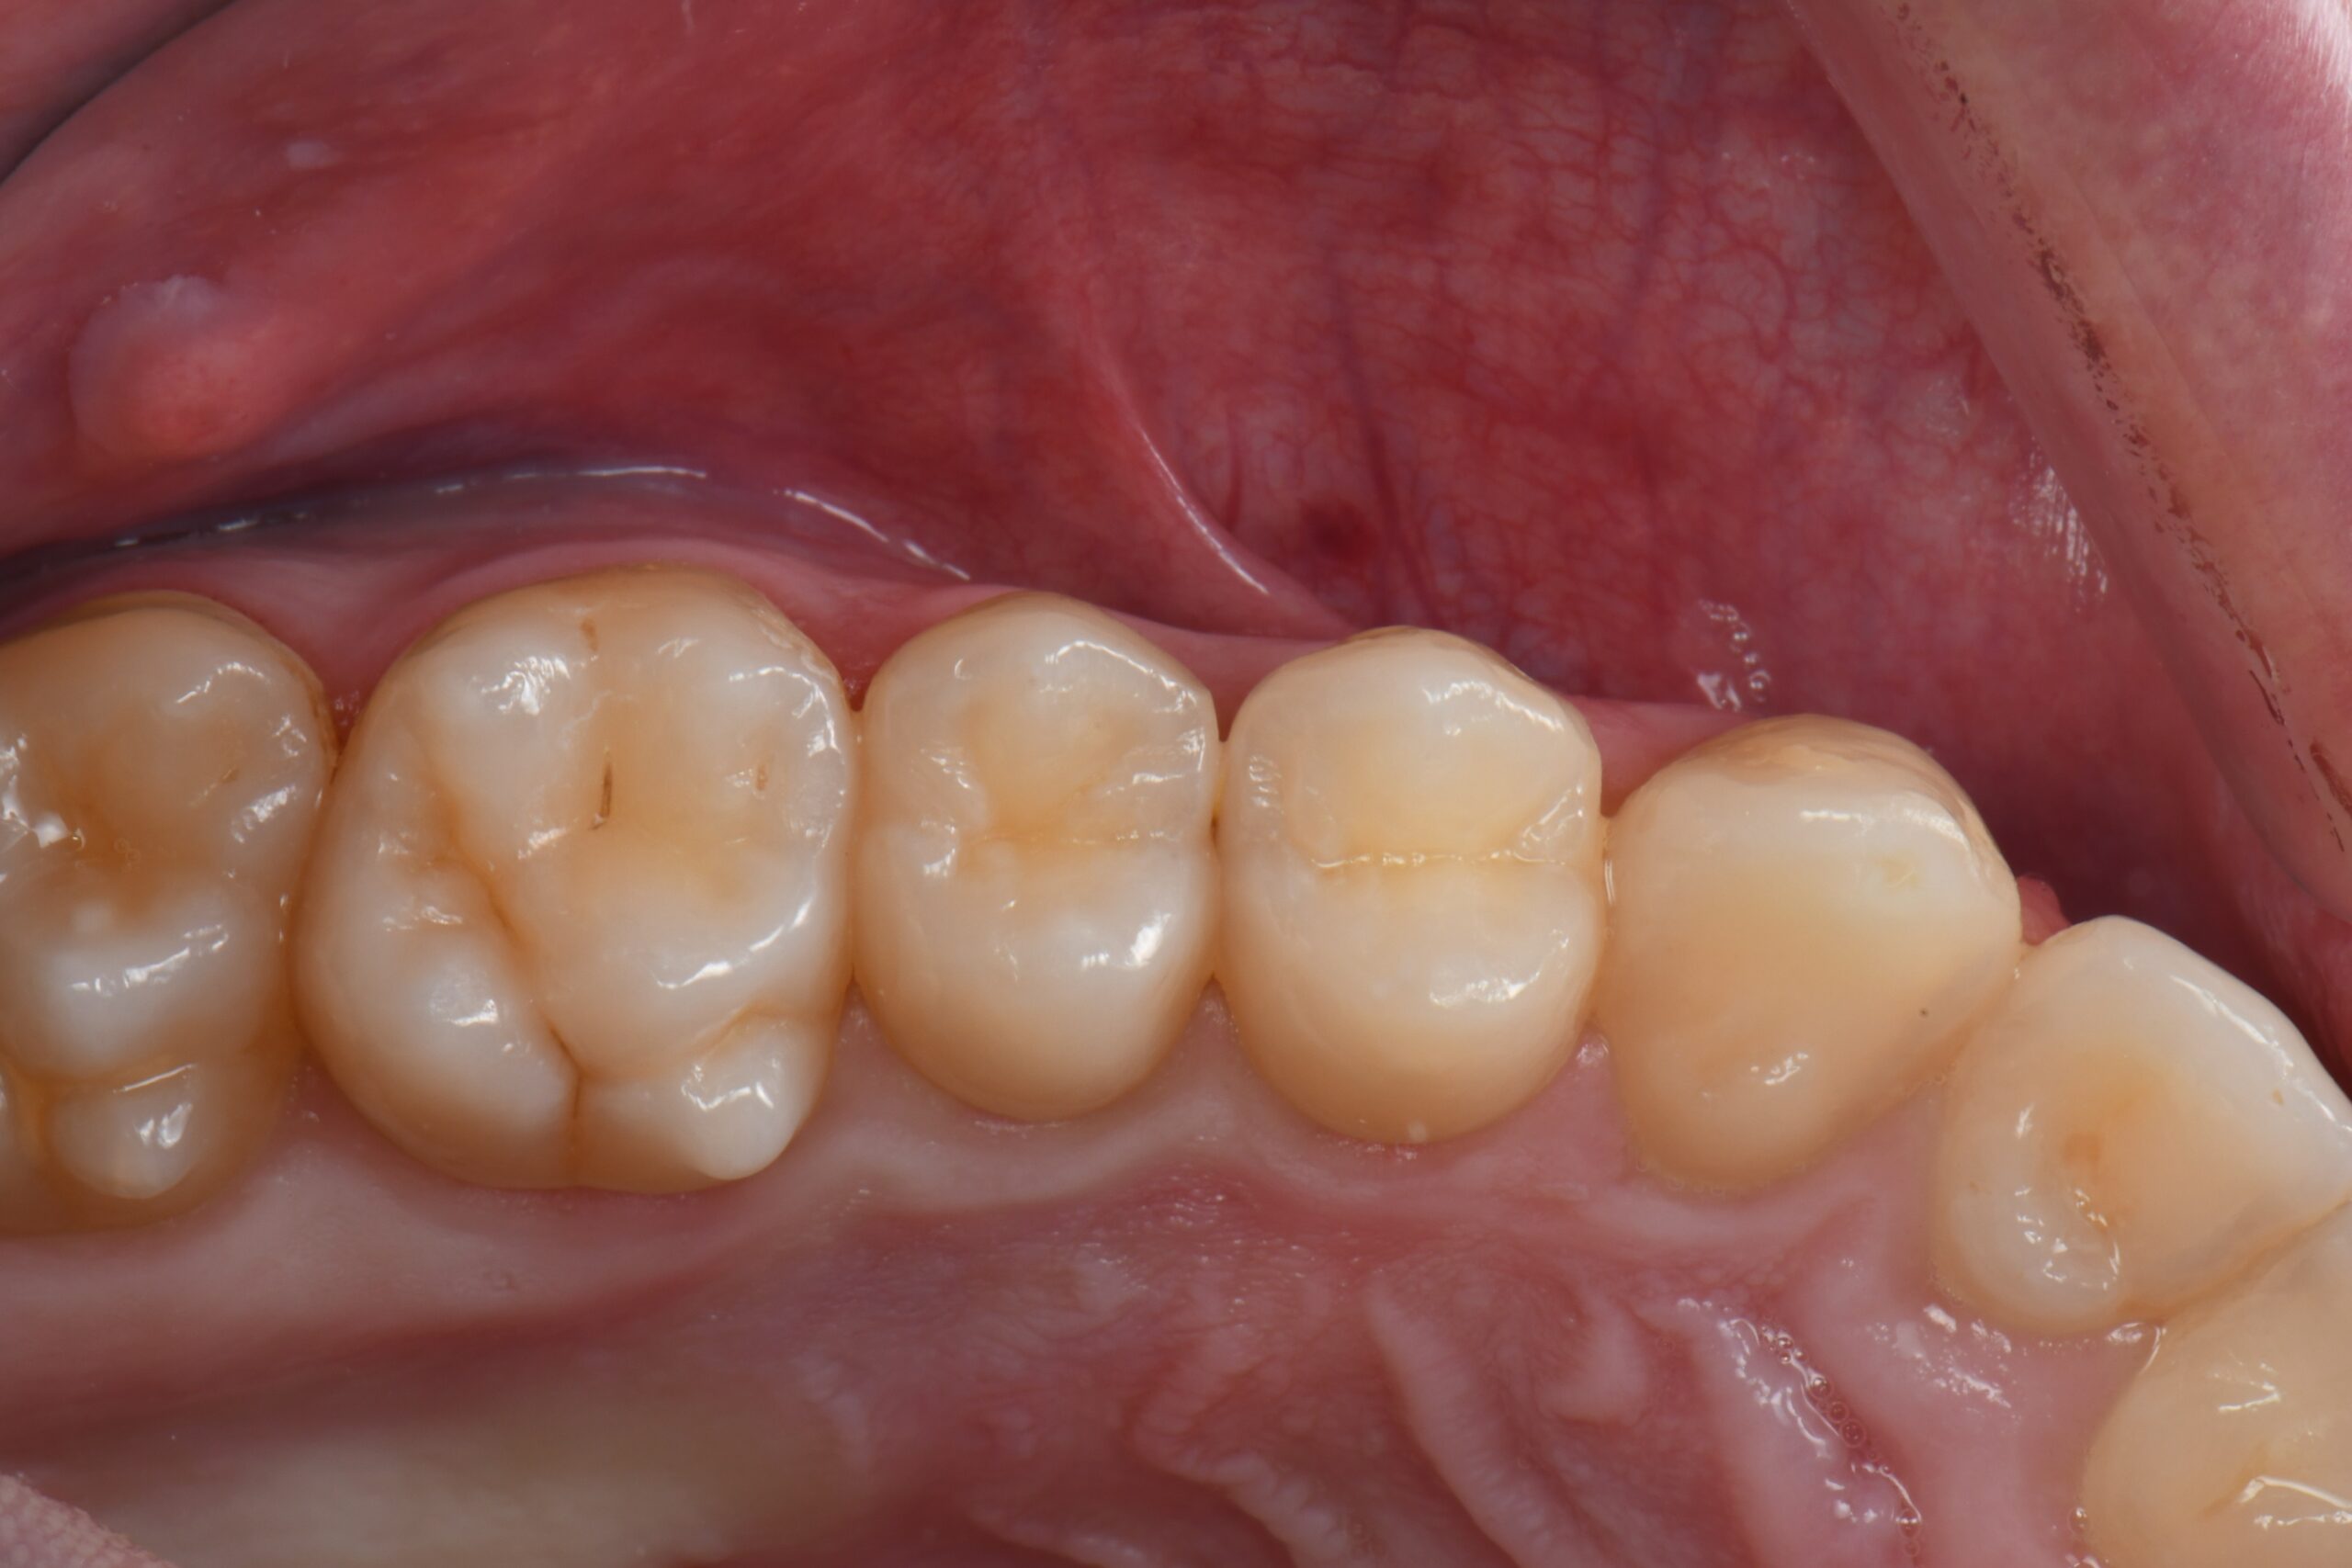
Post-op palatal view after rubber dam removal and occlusal adjustments.
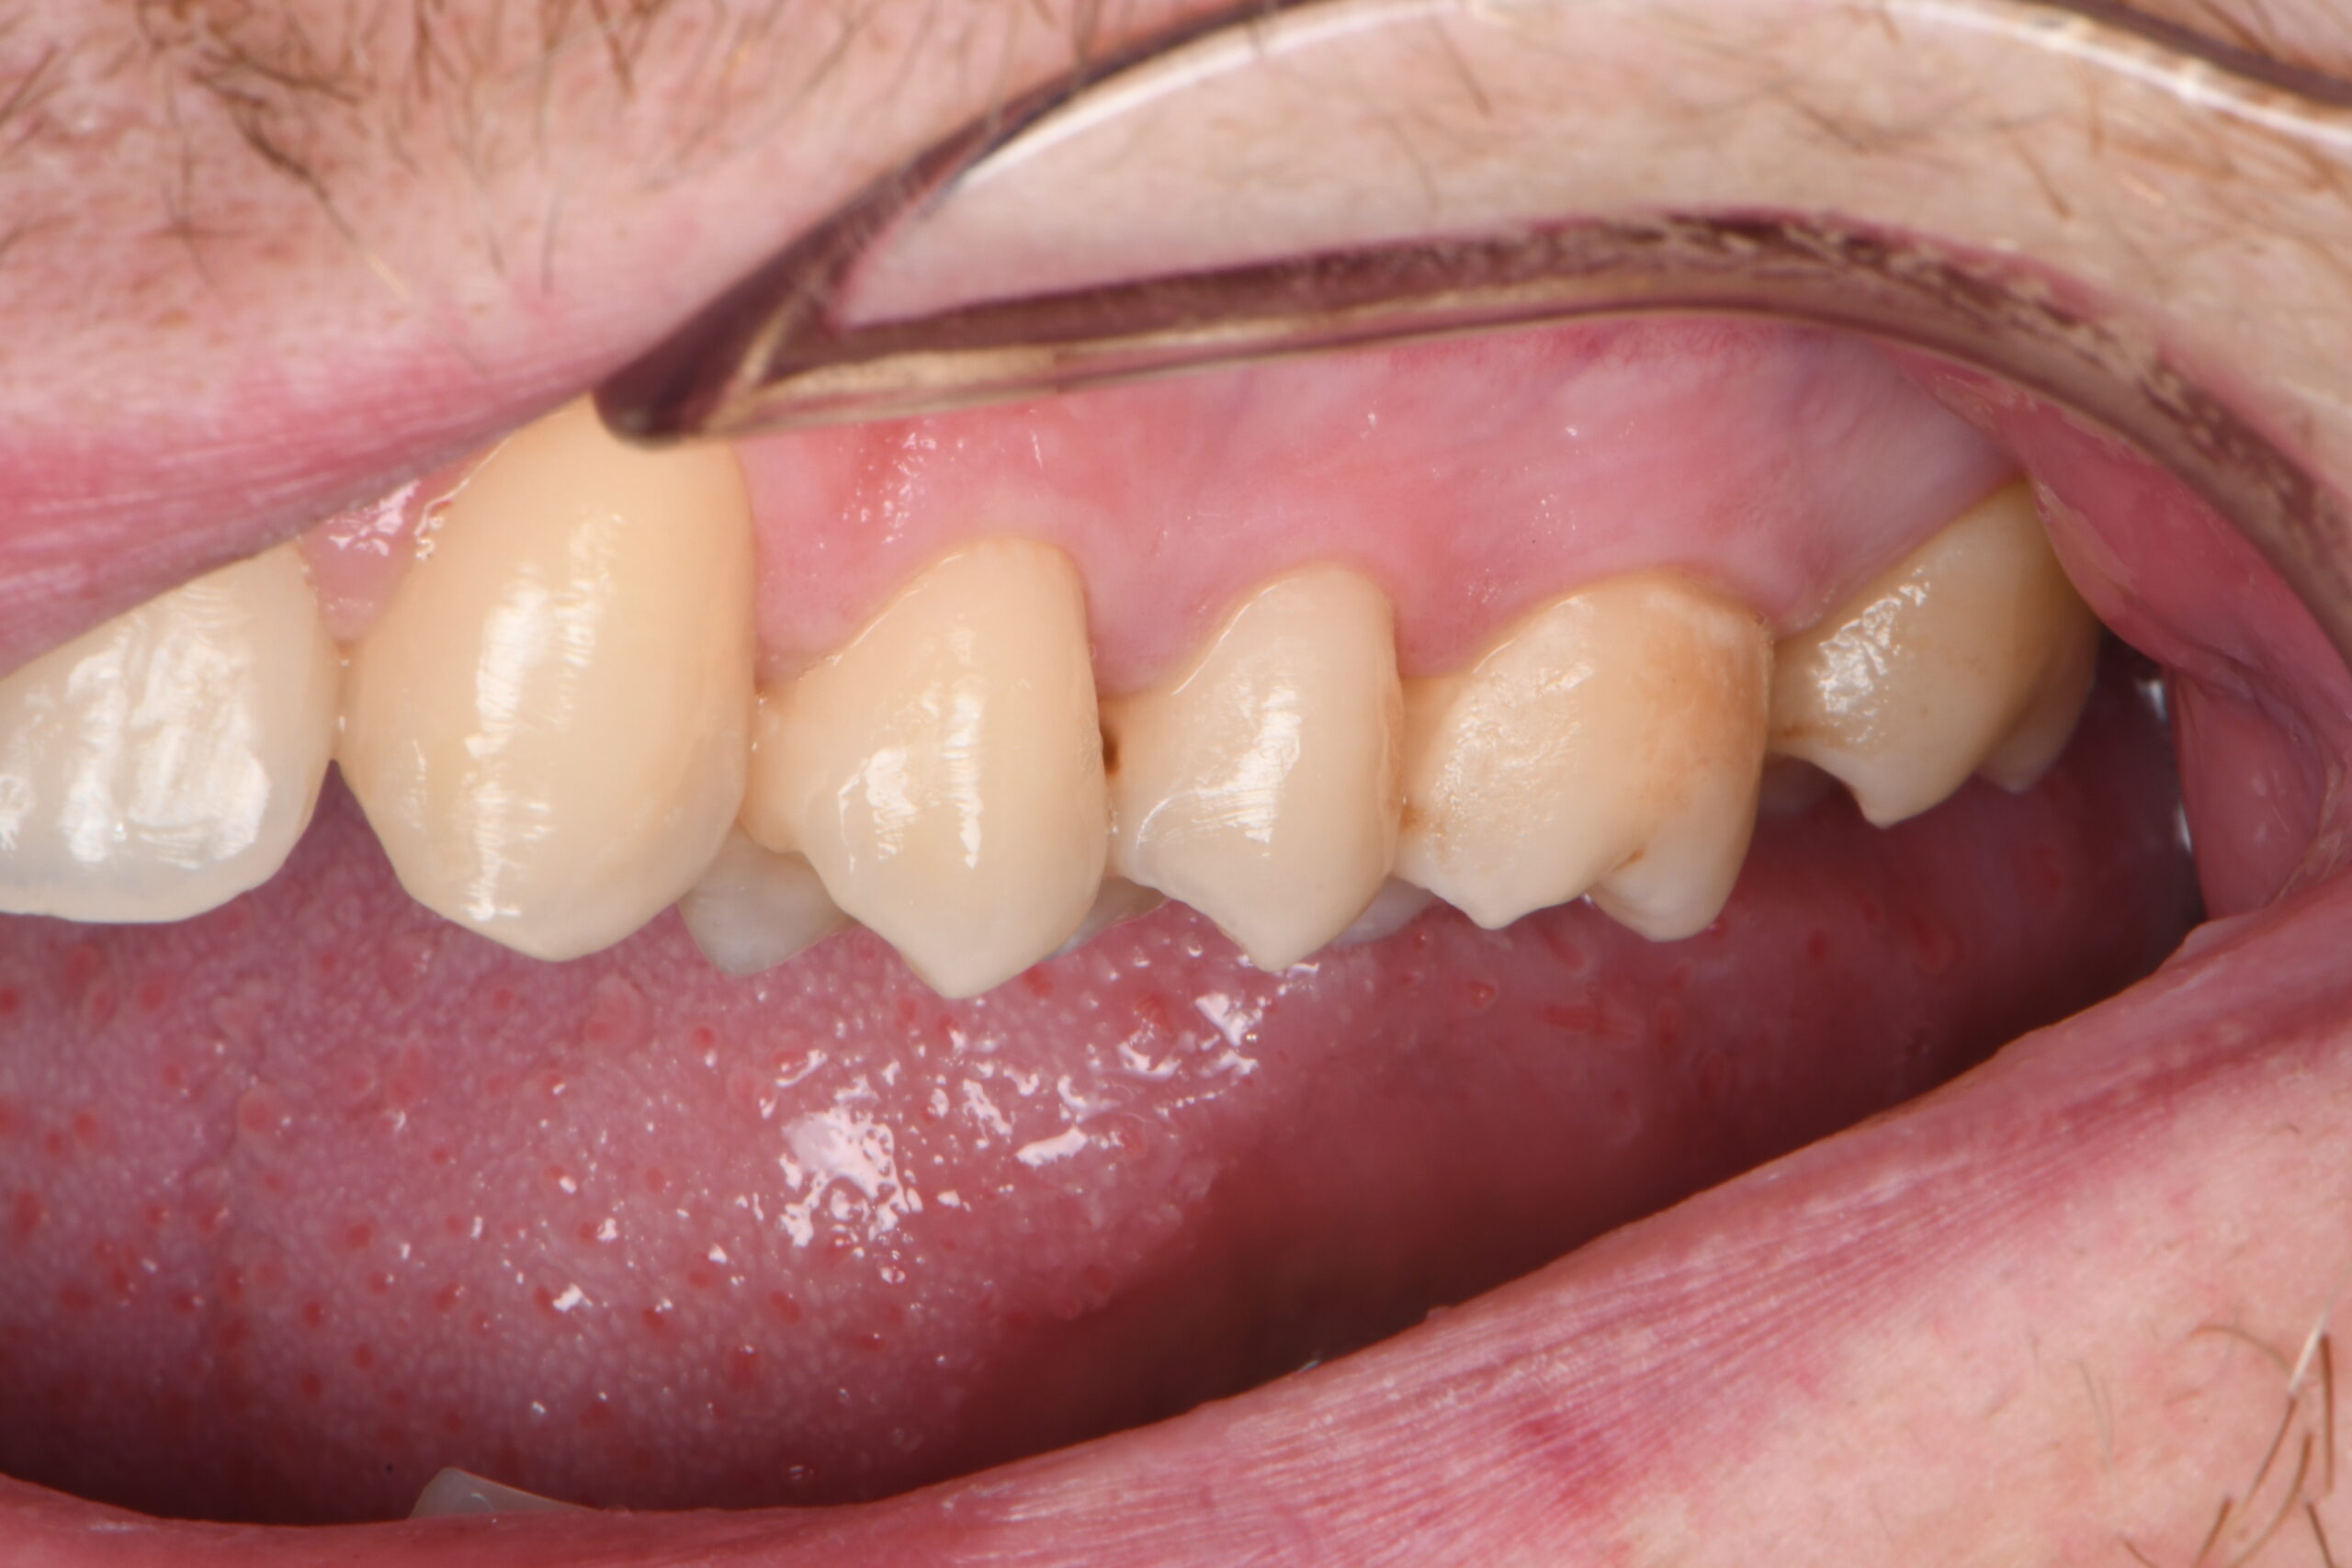
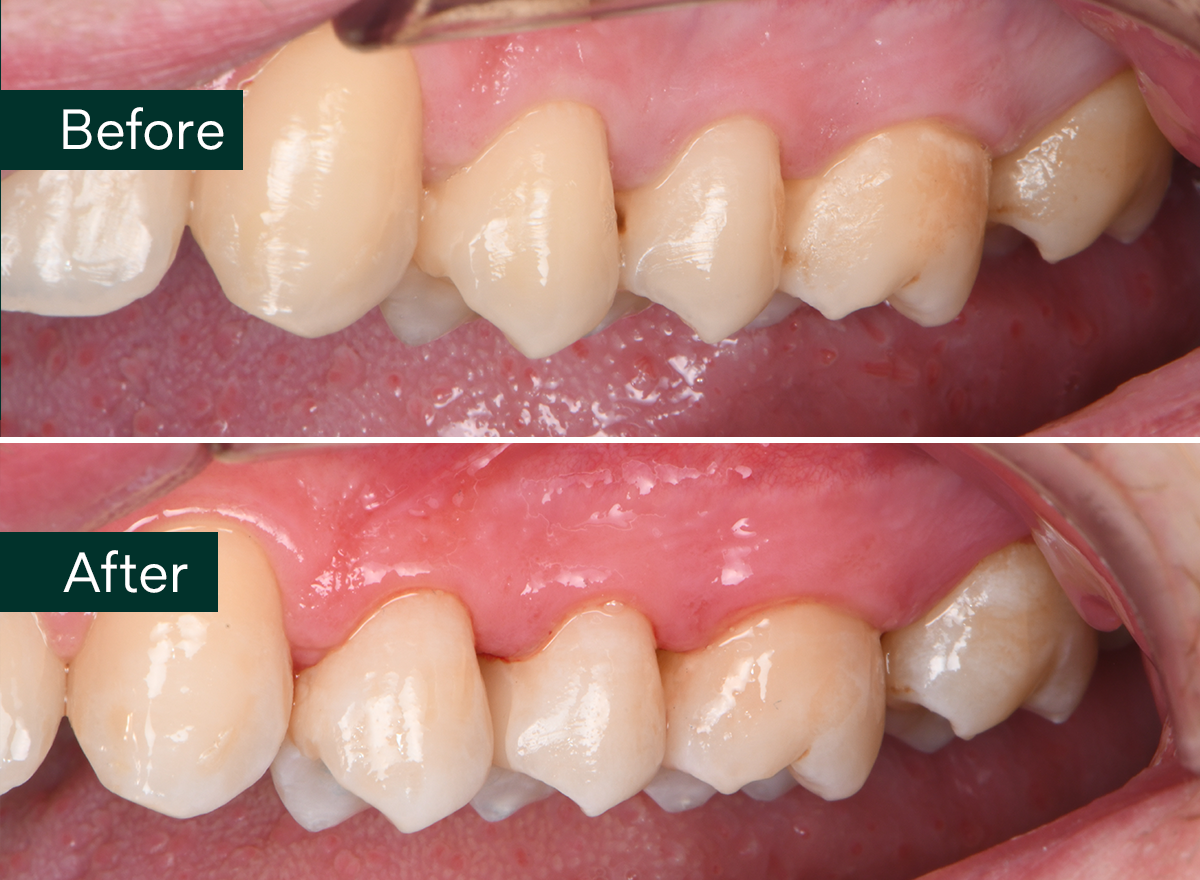
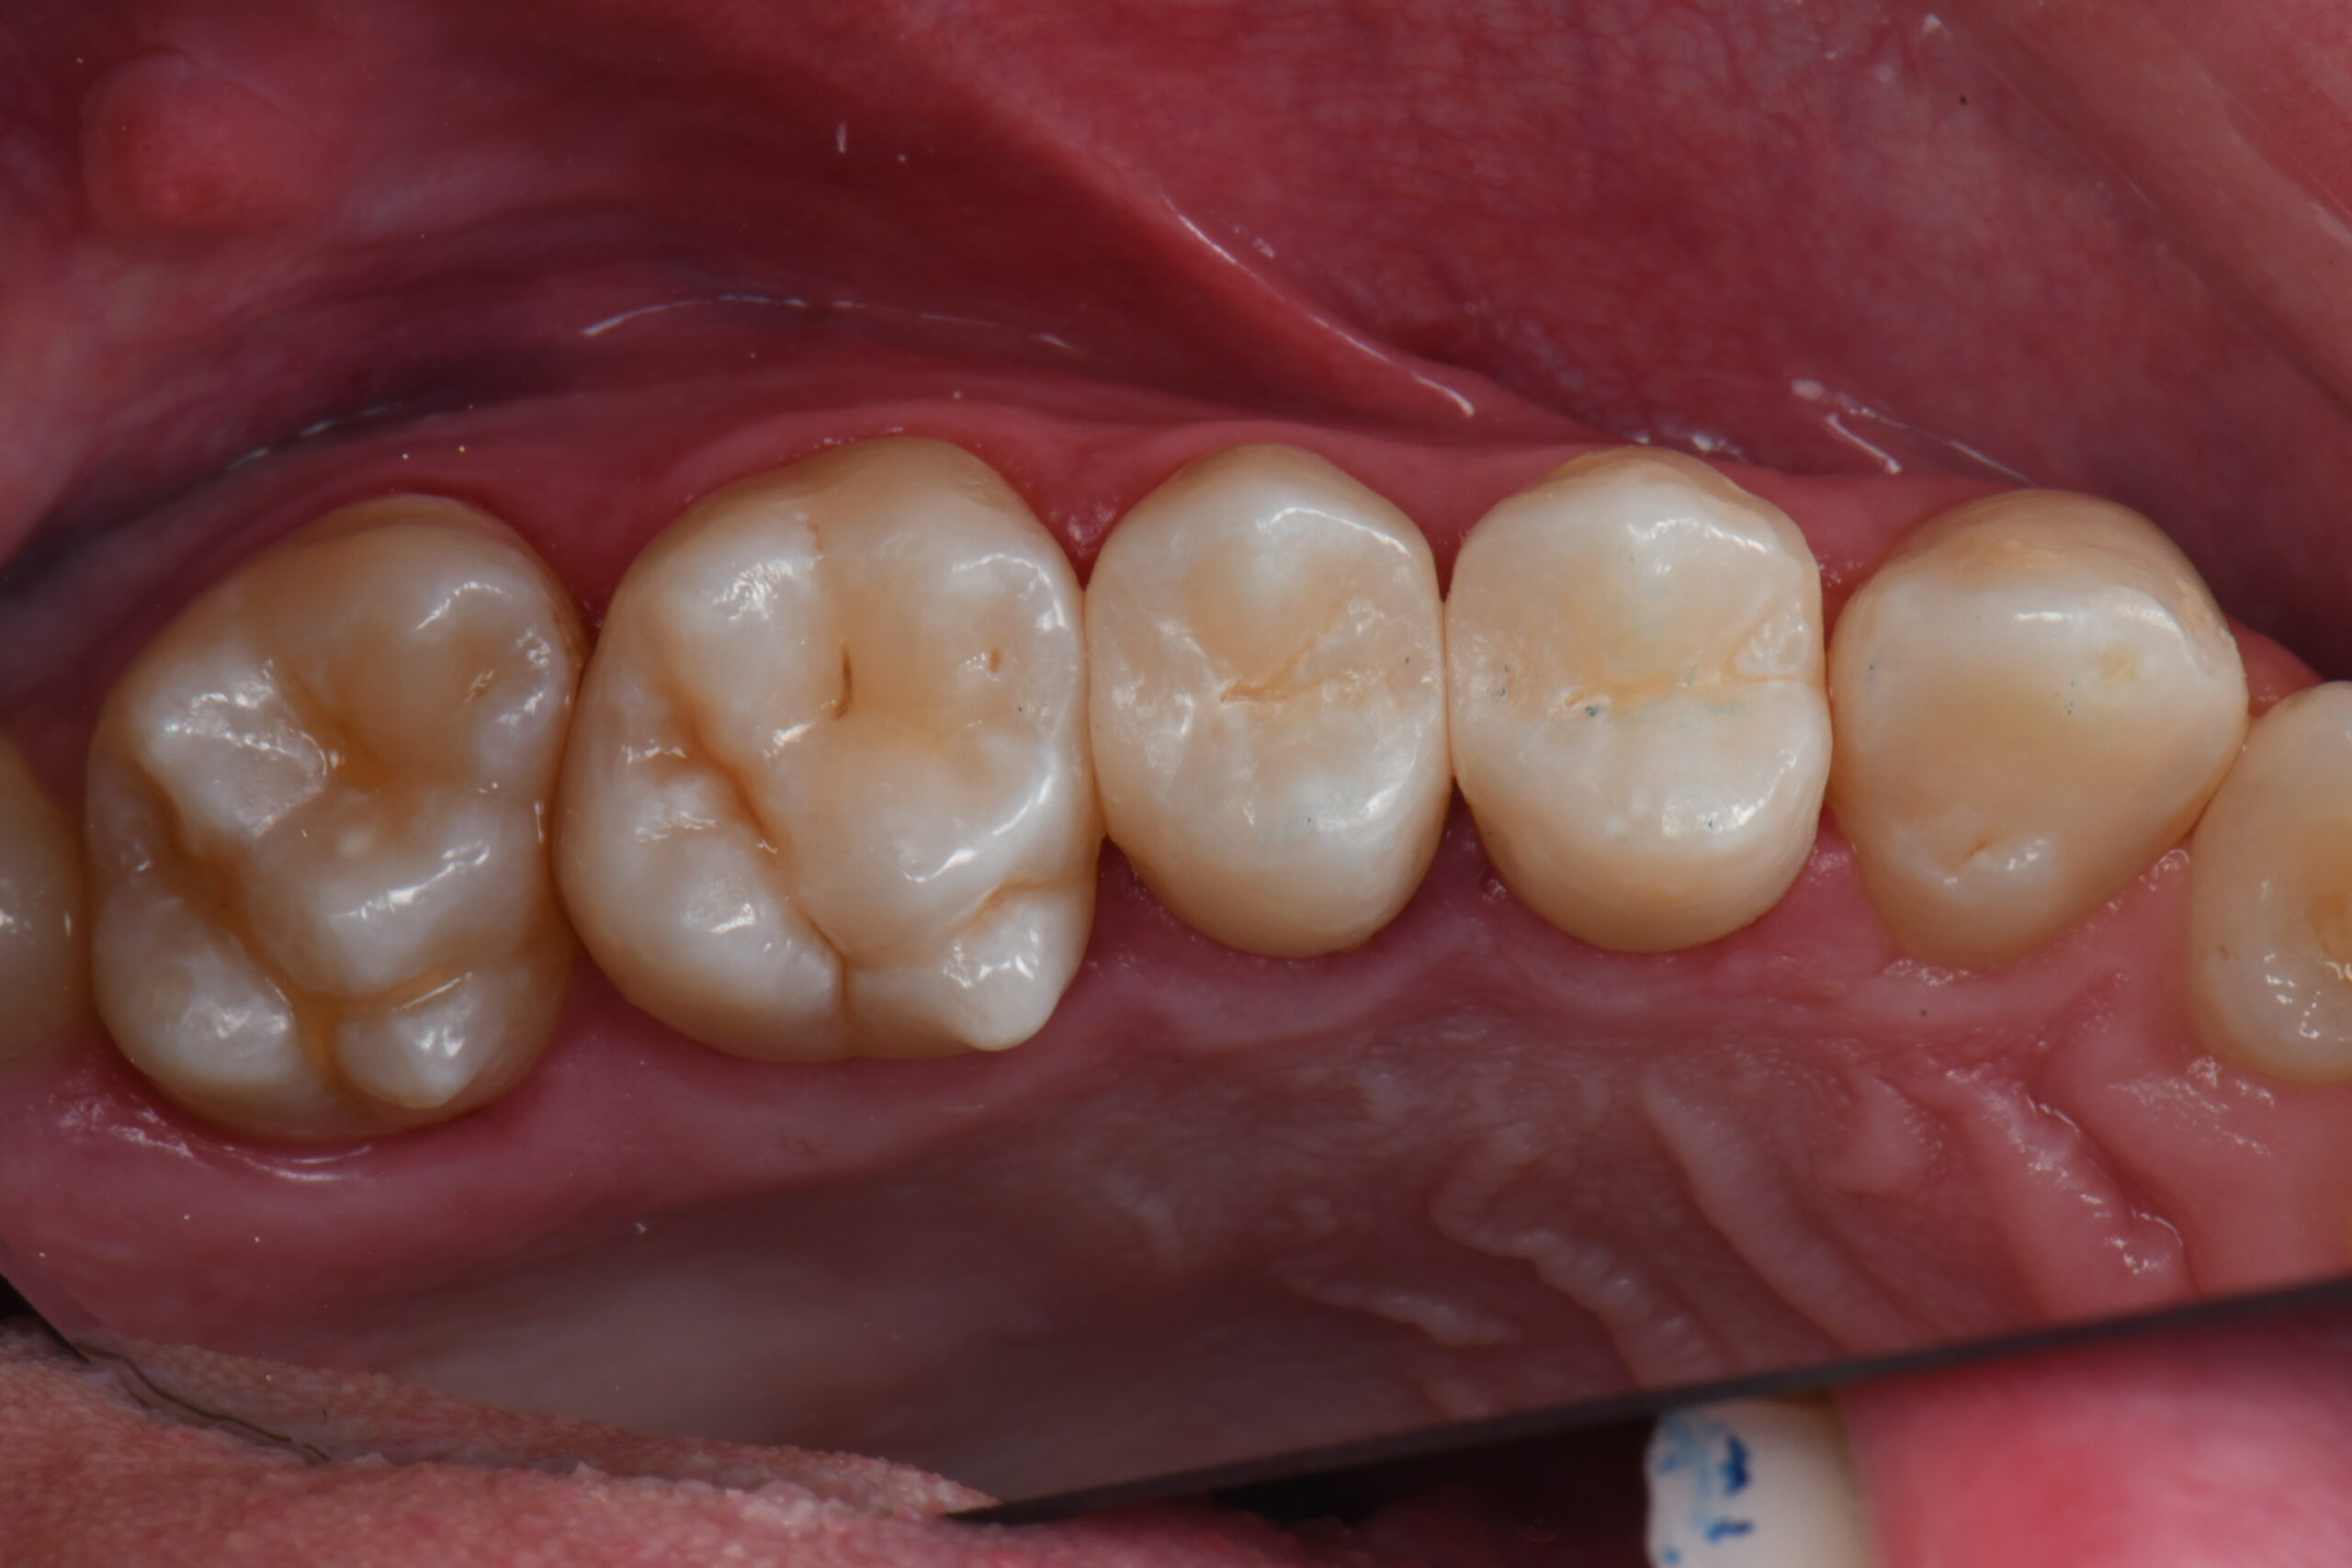
Pre-op vestibular view.
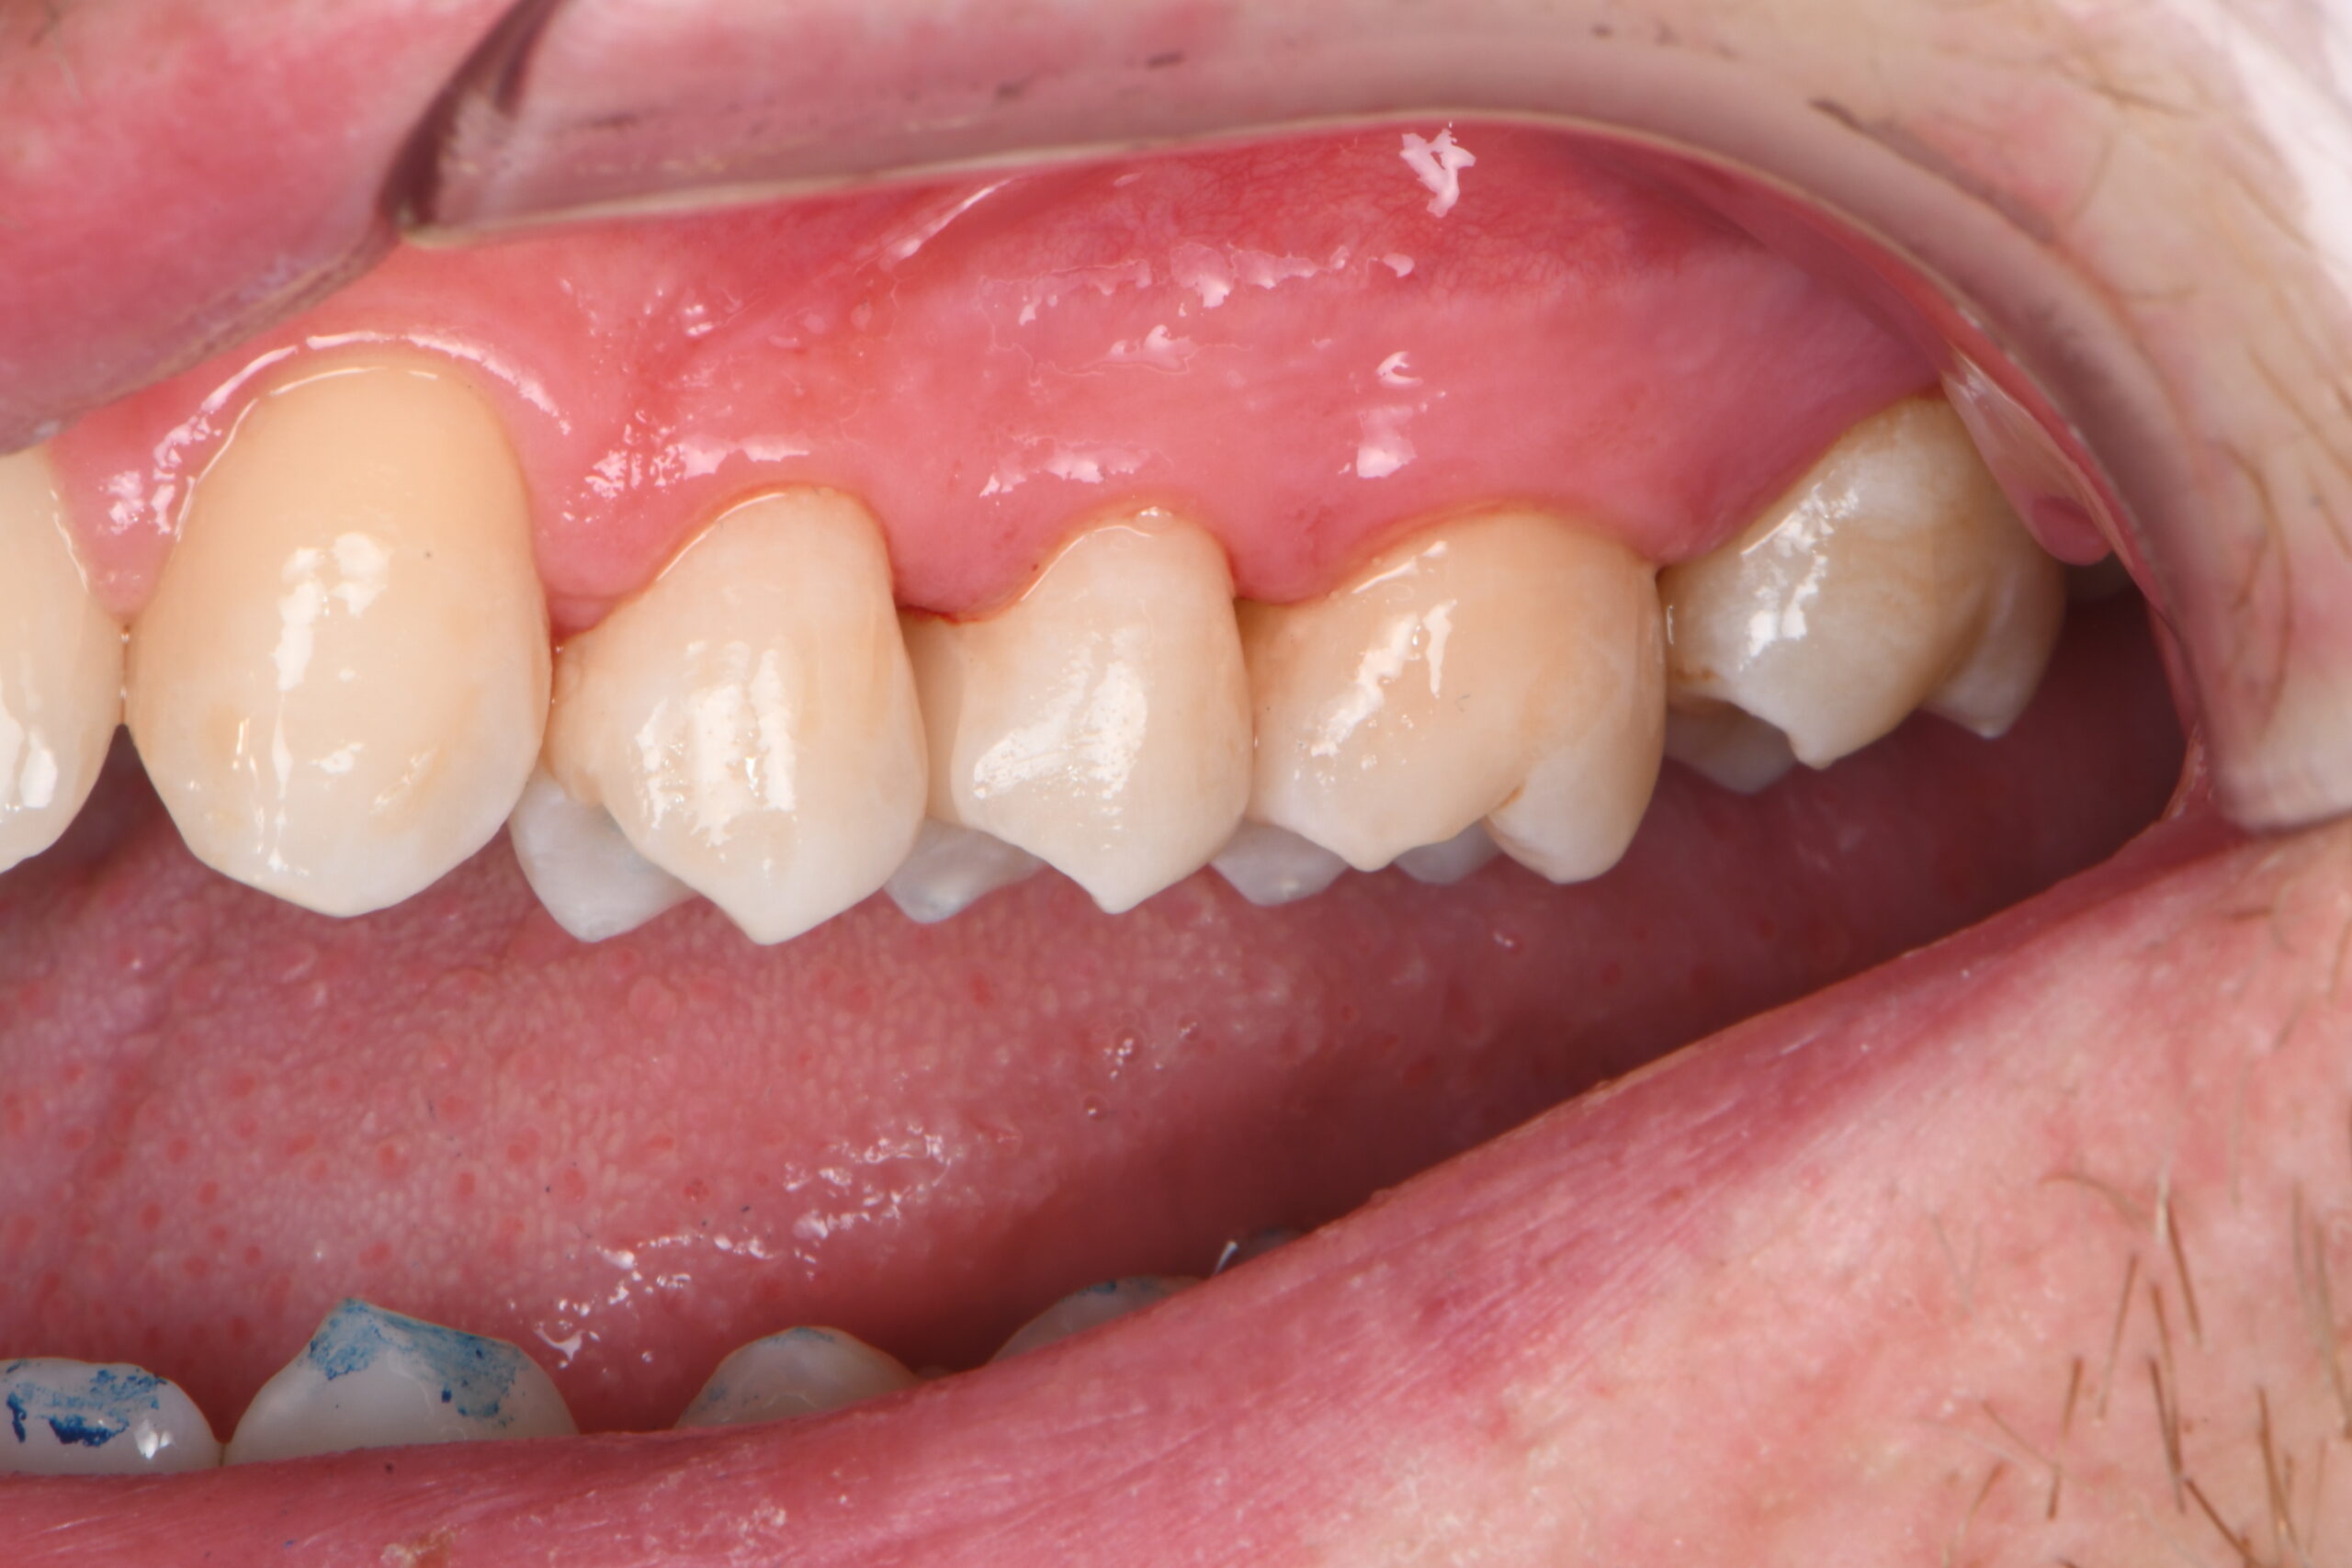
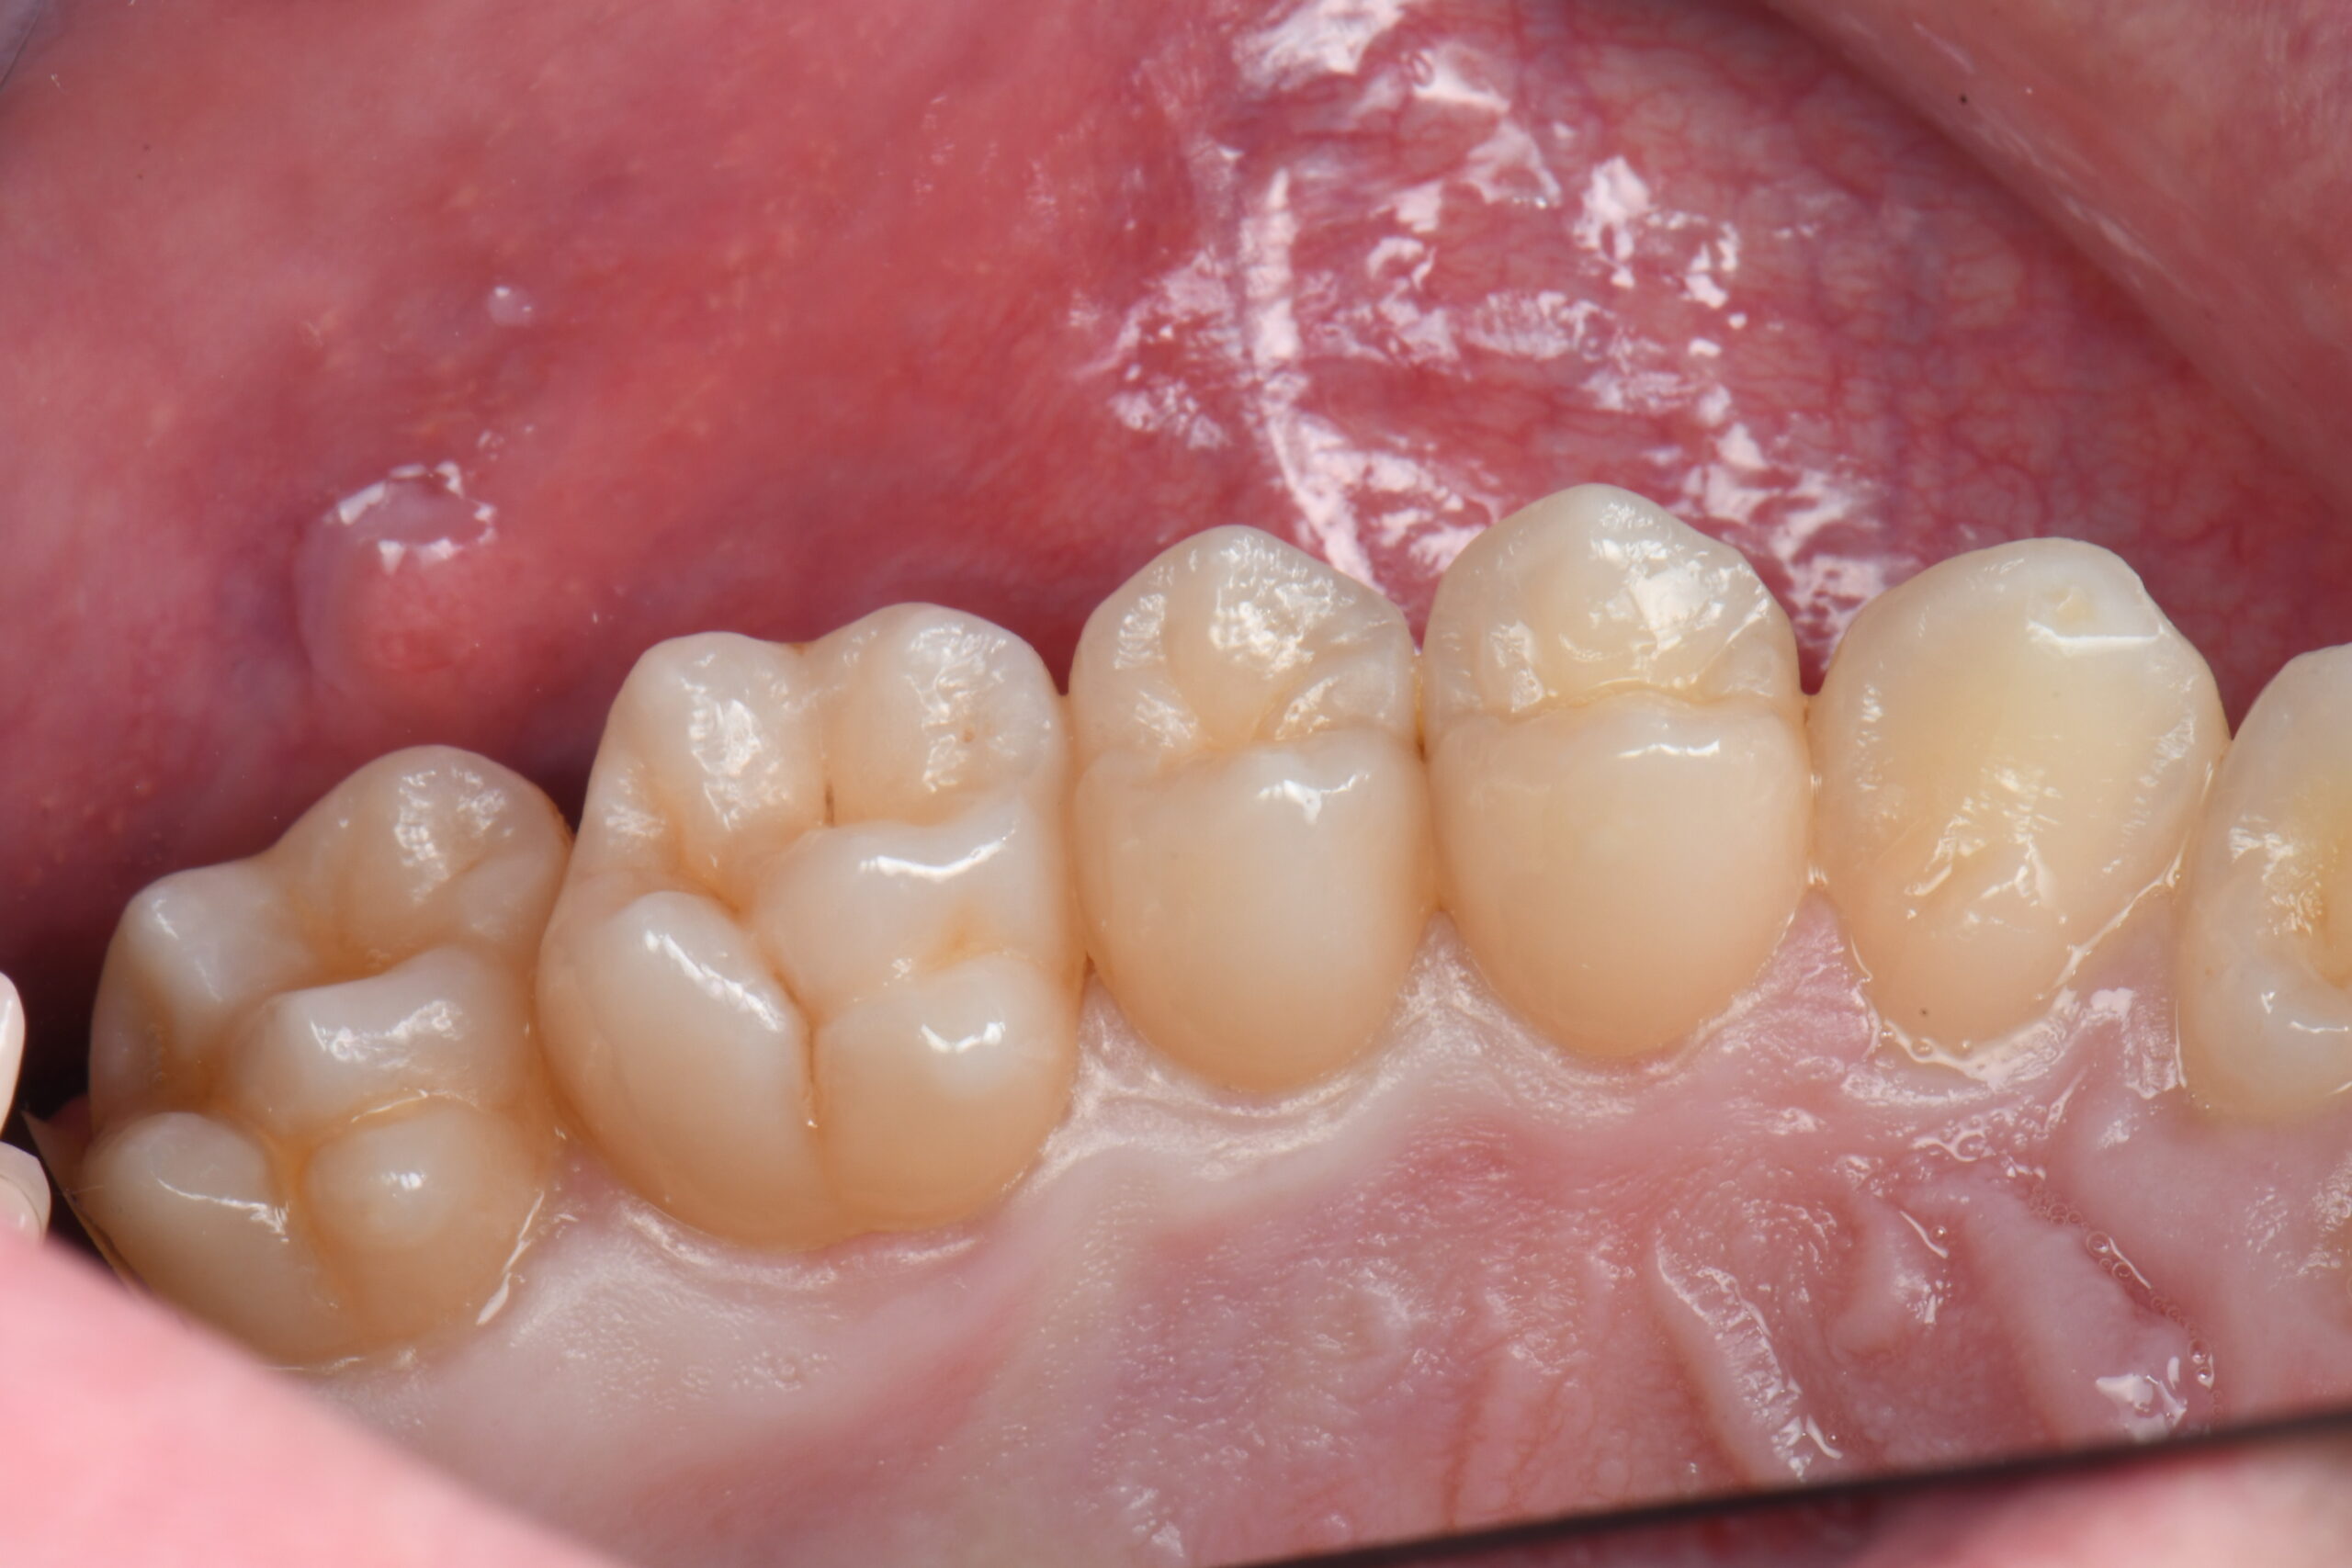
Post-op vestibular view.
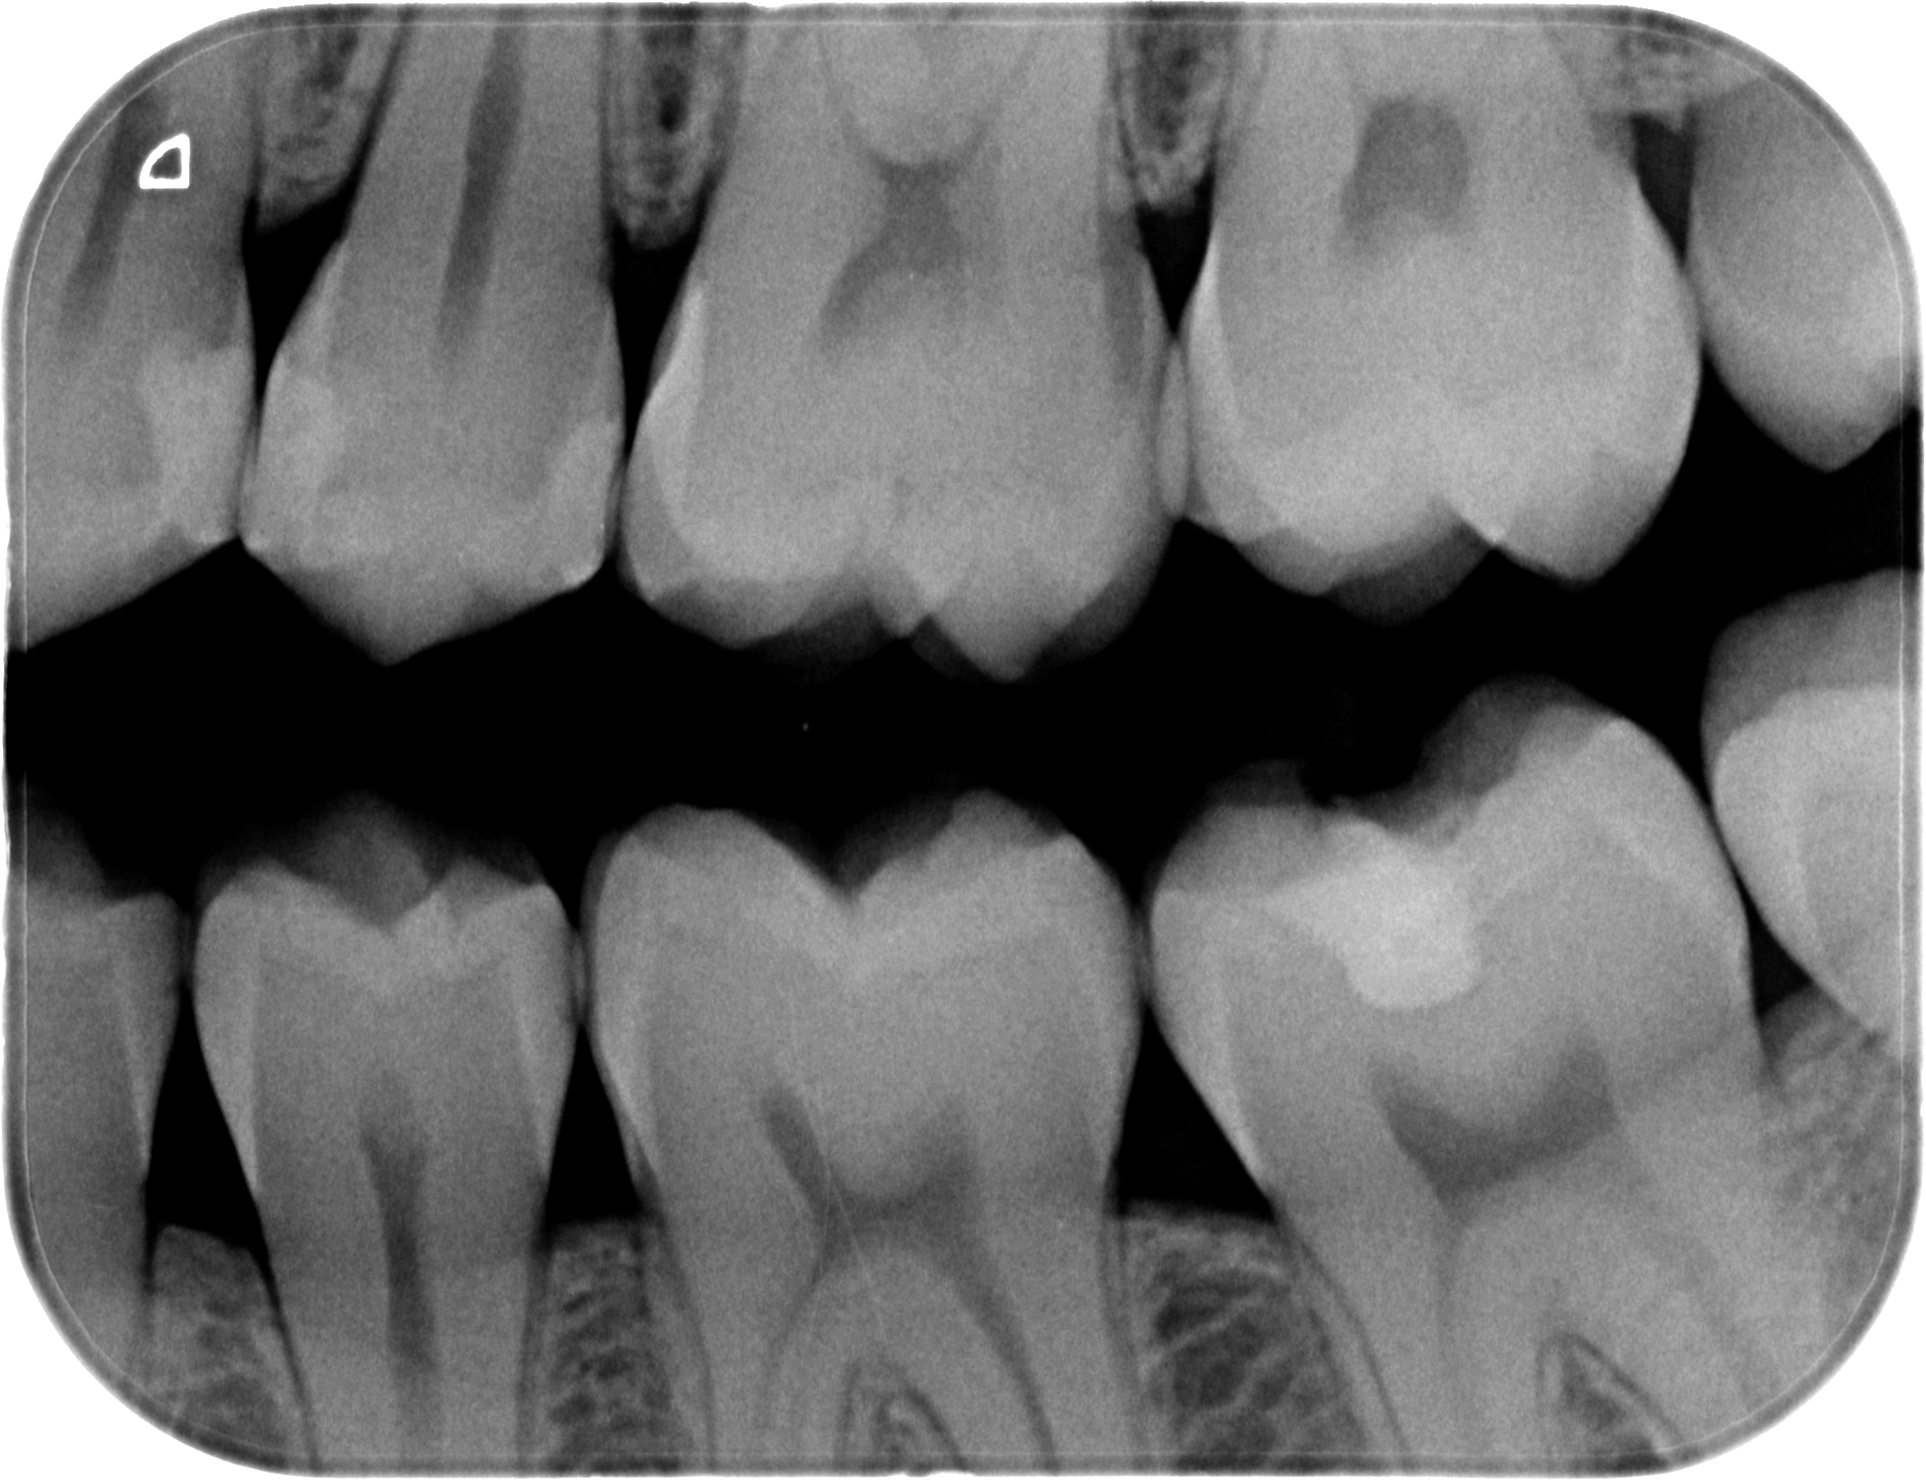
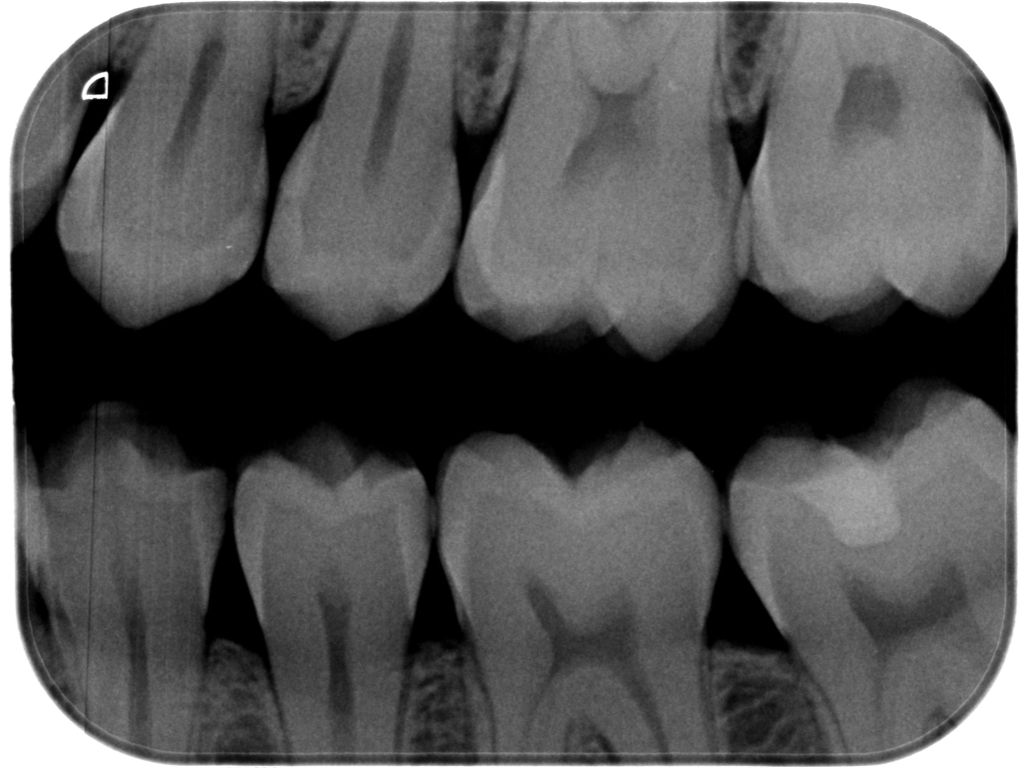
Post-op bite wing radiograph, essential for verifying the adequacy of composite compaction.
3M™ Filtek™ Easy Match Universal Restorative made the biggest challenge possible to solve, thanks to its easy handling and absence of stickiness to the composite plugger.
Additionally, after applying a thin layer of flowable composite on the exposed dentin, it is possible to perform a one-step restoration in cases of very narrow Class II cavities, such as those on the second premolar.
However, whenever possible, it’s always preferable to build a marginal ridge first and then fill the remaining Class I cavity as I did on the first premolar.
Finally, an aspect that I always appreciate, even in the posterior teeth, is that this composite matches perfectly with the surrounding tissues also in case of a single mass technique.
Regarding the etching phase, I performed selective enamel etching, however in cases with very narrow cavities and difficult control with the application of etching gel, I use 3M™ Scotchbond™ Universal Plus Adhesive, because it works well with all types of etching techniques.

Become a part of our Brain Floss blog family and share your clinical case, your insights and your skills with this great community .
We are looking forward to hearing from you!!
Refer to Instructions for Use (IFU) for complete product information. Results may vary.